
[SMYTHSON] Smythson Handle Repair, Lining Repair, 2-way Shoulder Bag, Tote
[SMYTHSON] Smythson Handle Repair, Lining Repair, 2-way Shoulder Bag, Tote
7 September 2026
- CATEGORY
- SMYTHSON
- BAG & OTHER ITEMS REPAIR
Today, I’d like to show you how to repair a bag.
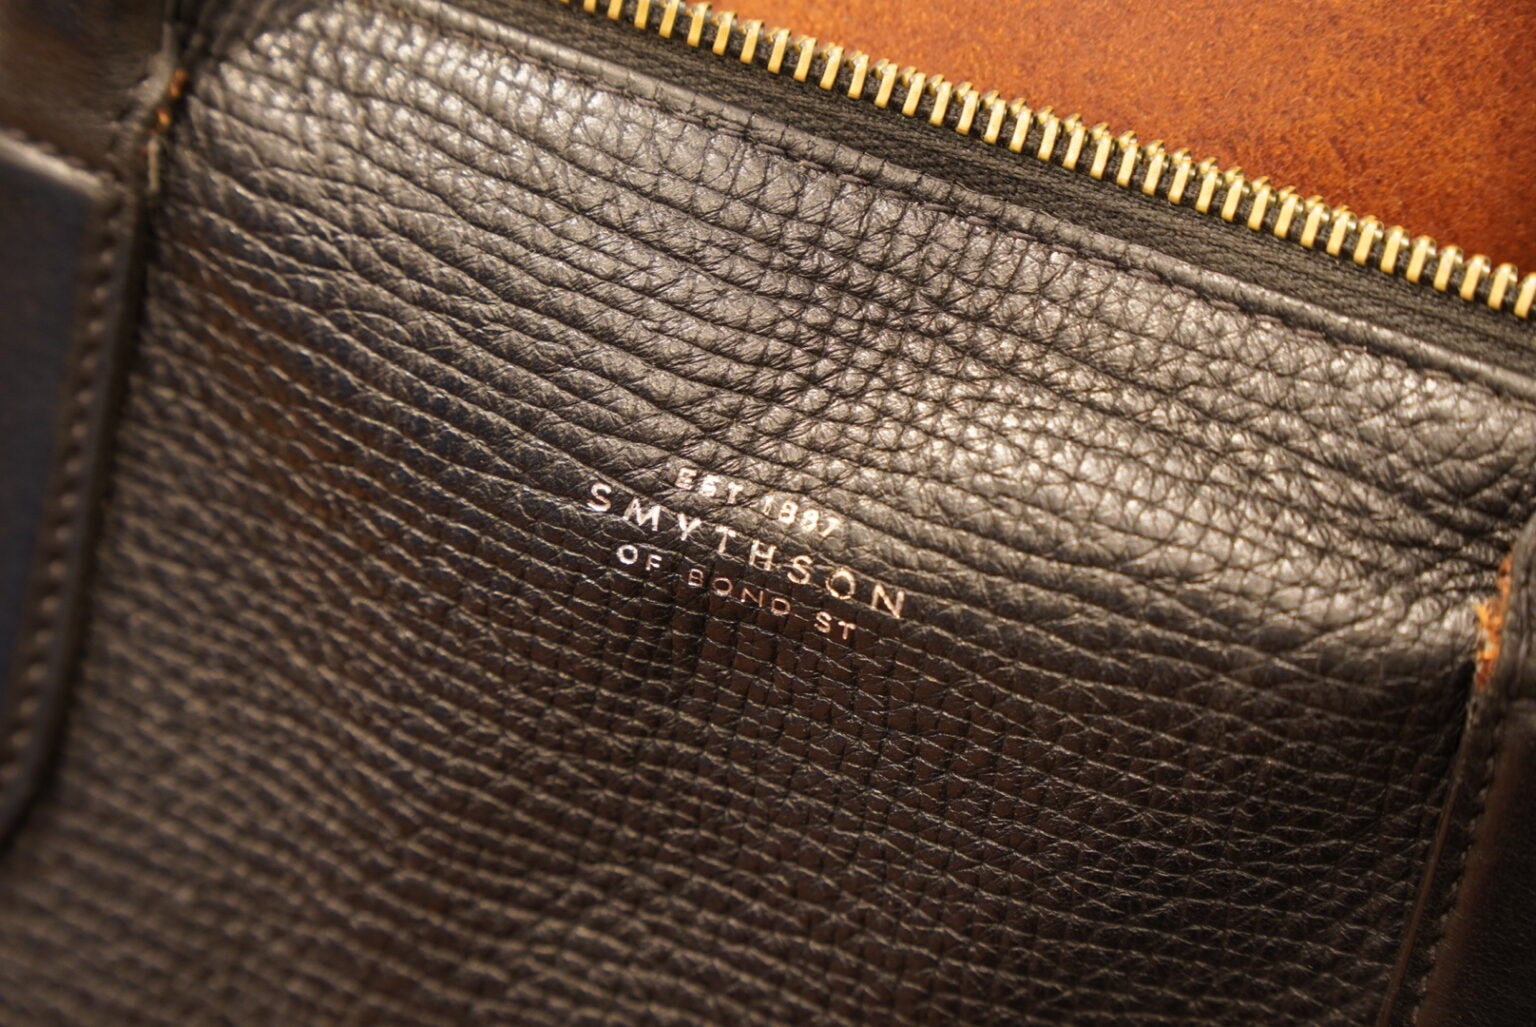
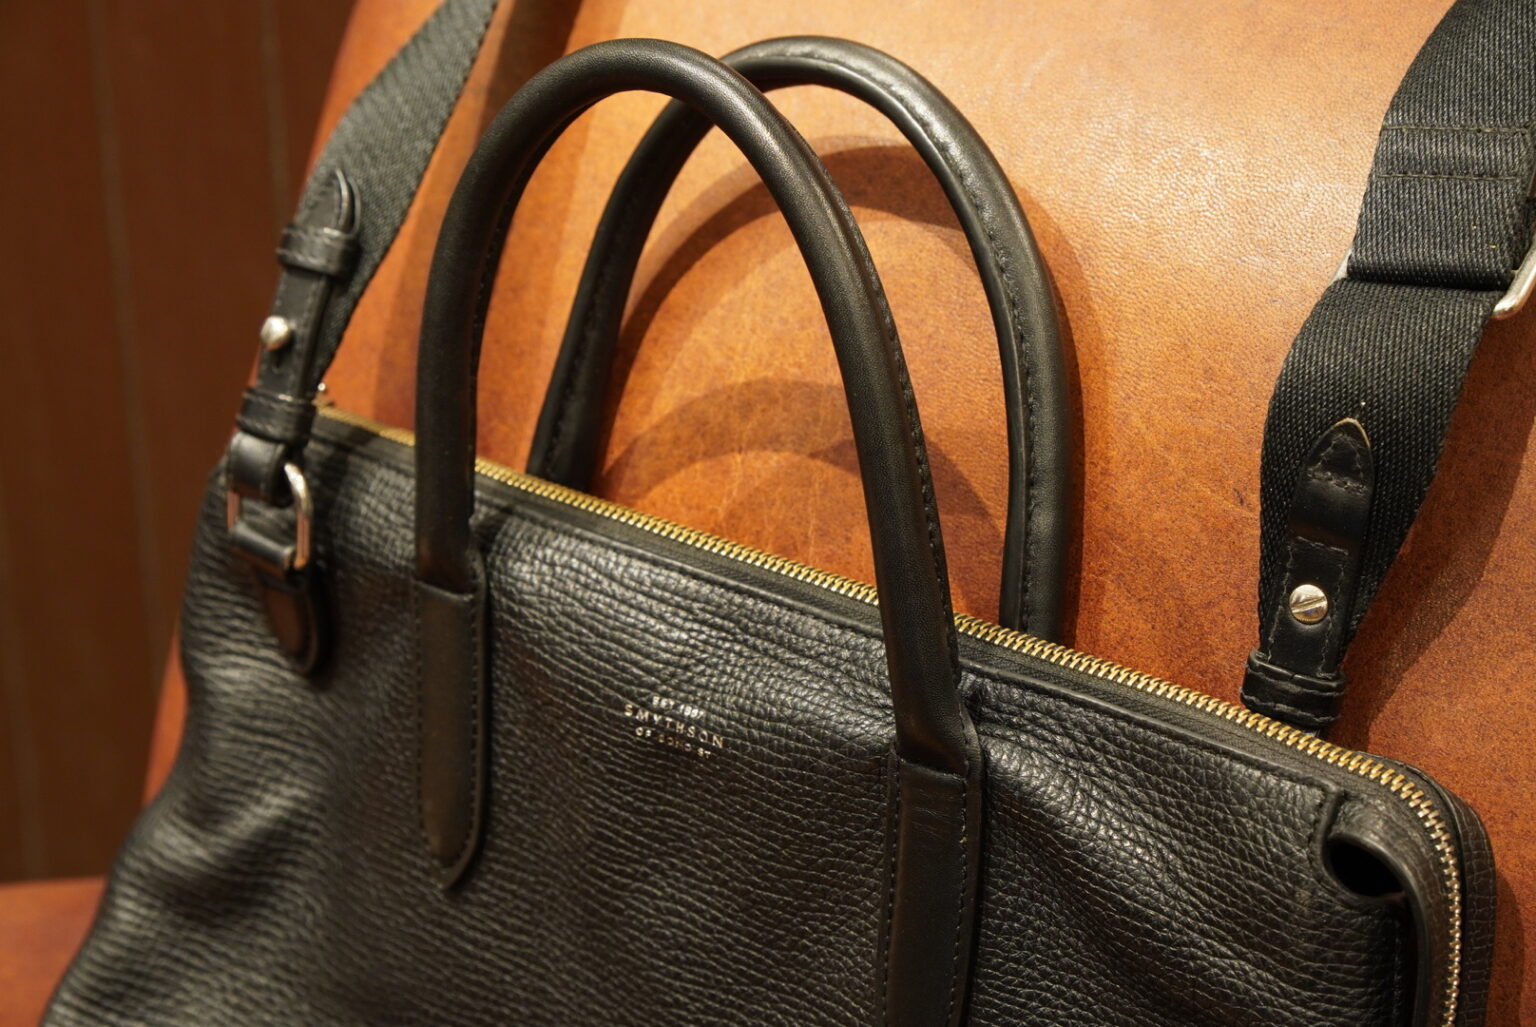
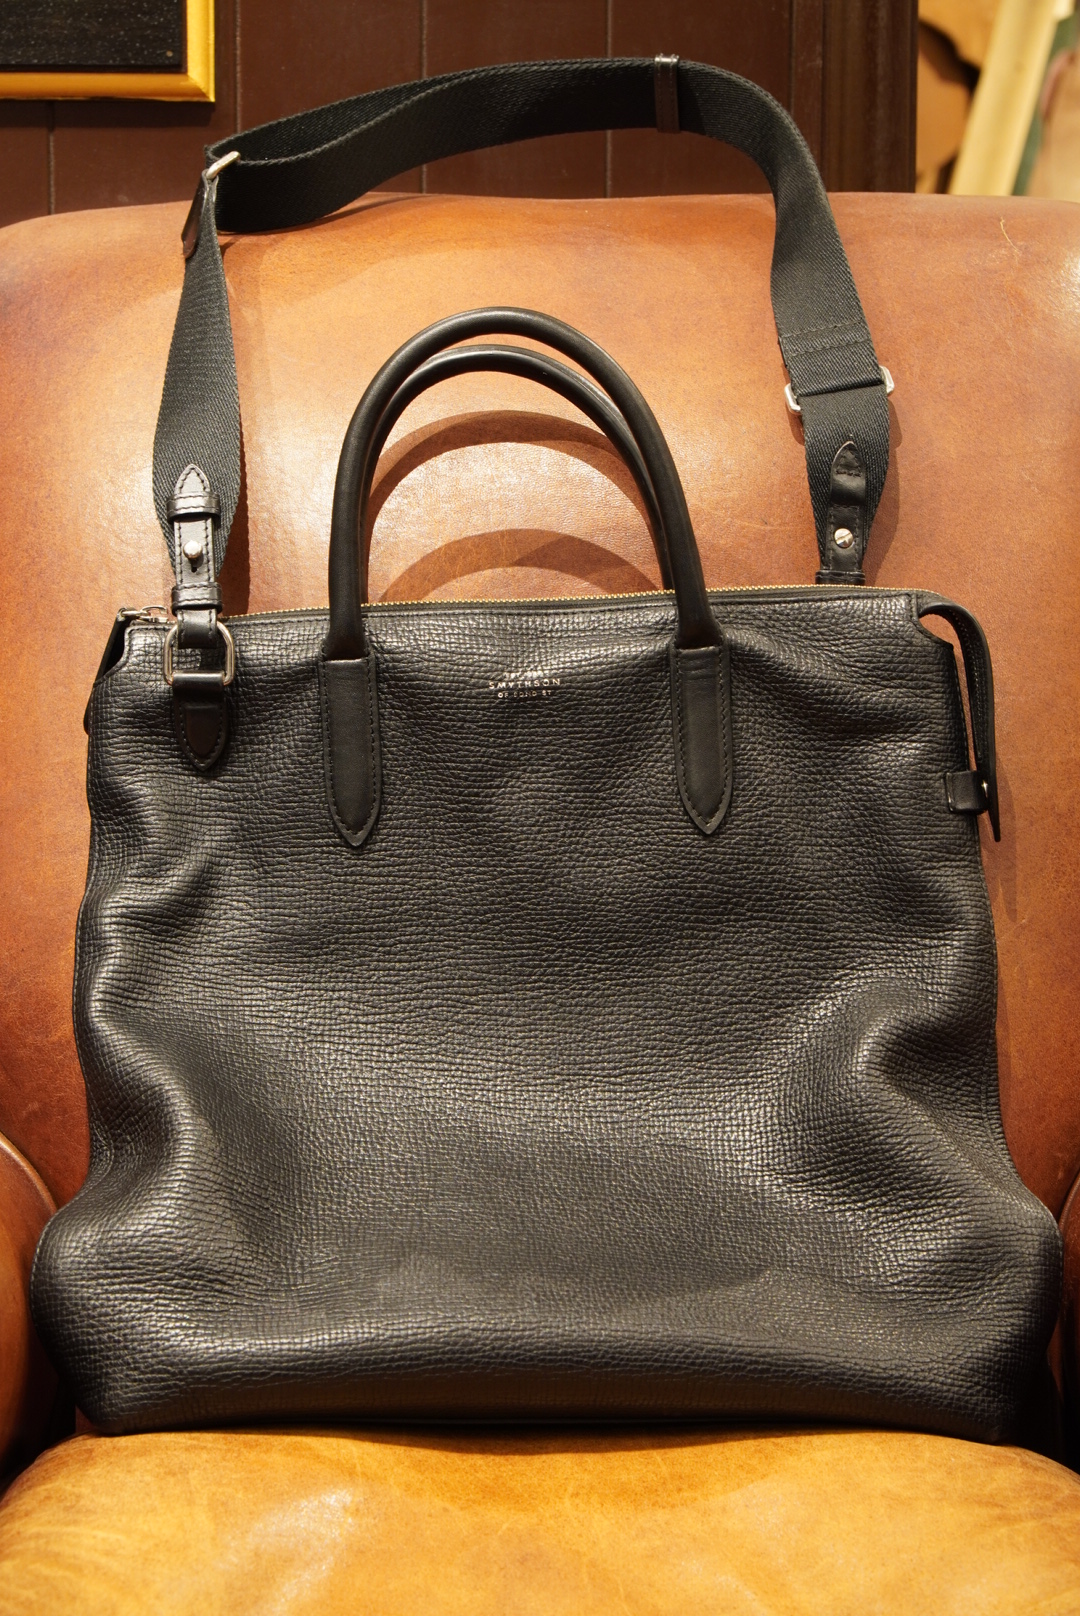
The item you’ve brought in today is this ‘SMYTHSON’ bag.
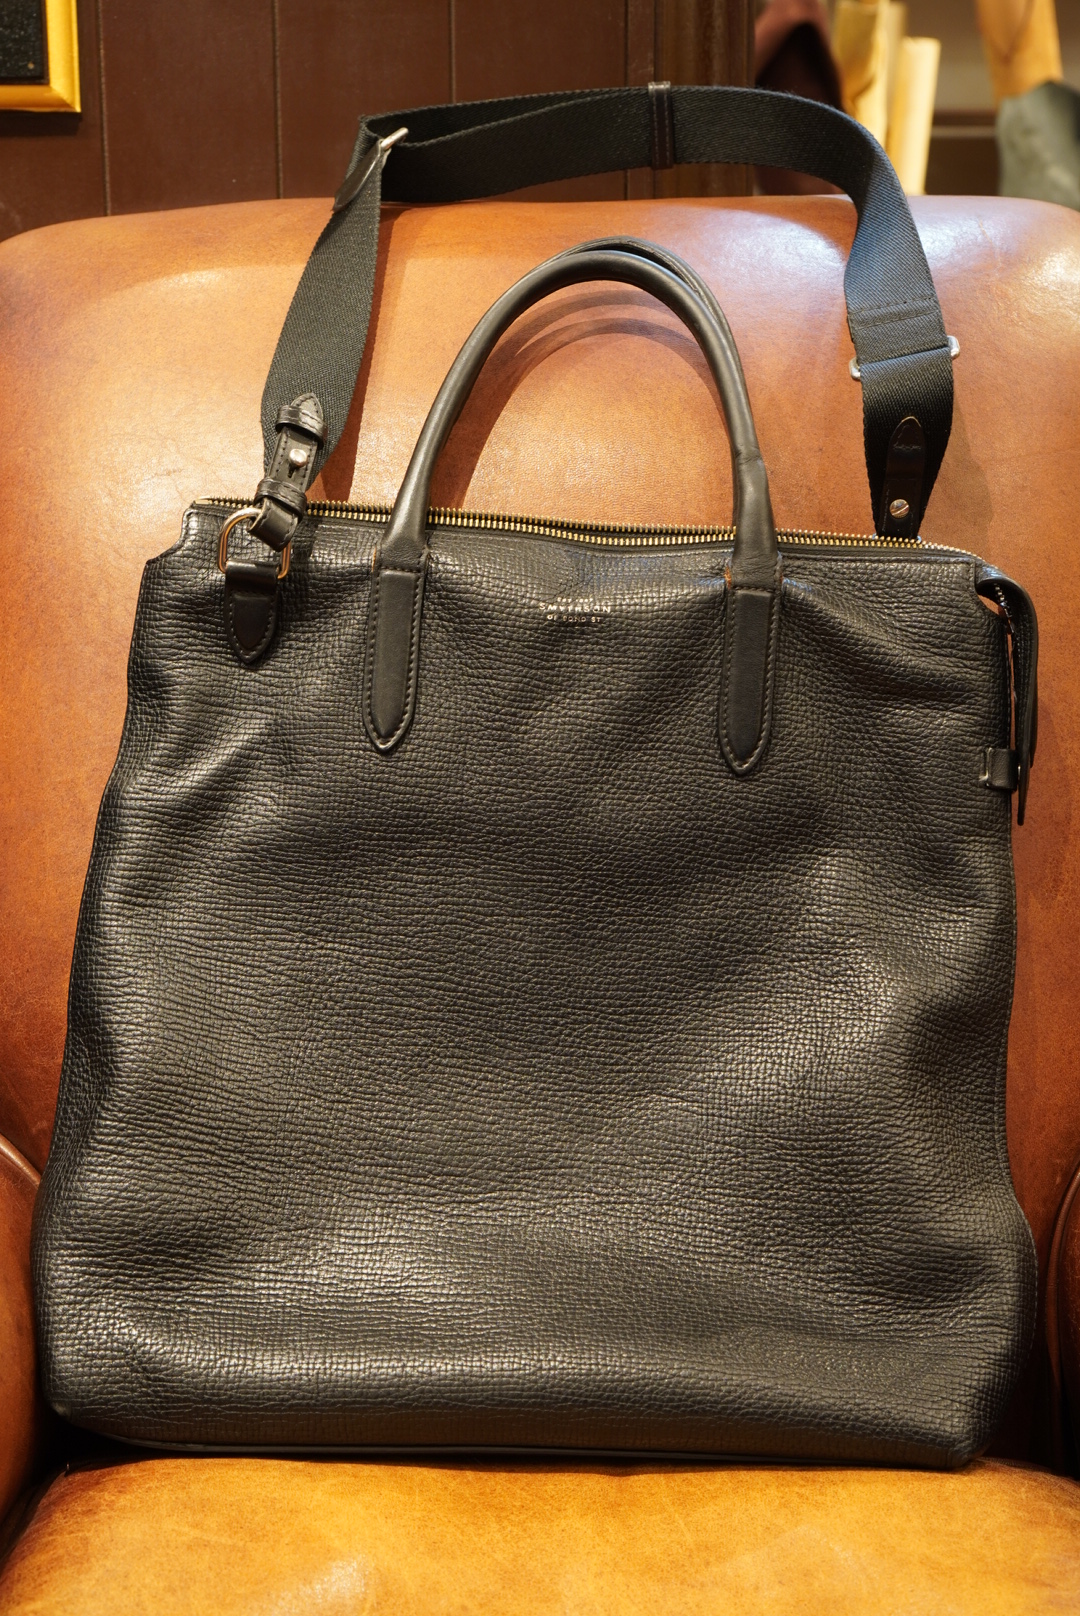
It features a 2-way design, allowing you to use either the shoulder strap or the handle.
There are broadly two areas to be repaired on this occasion.
The first is the handle.
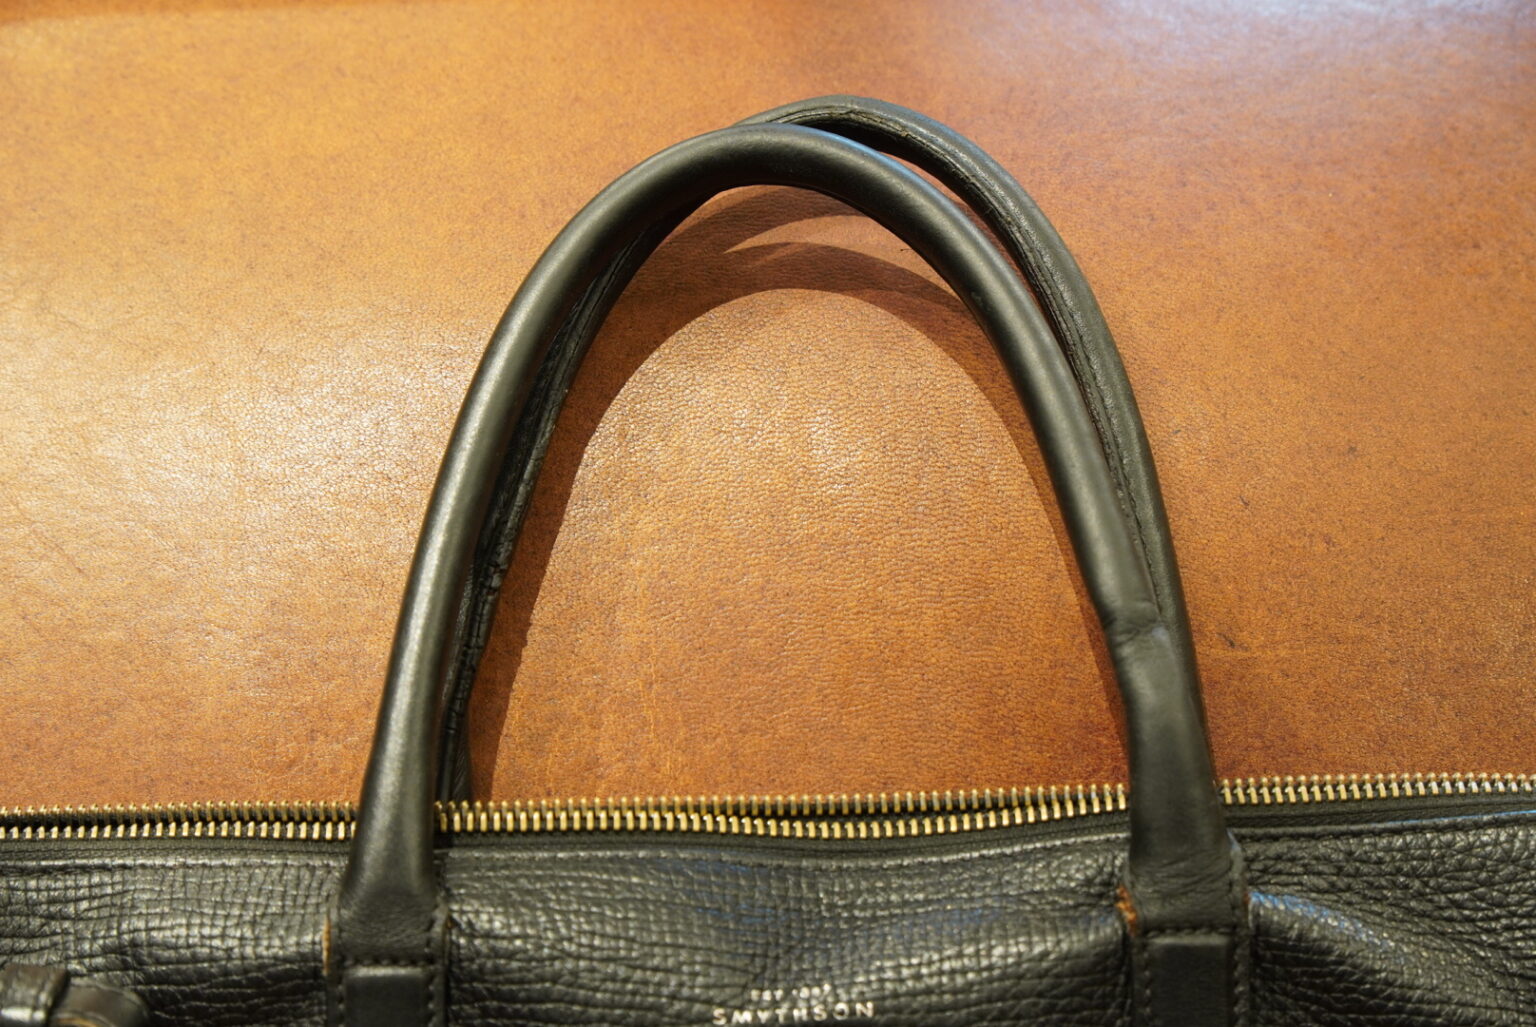
First, let’s check the condition.
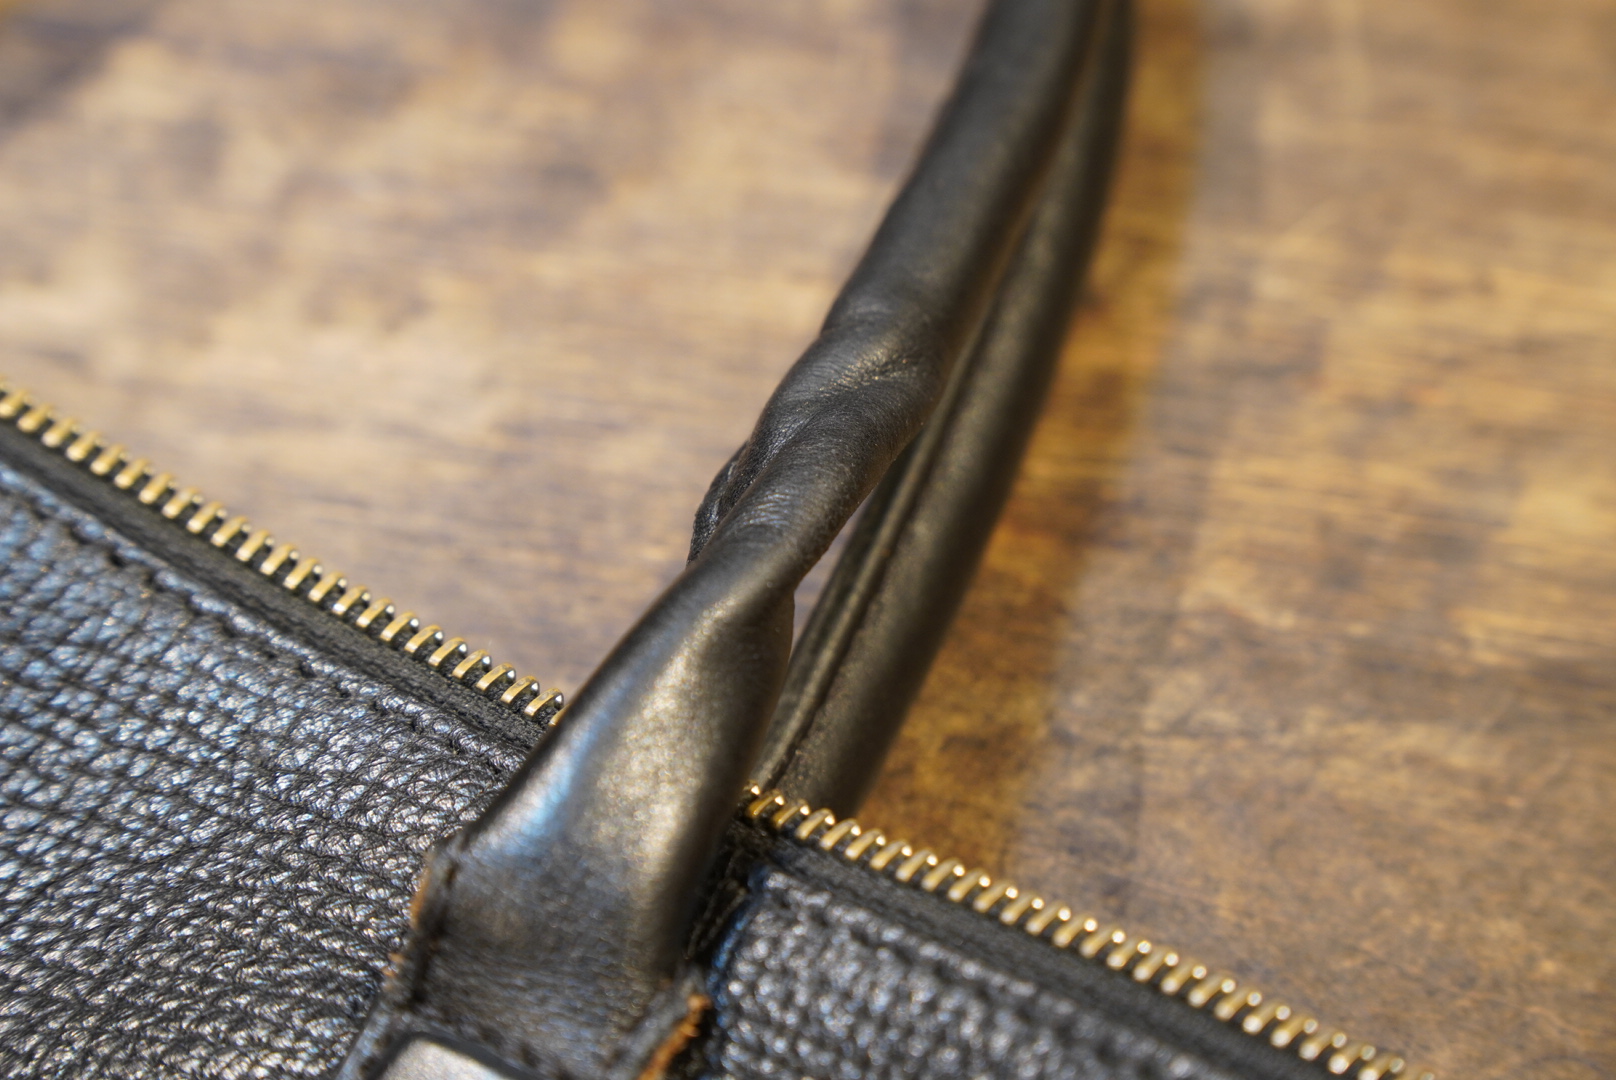
With use, the core material inside the handle has started to shift.
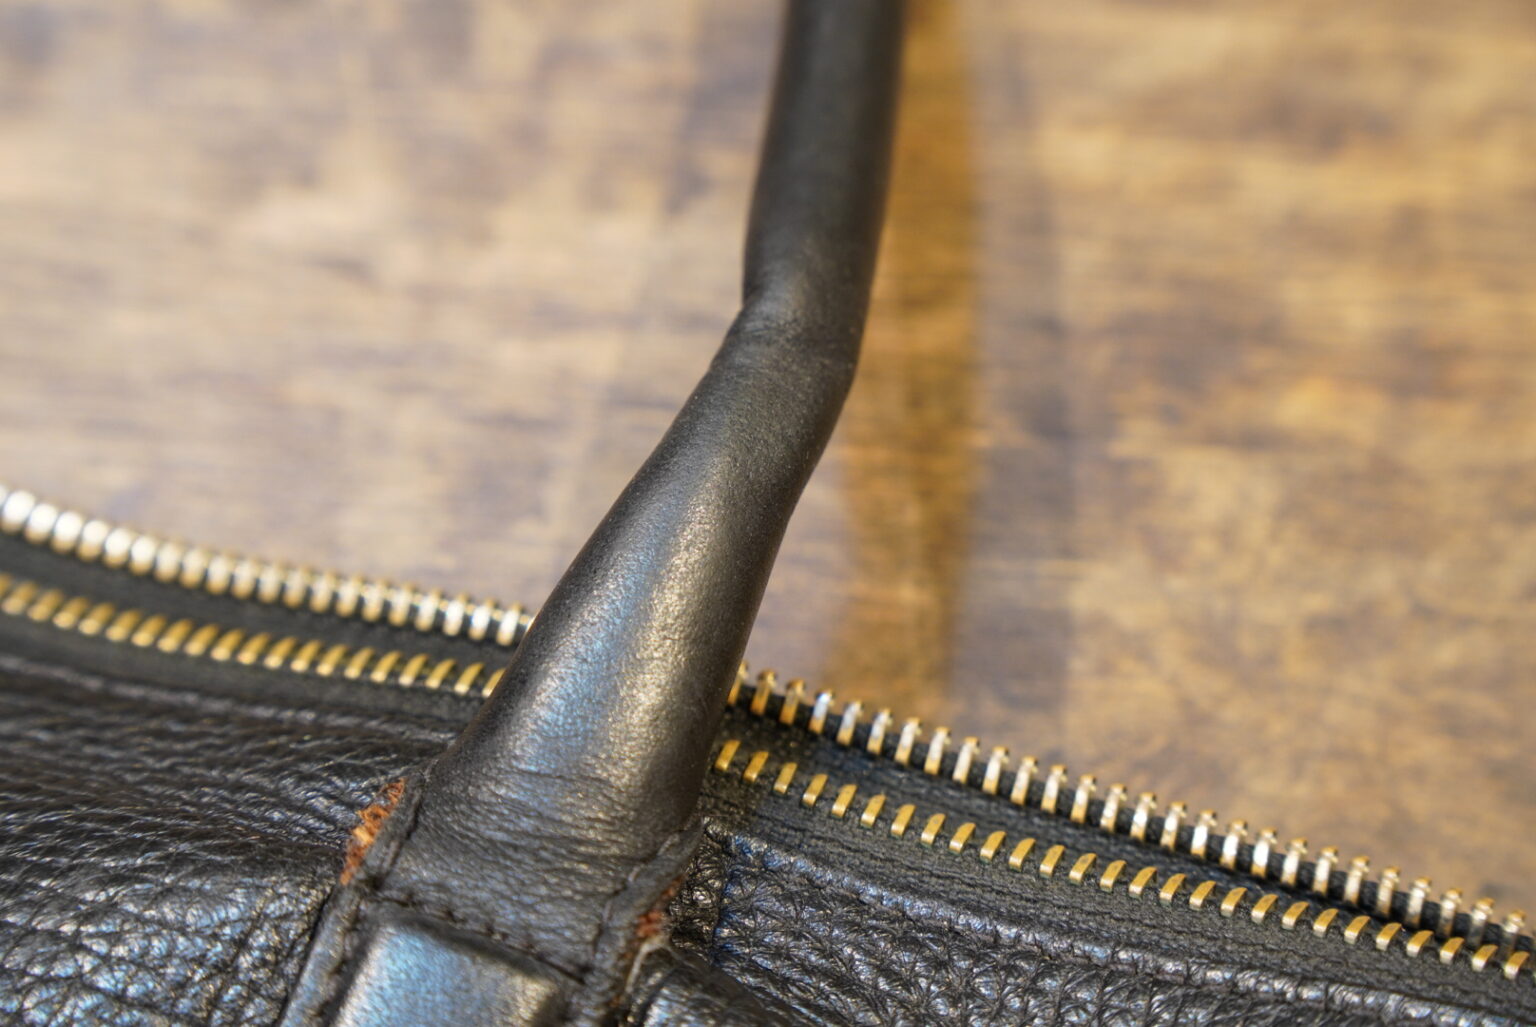
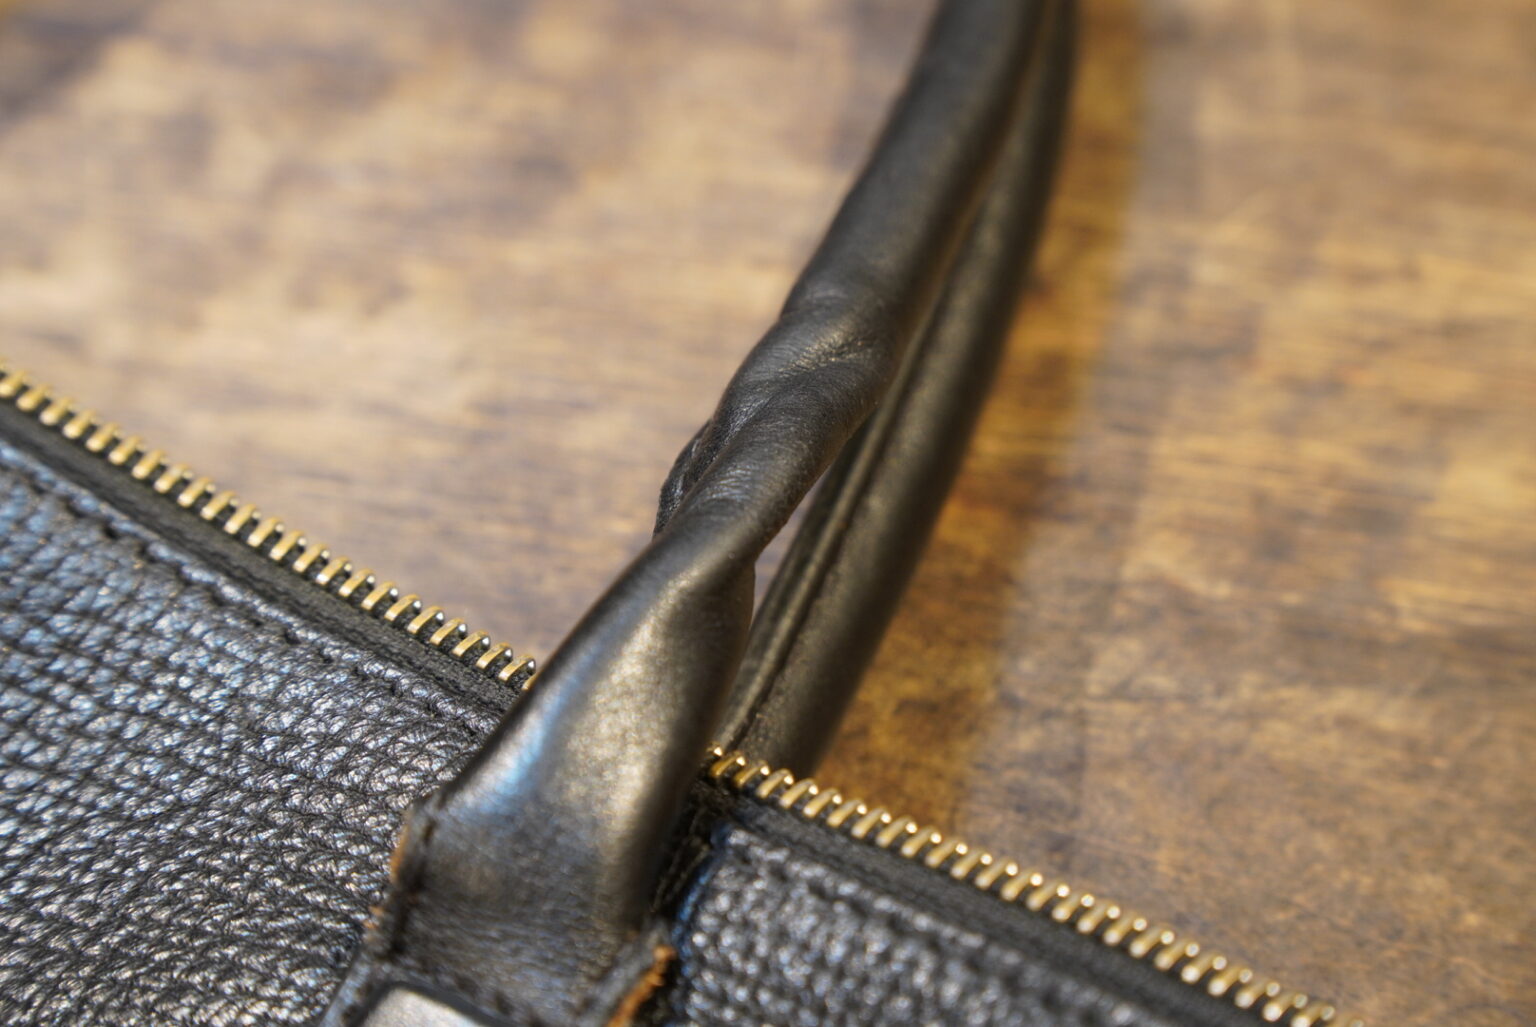
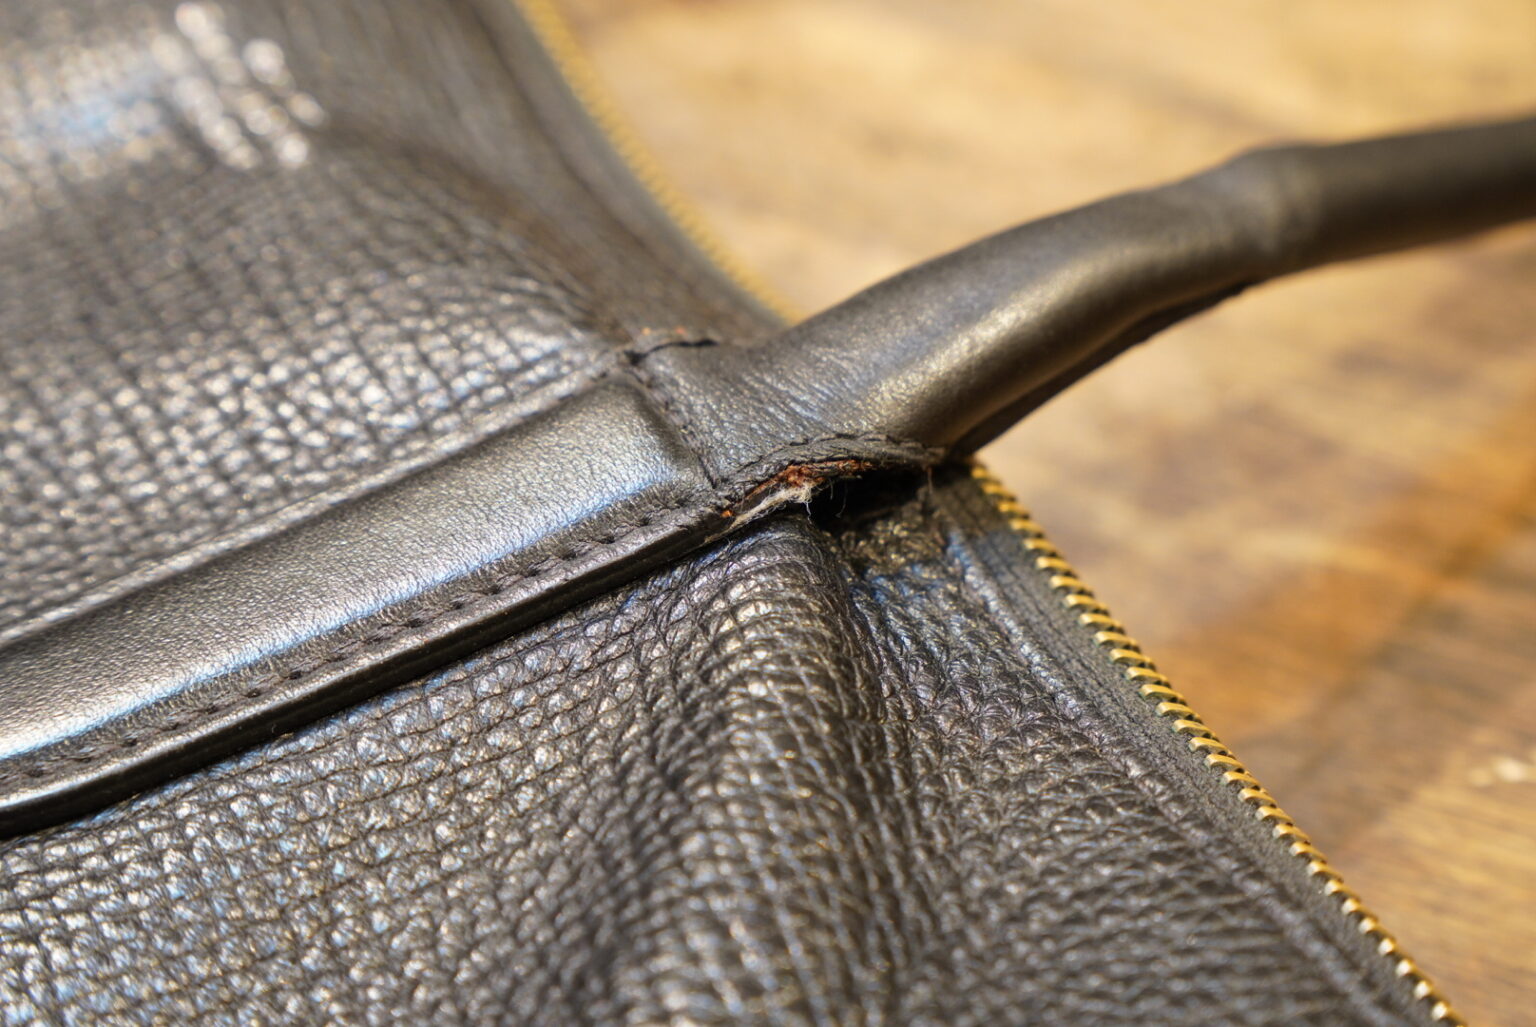
There is also visible damage at the roots.
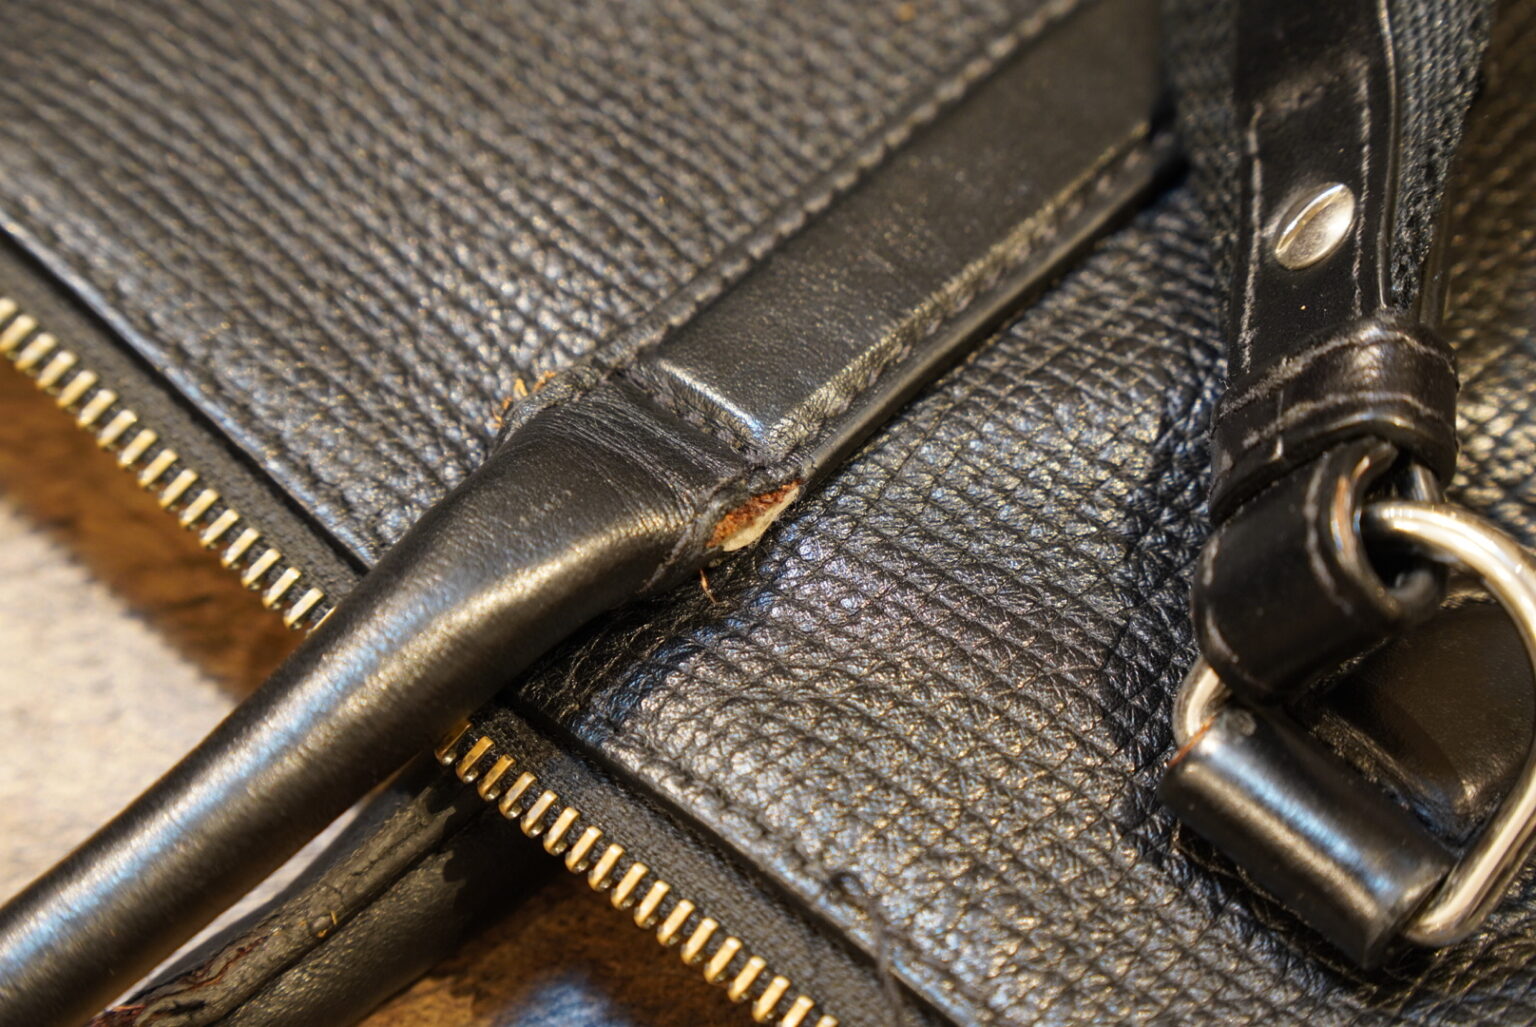
Furthermore, there is an unnatural bend in the upper section as well.
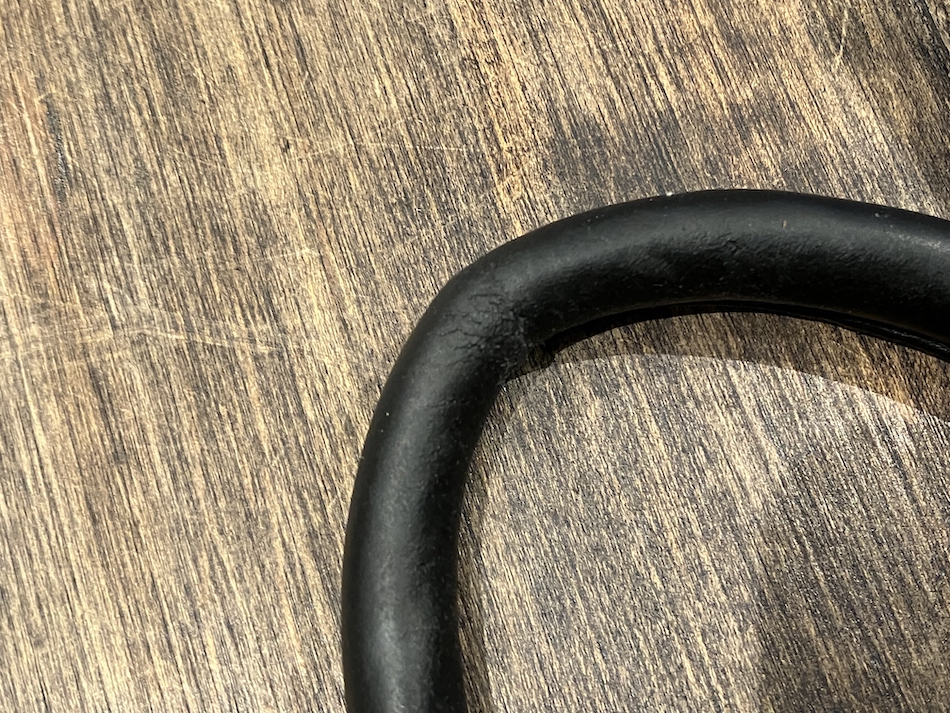
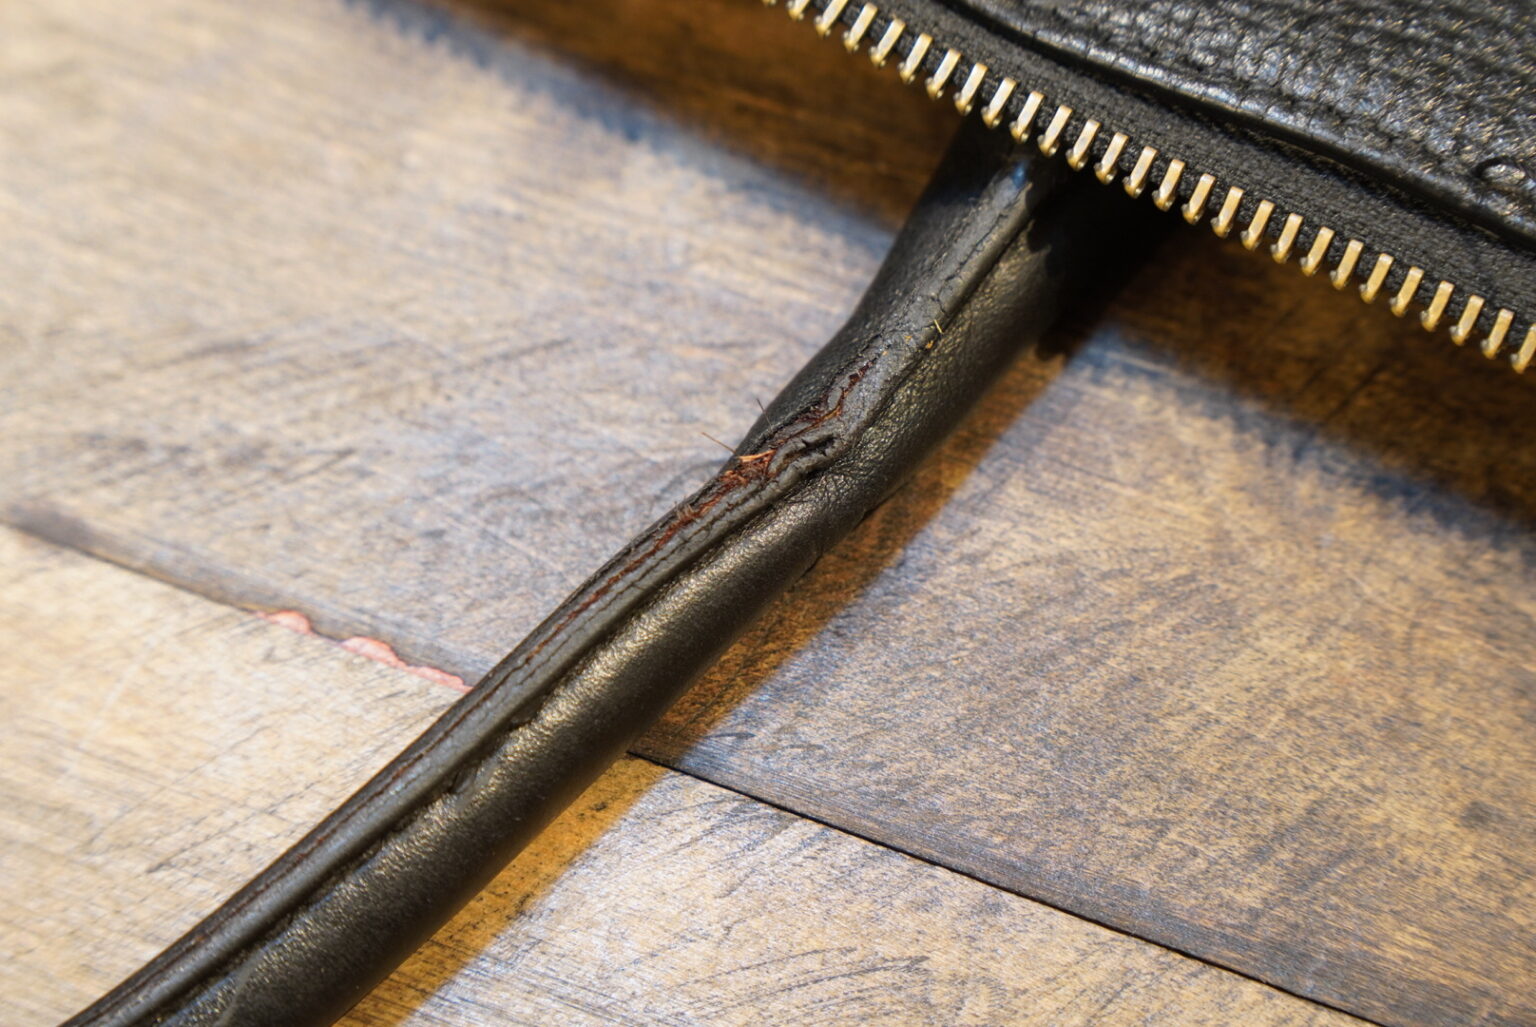
The finish has peeled away from the edges, and there is some flaking in places.
And the second is the lining.
Although it is only on one side, there is some scuffing and tearing on both edges.
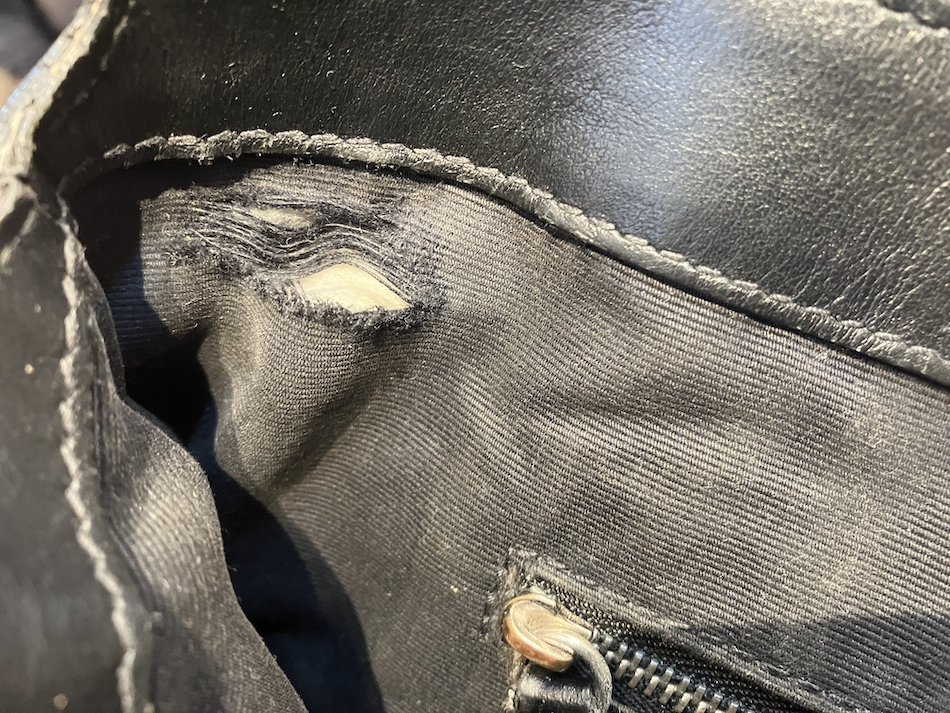
If we carry on using it like this, it’s only a matter of time before a hole appears.
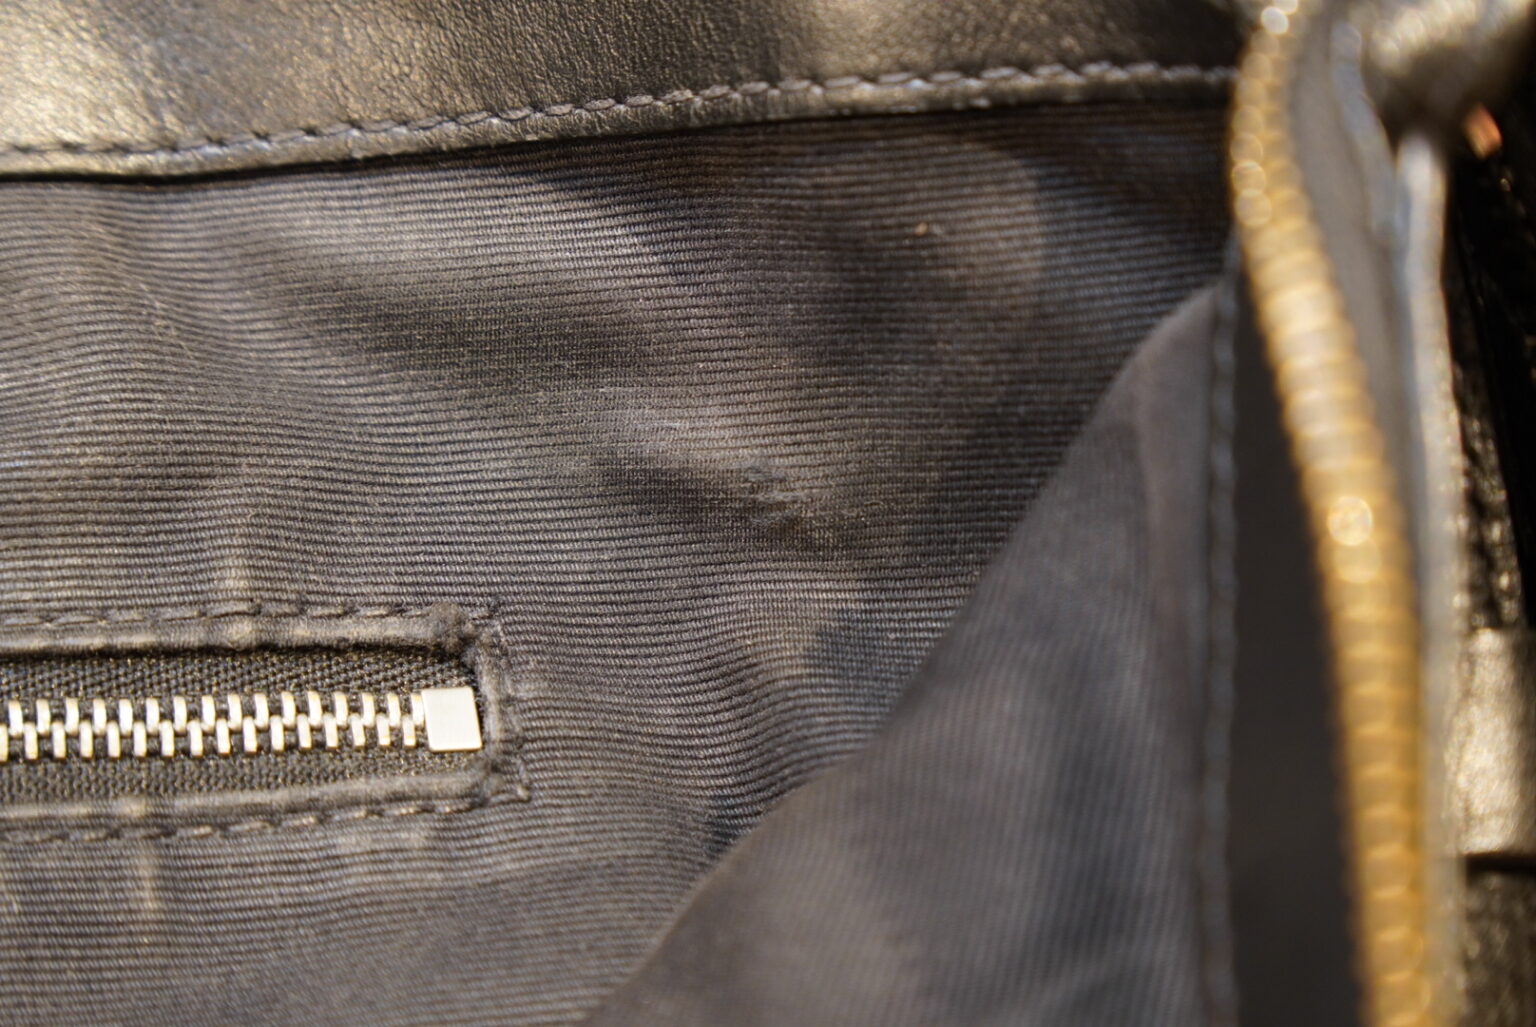
This time, we’ll be carrying out repairs on these two areas.
Let’s start with the handle.
Undo the stitching that holds the outer fabric and the lining together, and open it up.
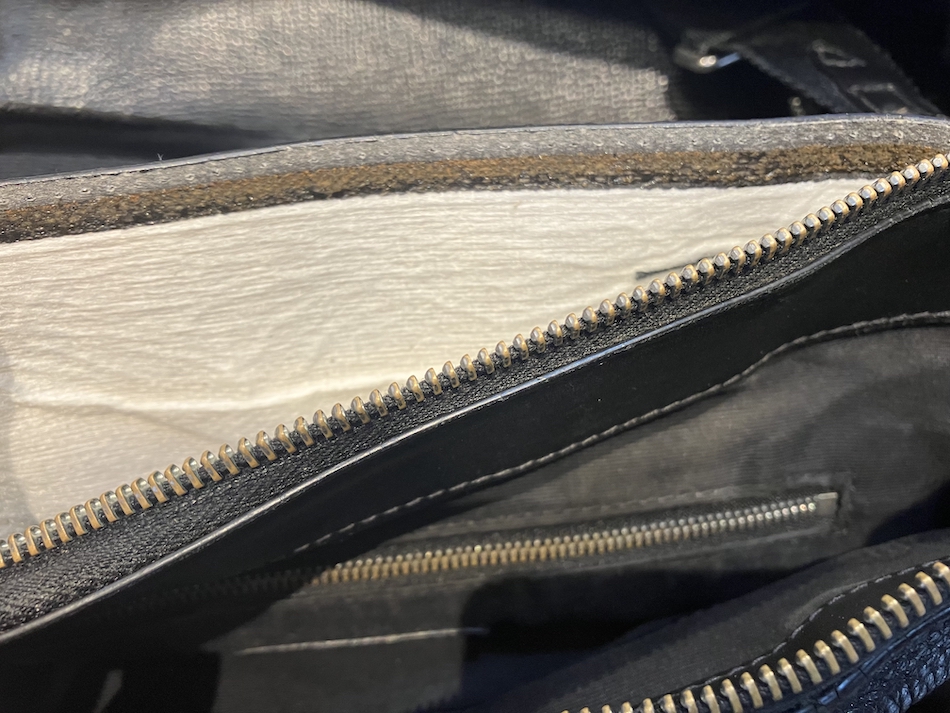
Next, remove the stitching that secures the handle to the main body, and detach it from the main body.
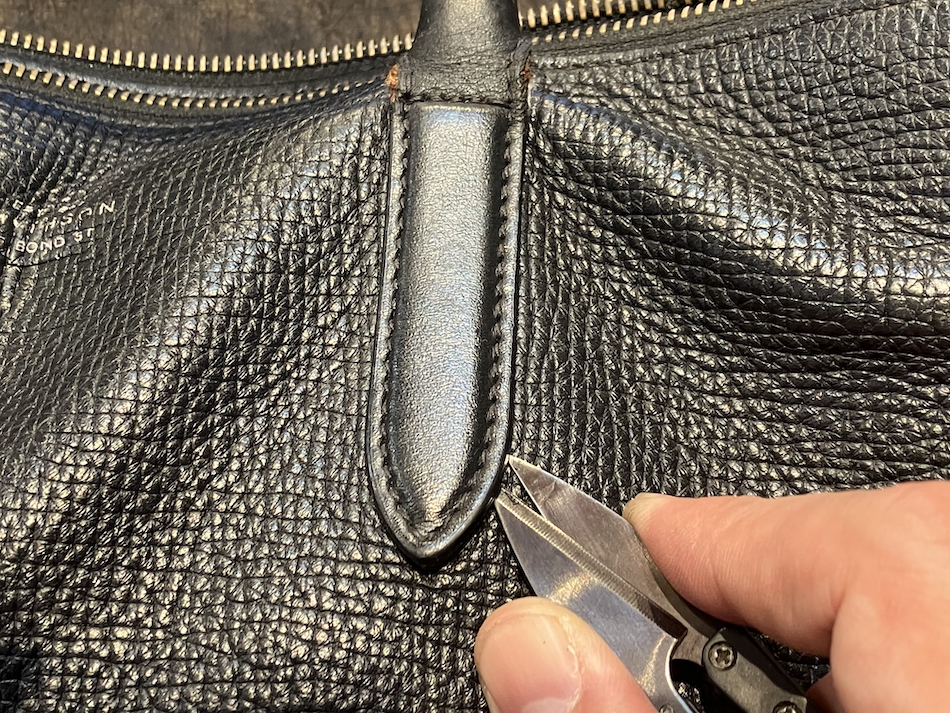
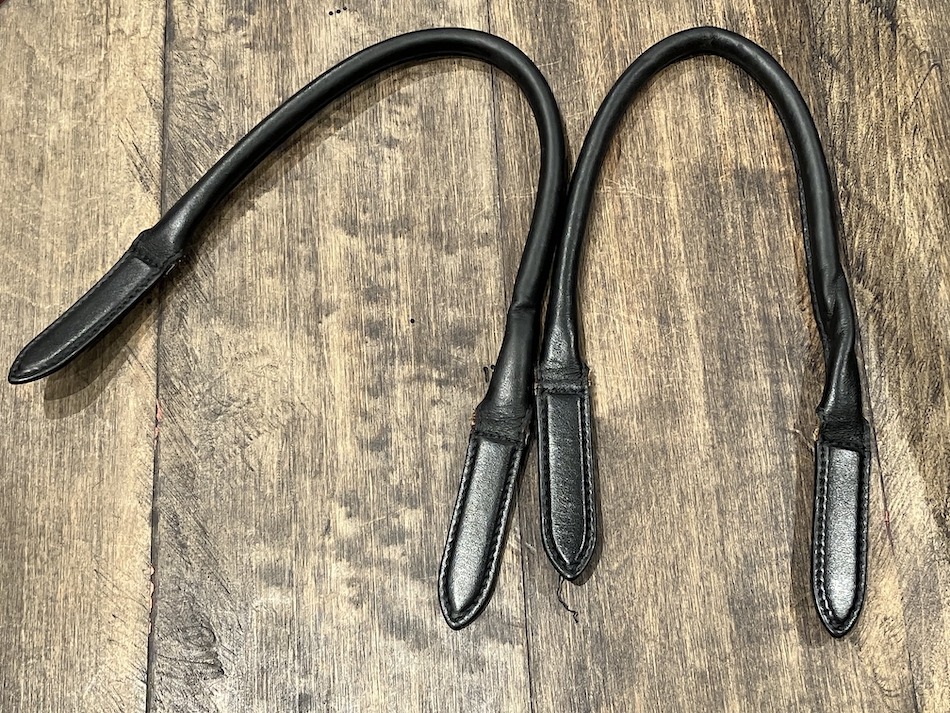
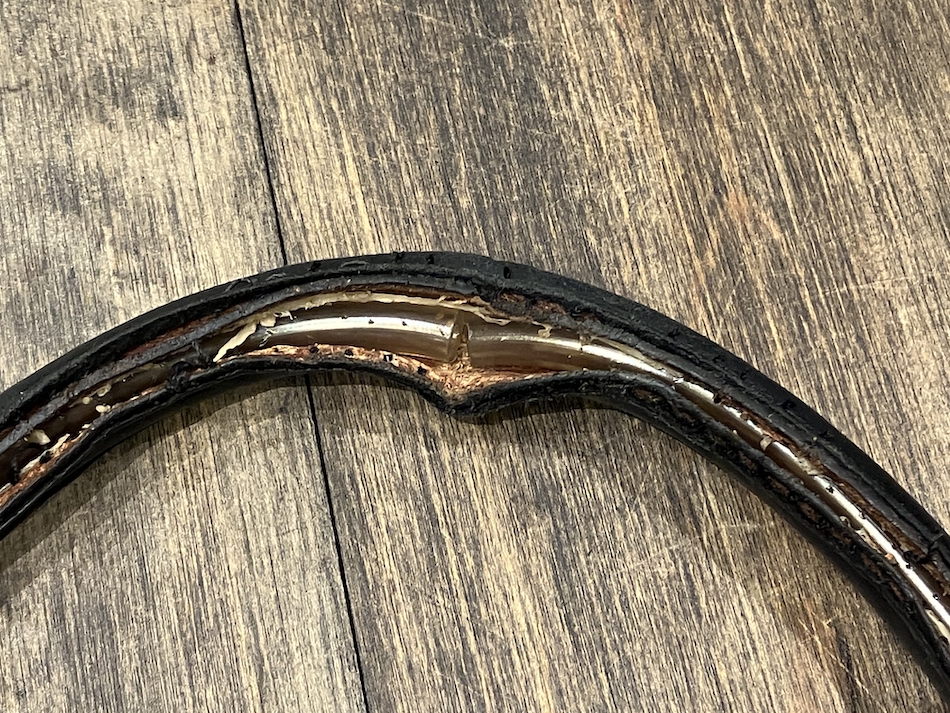
Upon inspecting the inside of the handle, I found that the top of the core material had cracked, making it difficult to reuse as it was.
We’ll replace this one with a new one as well.
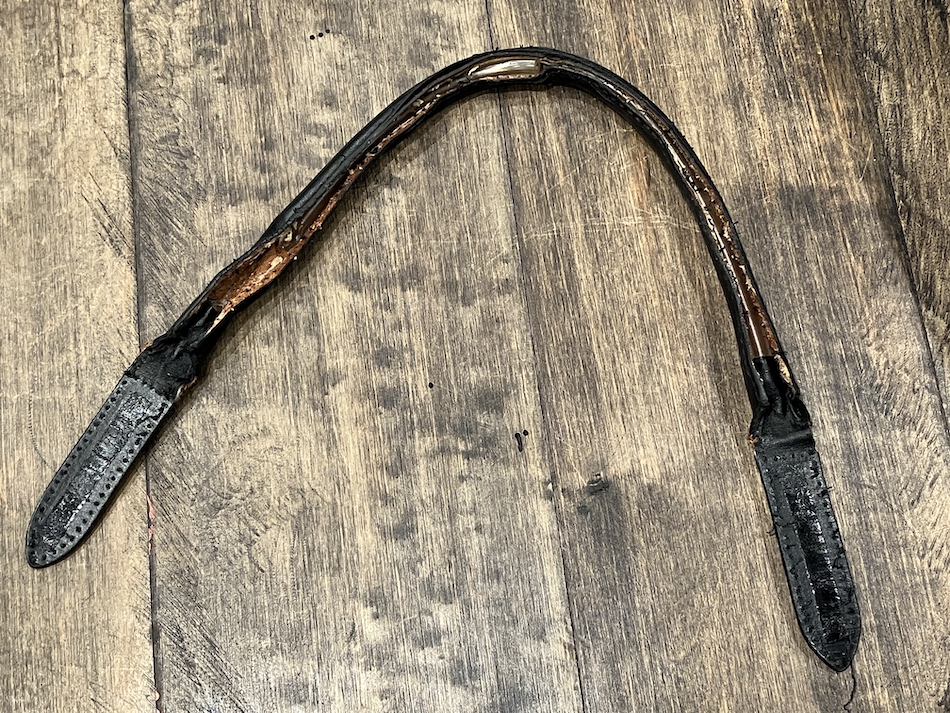
It seems that the unnatural bend we saw earlier was also caused by damage to the core material.
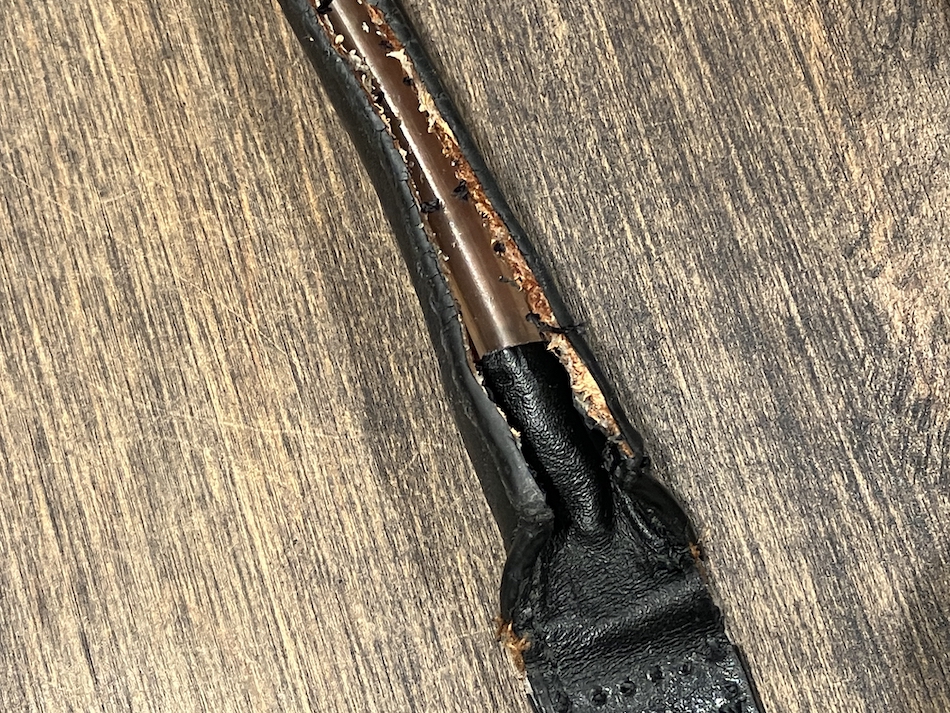
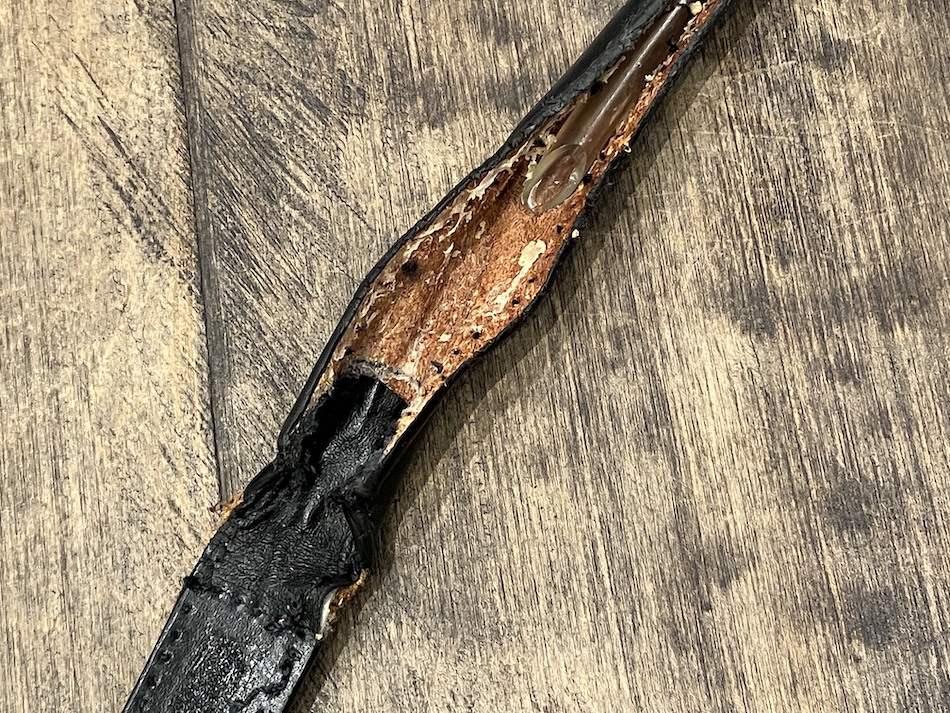
Upon further inspection, it became apparent that the distance from the end of the handle to the core material differed between the left and right sides, and
I also realised that it had grown much longer on one side.
Trace around the original handle—which I had unpicked and opened up—to use as a template, and
After adjusting for the amount of stretch, cut out a new piece of leather.
Next, the interlining and lining are applied in sections and sewn in place.
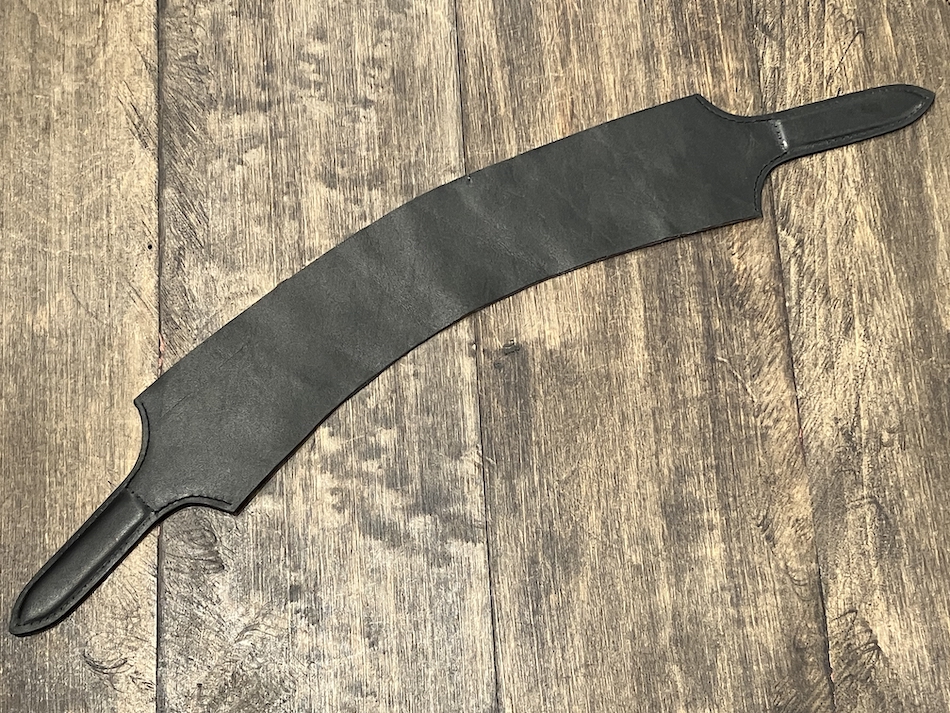
Sew the newly prepared core material in place so that it is enclosed, and once you have finished the edge, the handle is complete.
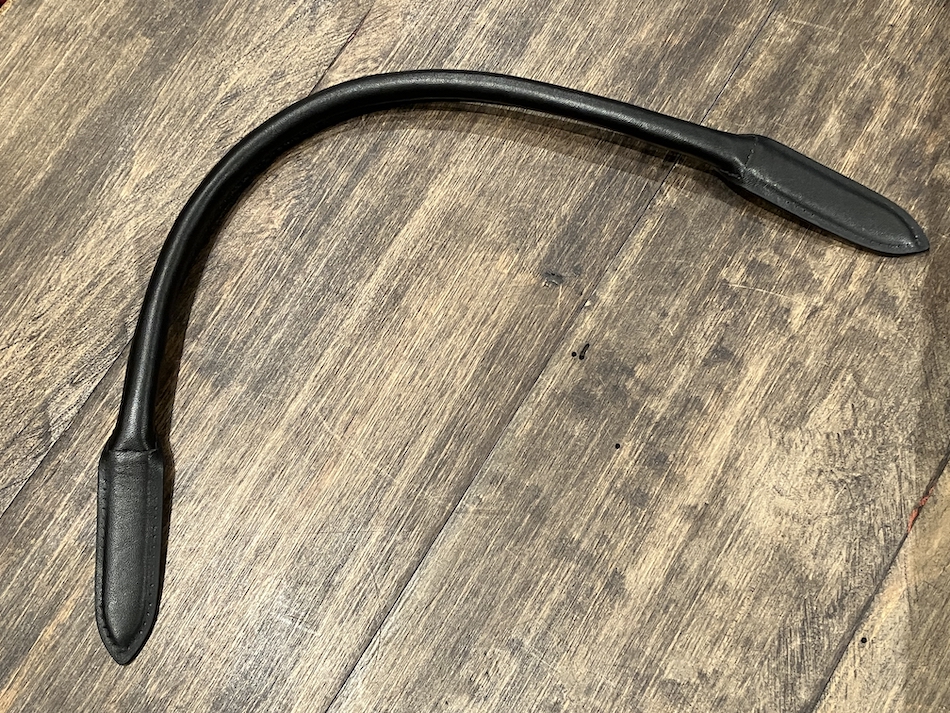
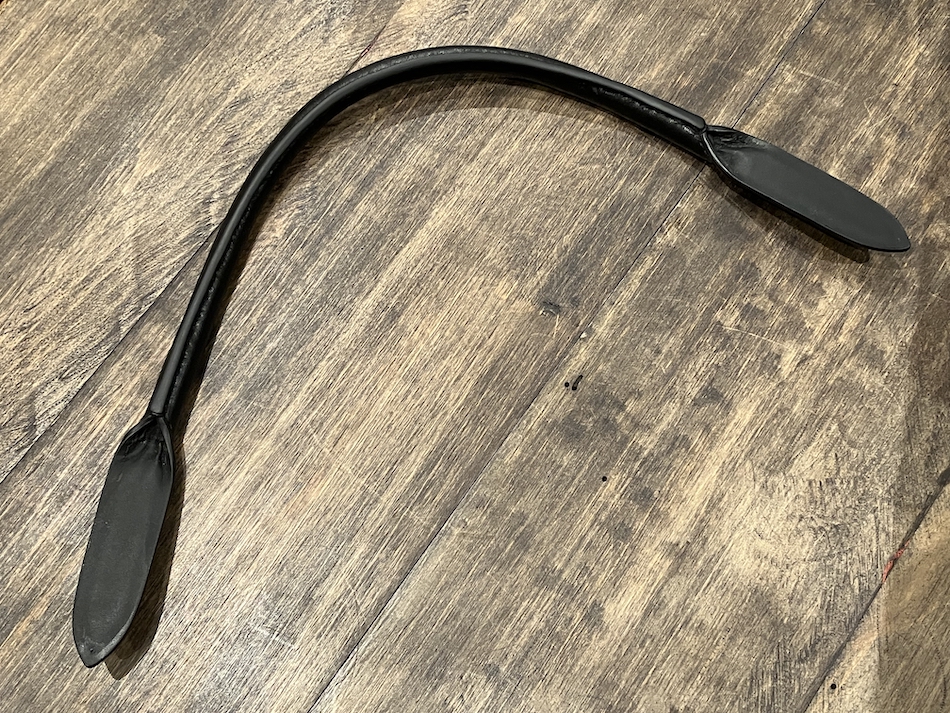
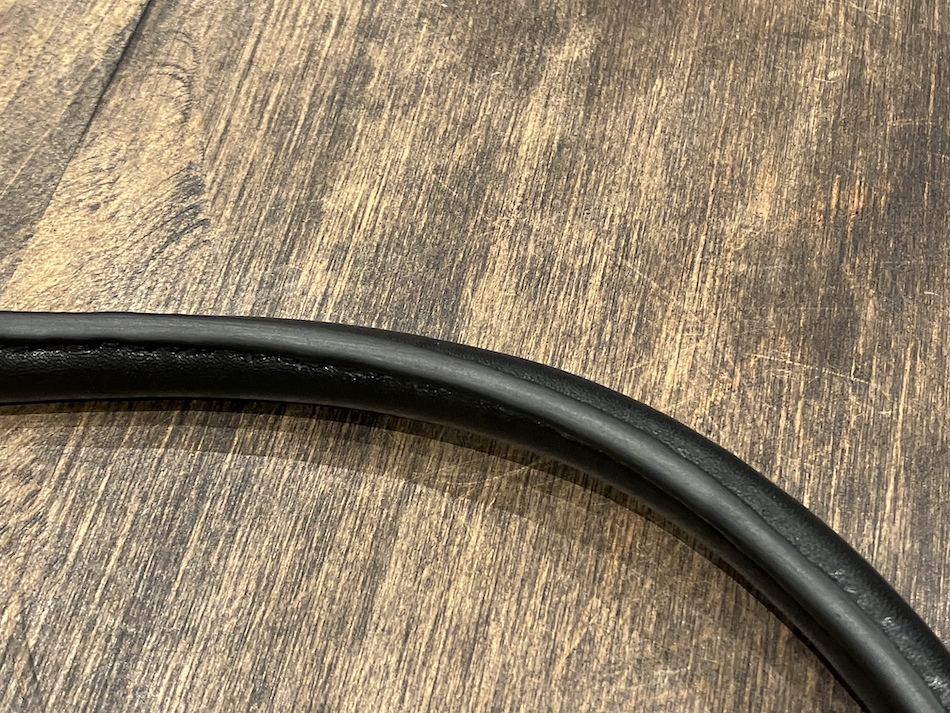
We produce two handles using the same process and then sew them onto the main body.
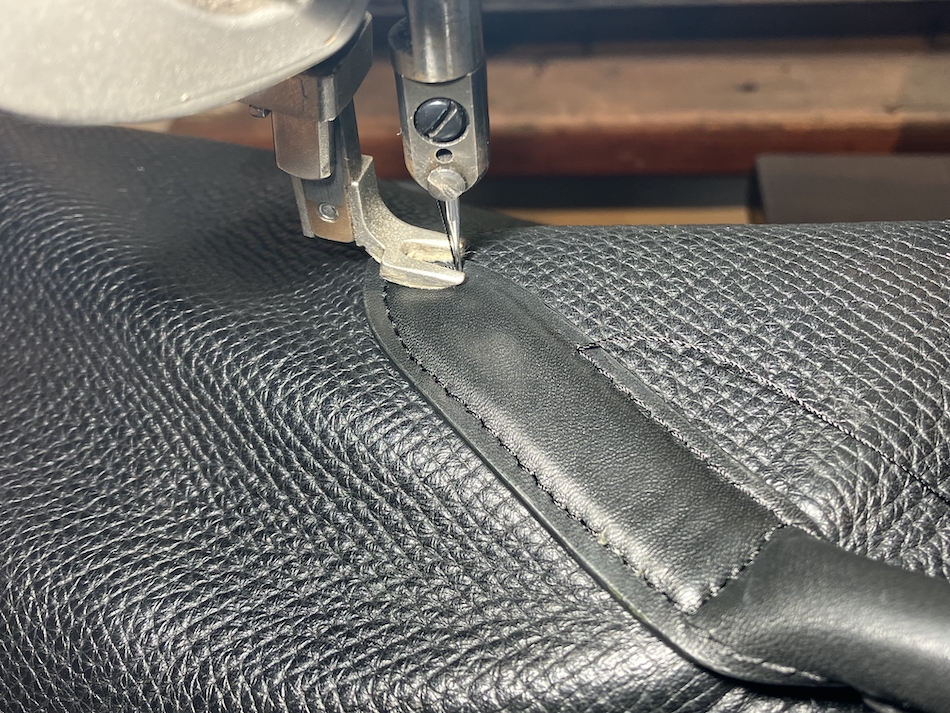
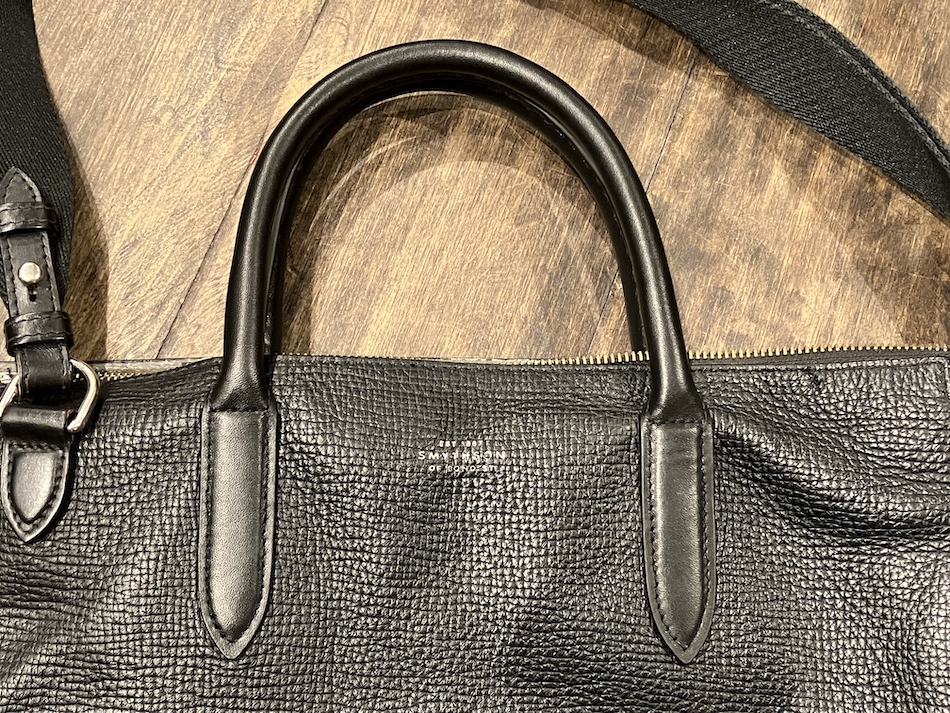
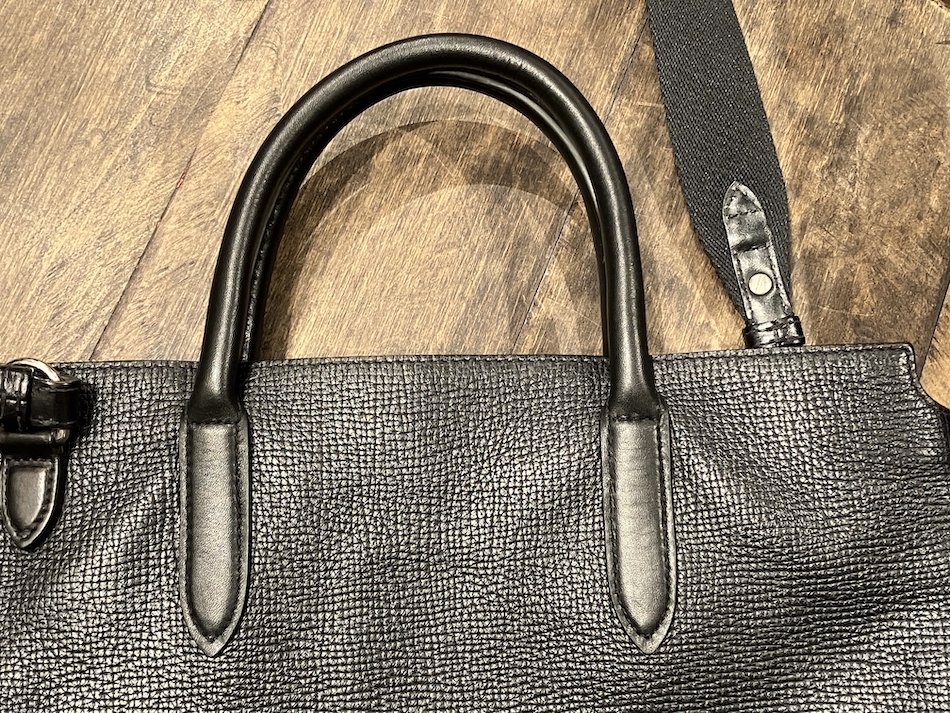
That completes the repair of the handle.
All that remains is to sew down the top edge, but before I do that, I’ll start repairing the lining.
Carefully unpick the lining and outer fabric right up to the side seam.
Next, cut the thinly stretched leather into strips, stick them onto the torn areas, and then sew the top and bottom edges in place.
This time, I used leather rather than fabric as the repair material.
This is because leather is more durable.
Furthermore, we use leather that has been thinned as much as possible to ensure that the repaired area does not show through on the surface and that the bag itself does not become too heavy.
The top was stitched down along the original leather, whilst the bottom was restitched along the same line as the existing stitching.
The finish also blends in quite naturally.
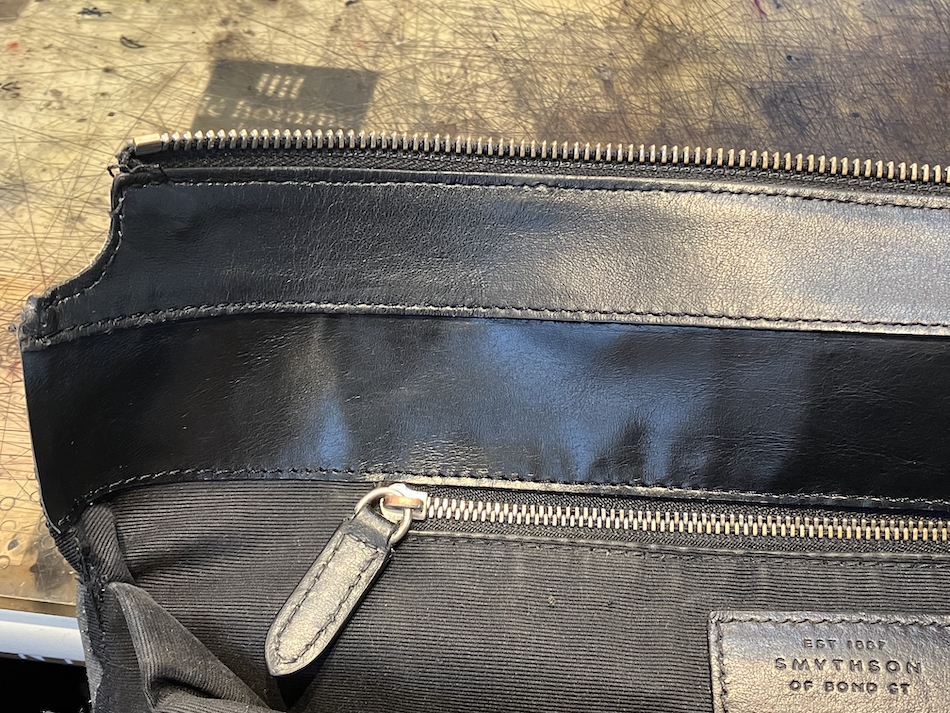
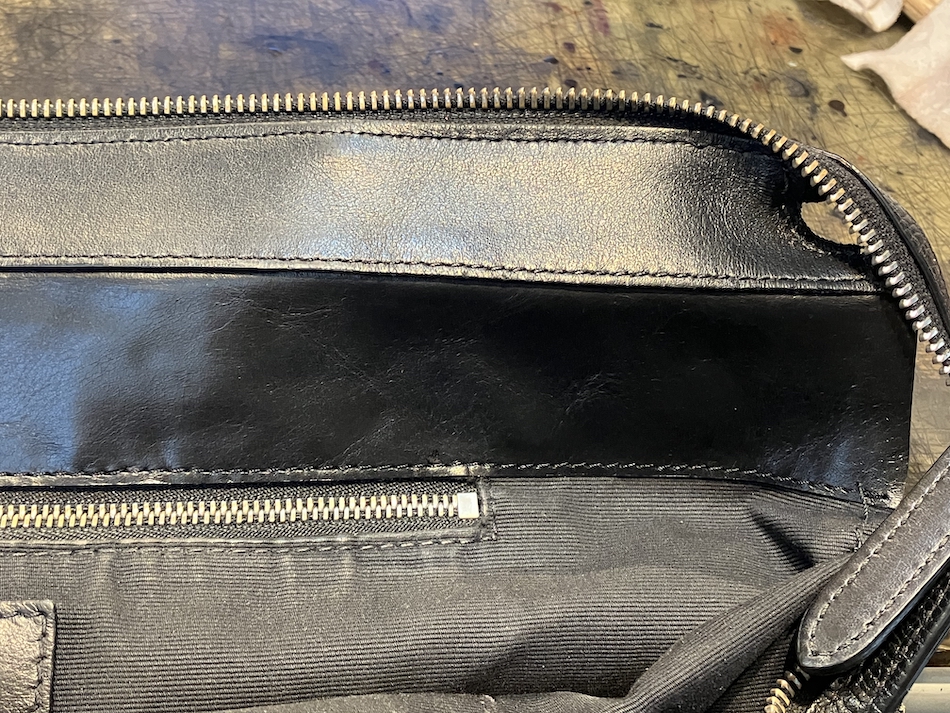
Finally, re-sew the side seams and stitch the top line back in place as before, and the repair is complete.
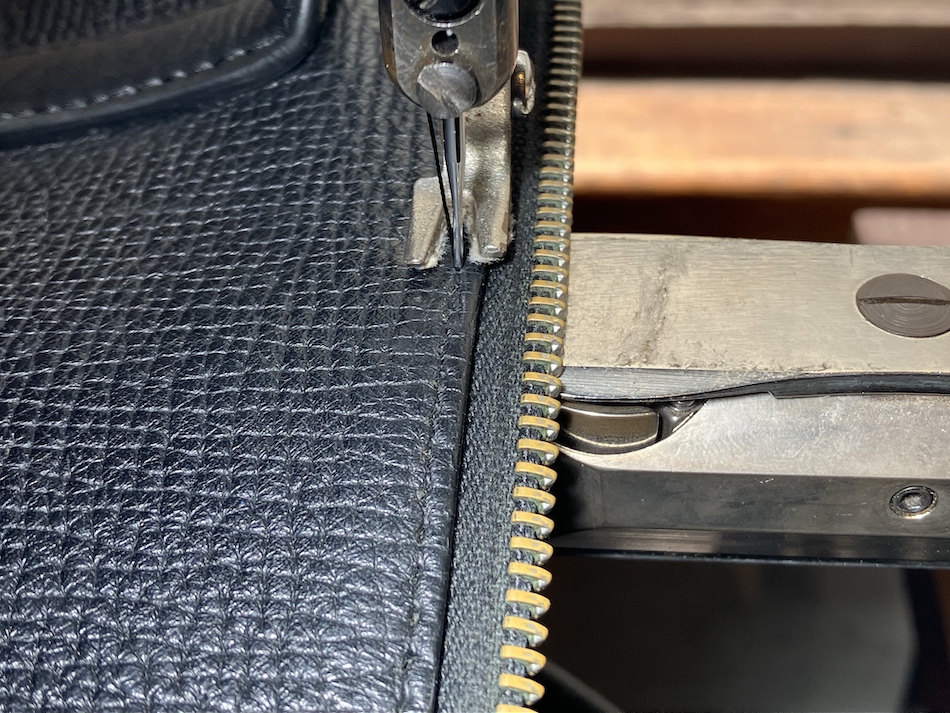
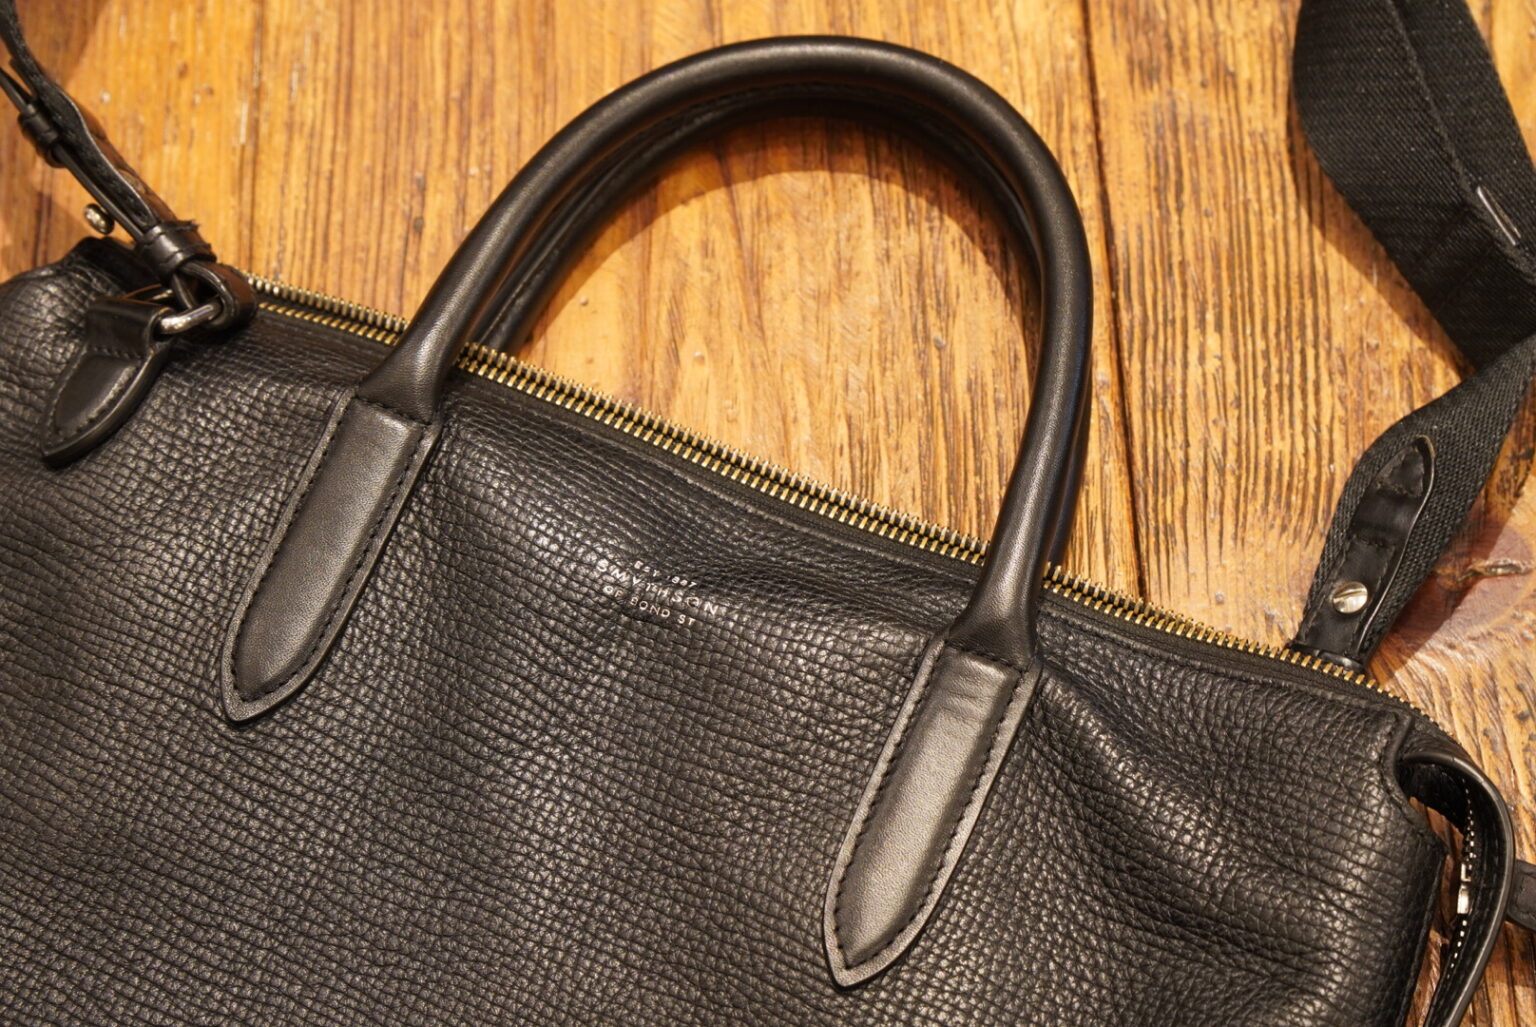
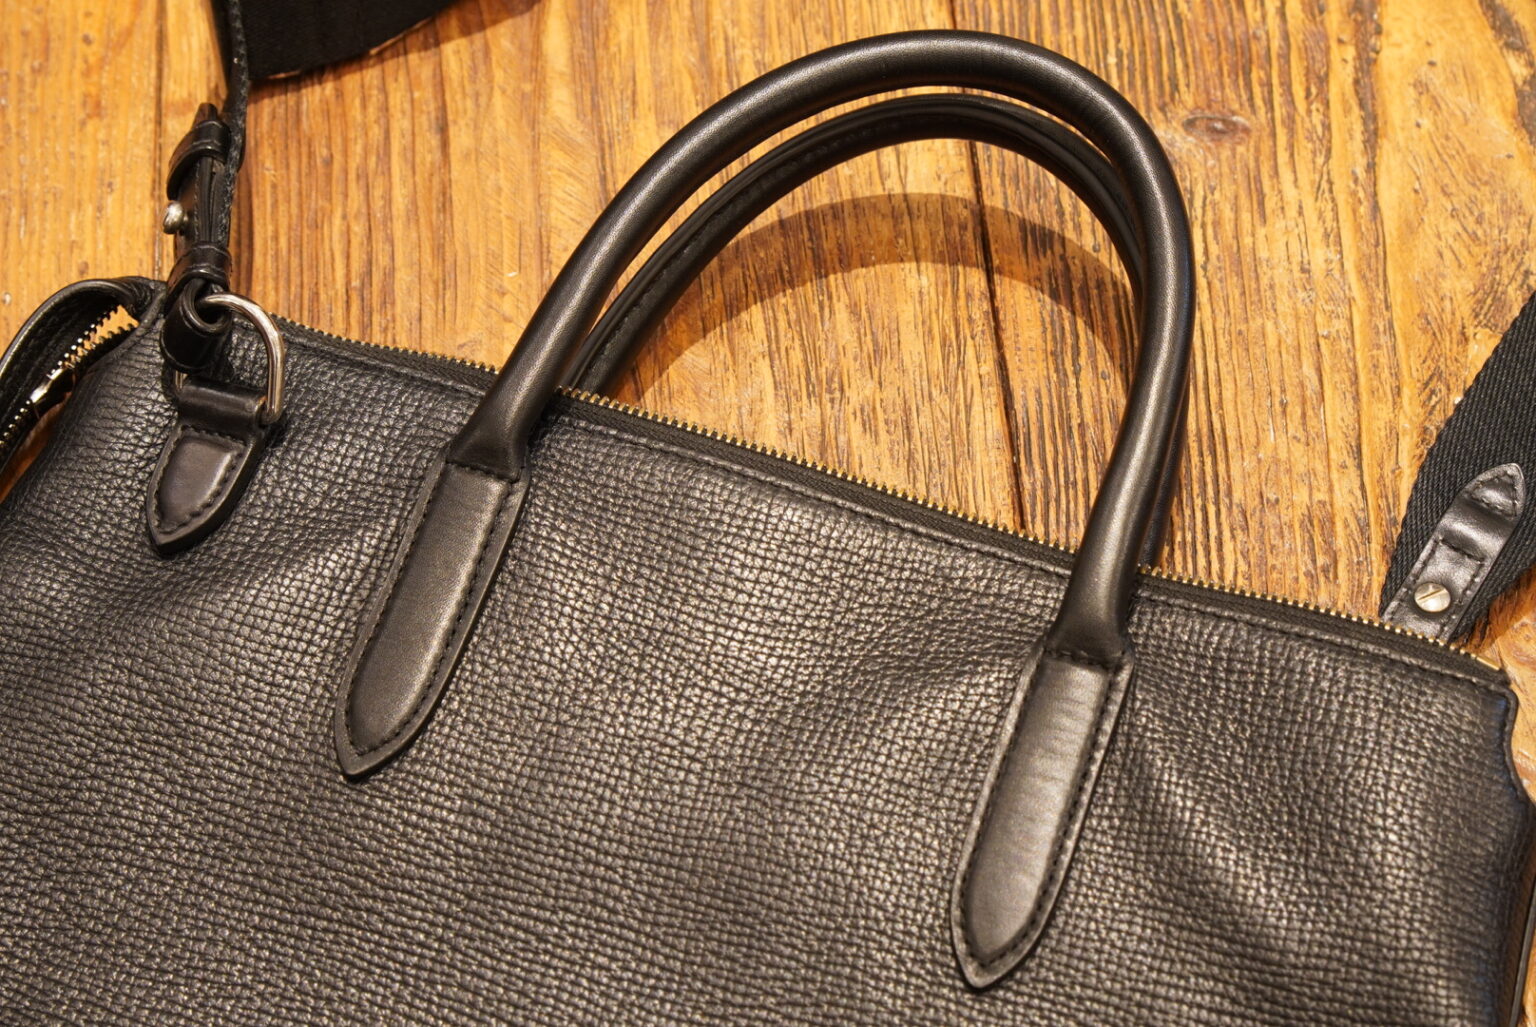
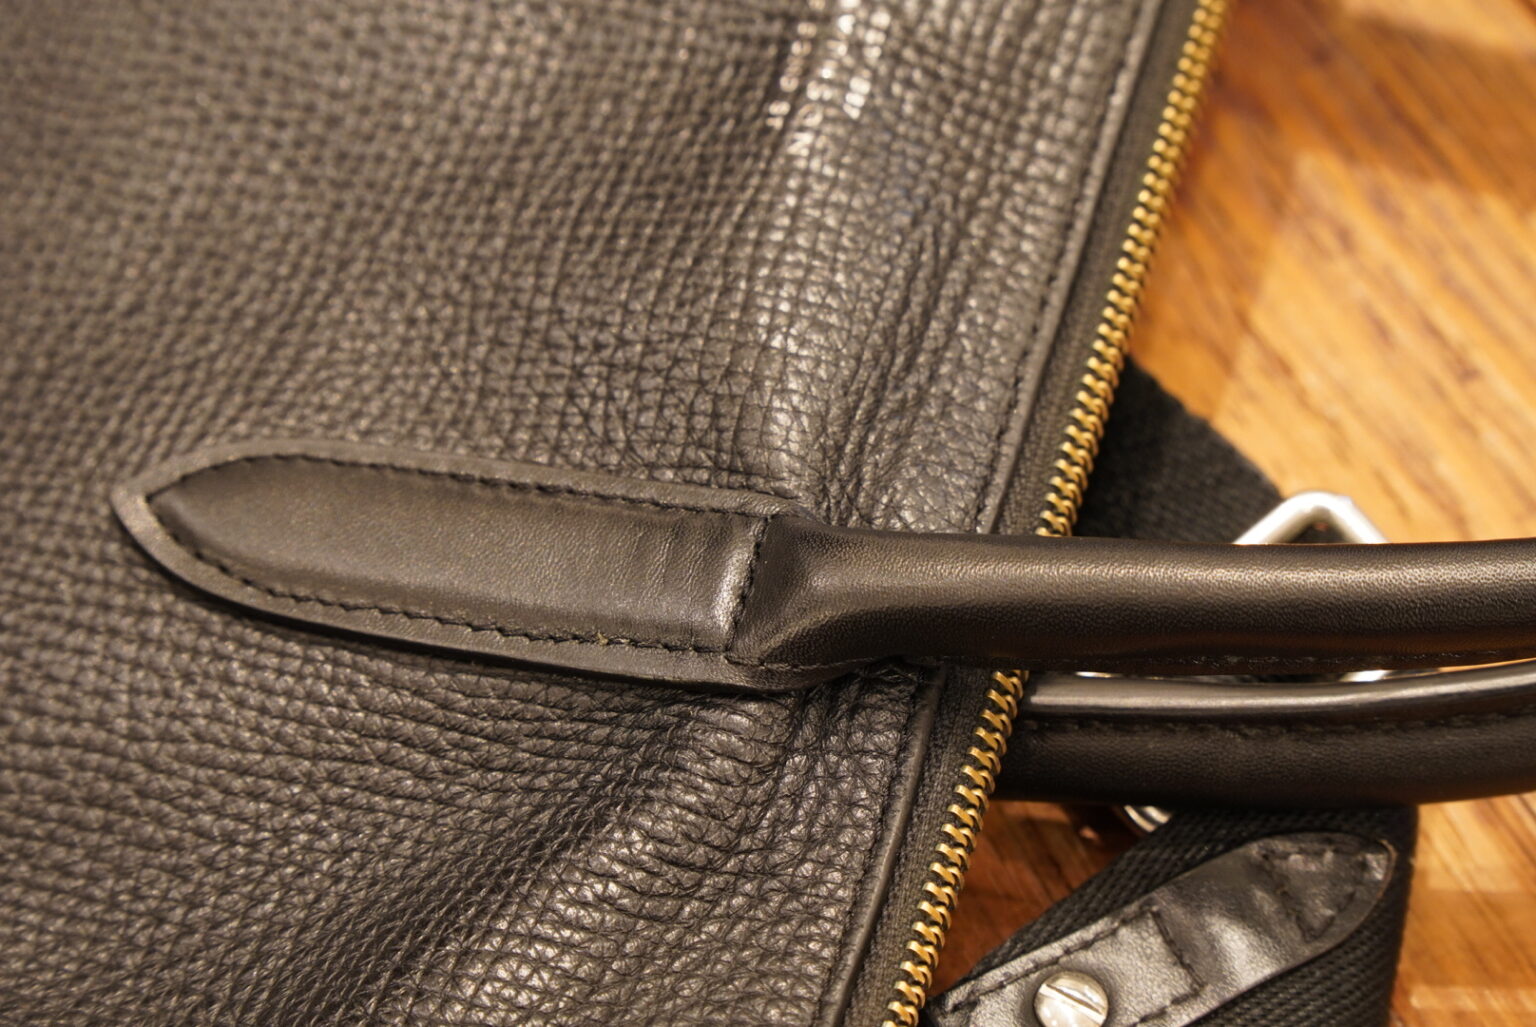
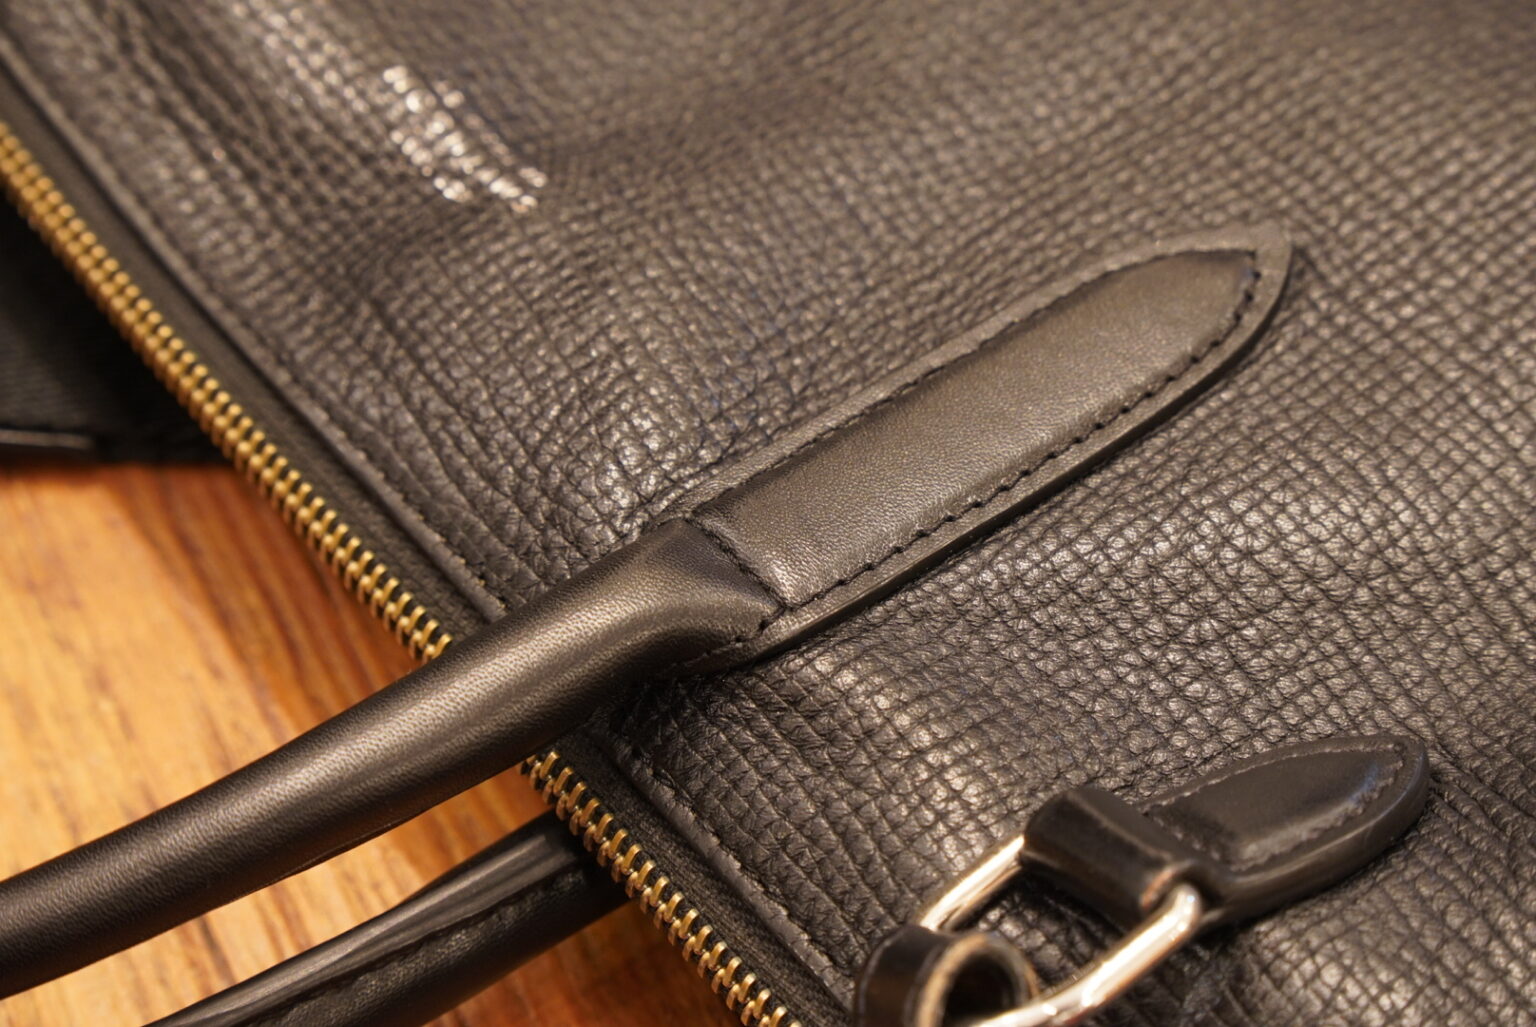
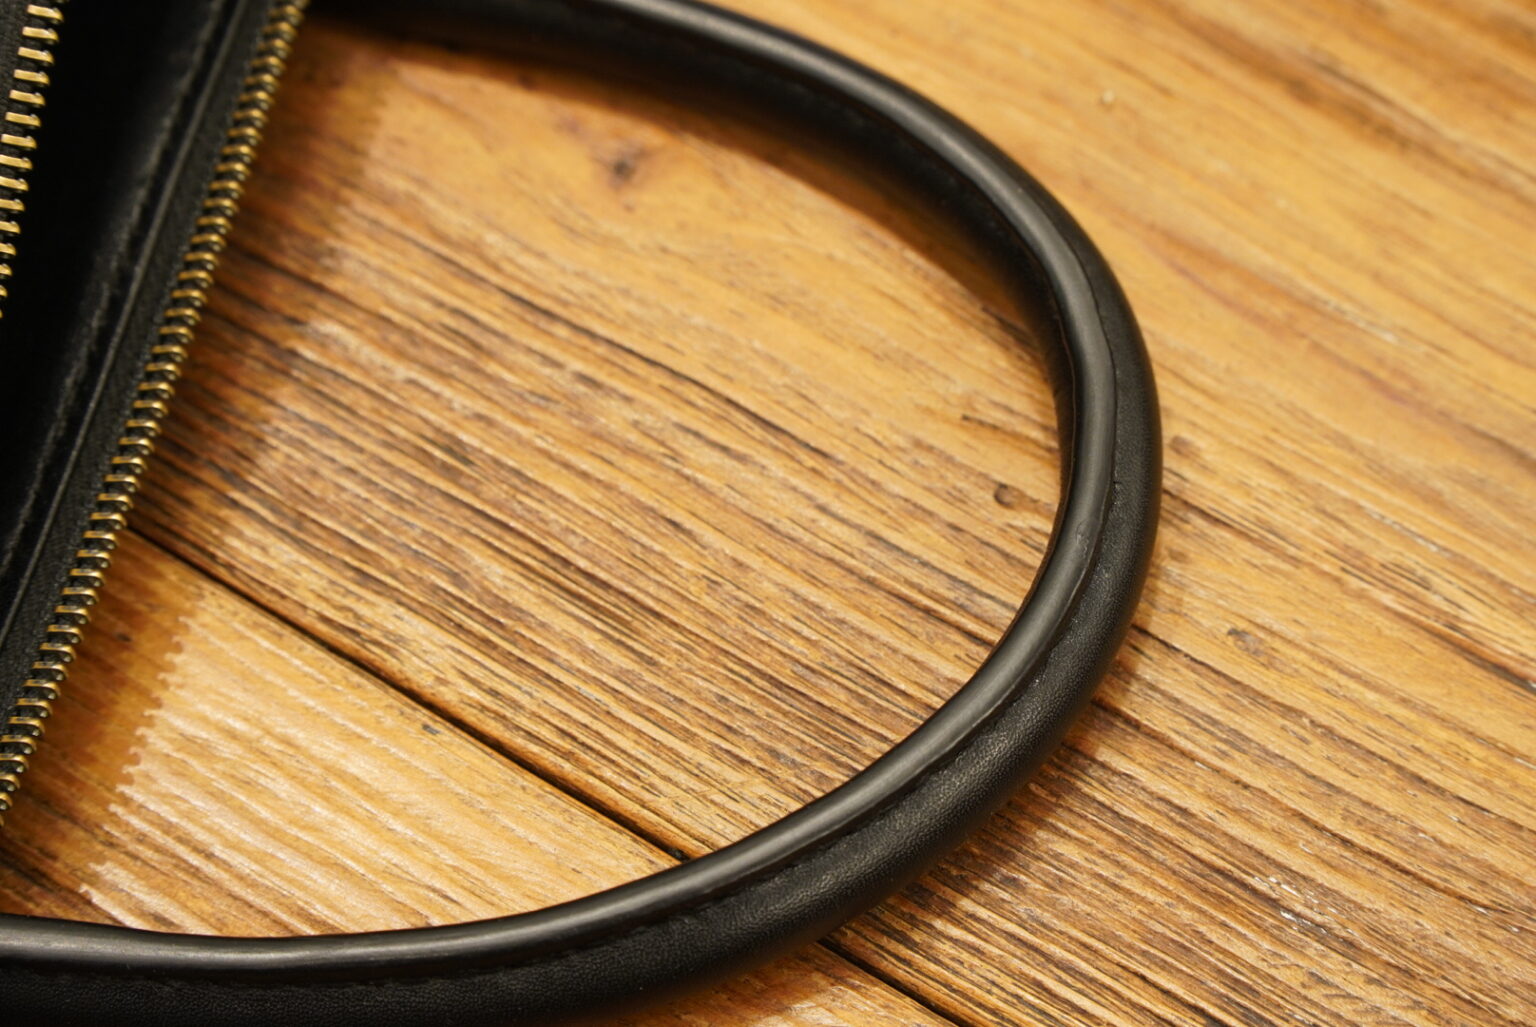
Here is the finished result.
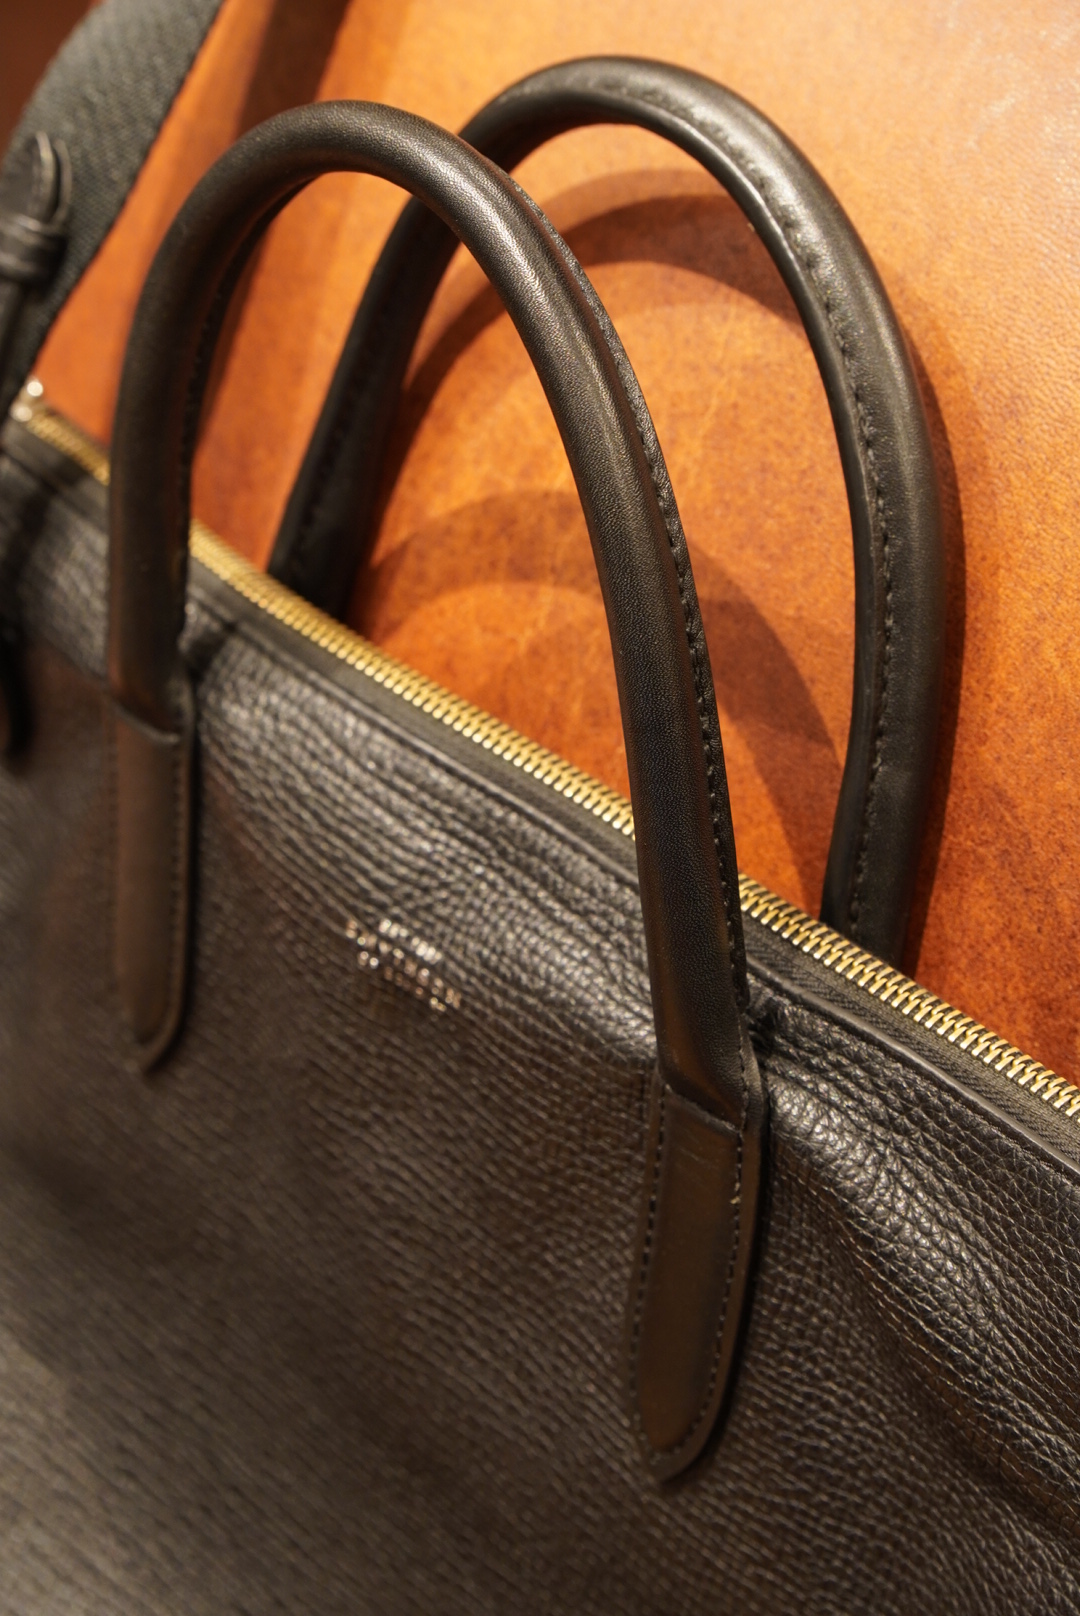
Let’s start with the handle.
The leather has regained its natural firmness, and the core material no longer shifts.
The cuticles have been tidied up, and the peeling that was visible at the roots has been neatly repaired.
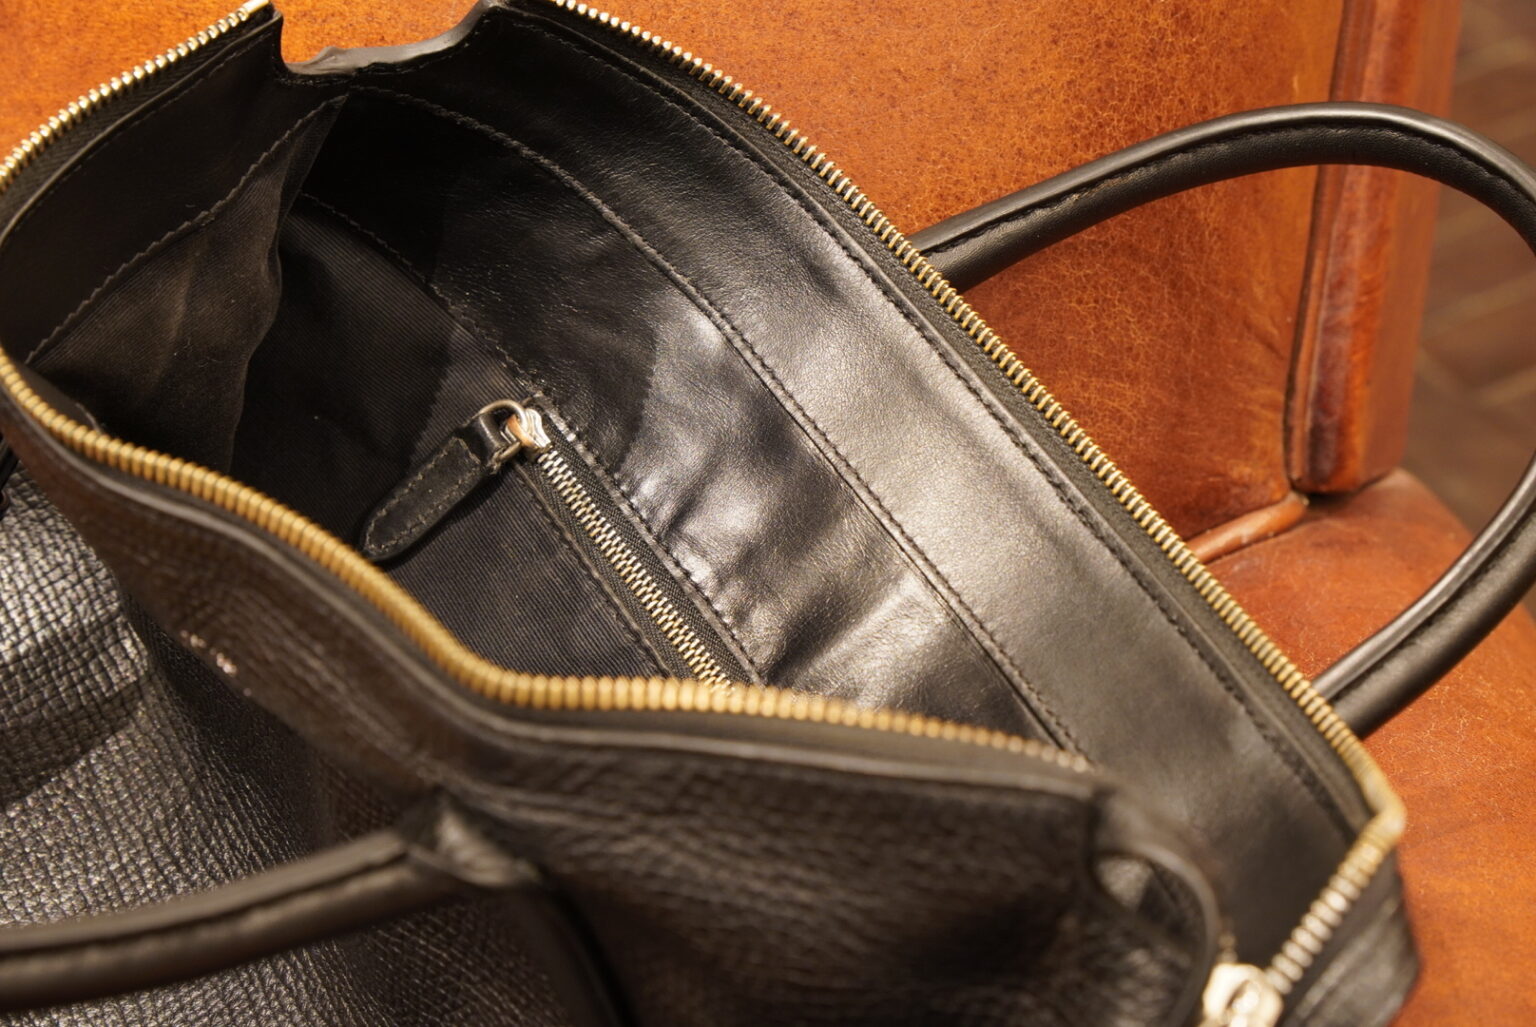
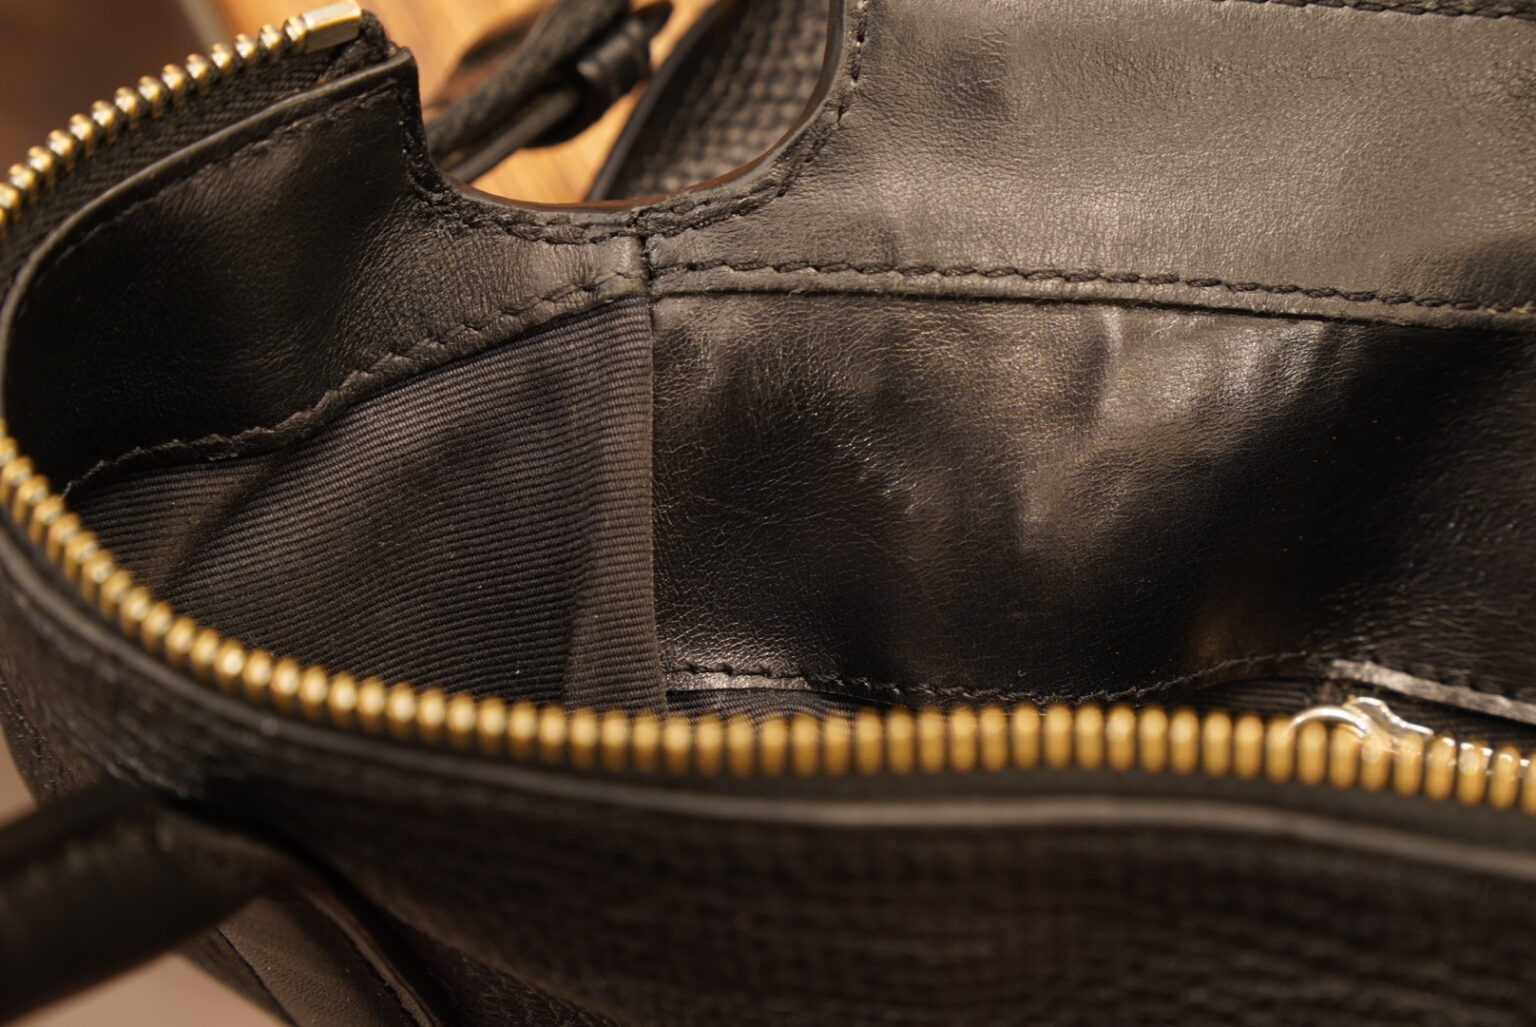
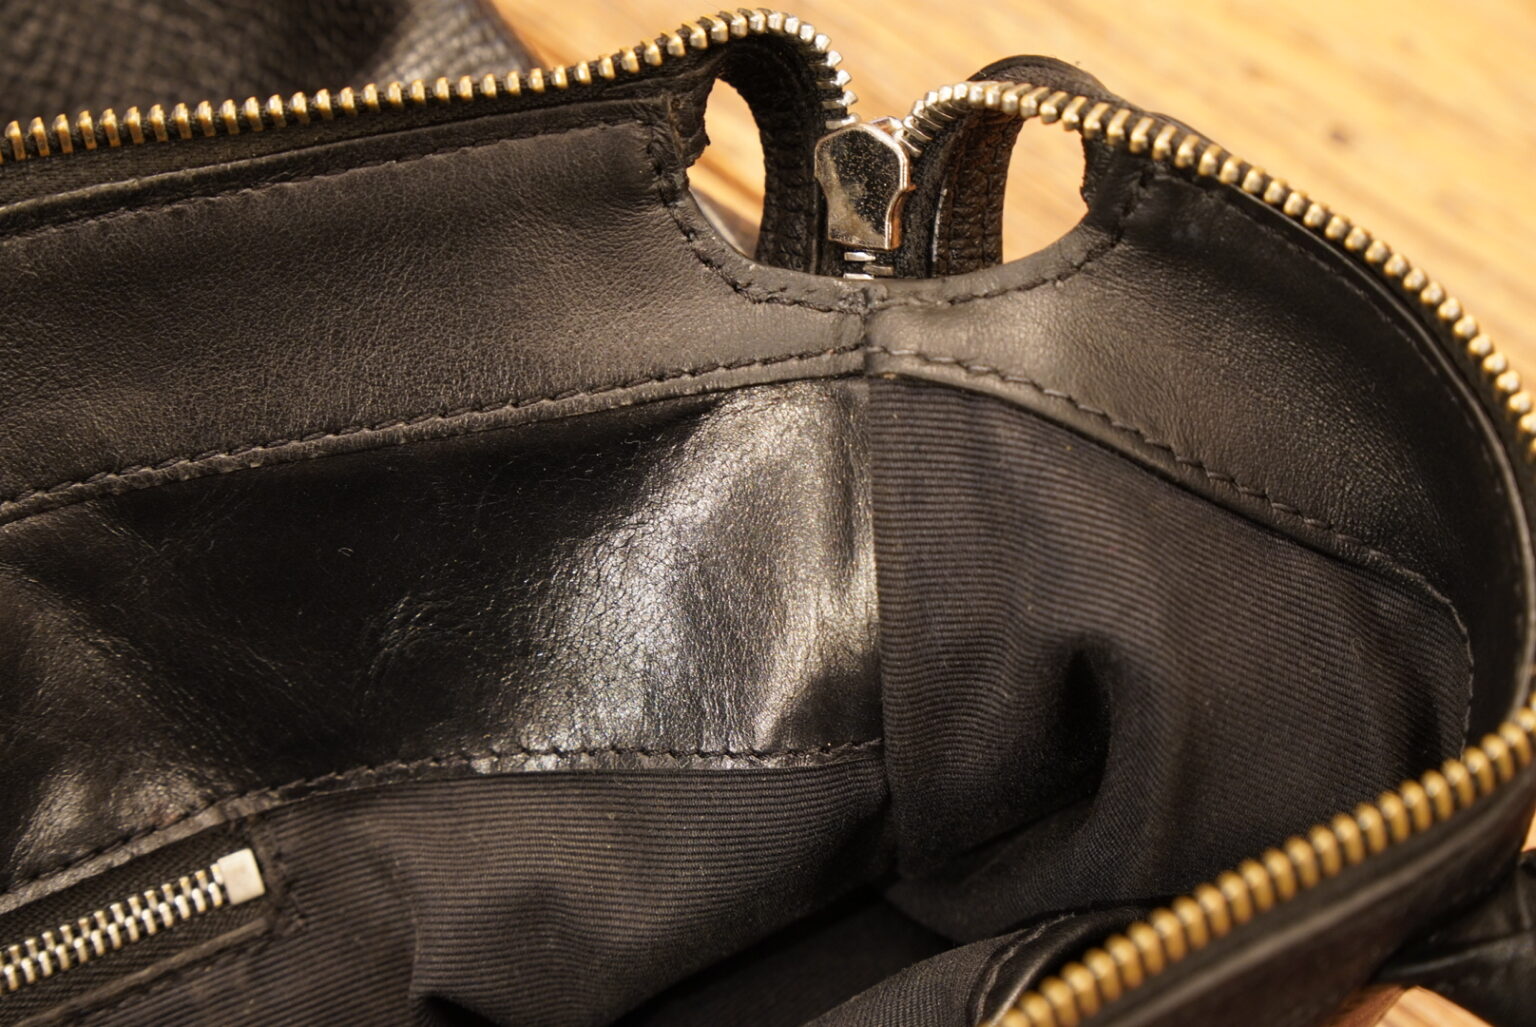
Next, the lining.
By reusing the original stitching holes and carefully unpicking both sides before re-sewing them open,
The finish gives a sense of unity across the whole surface, ensuring that the repaired areas do not stand out.
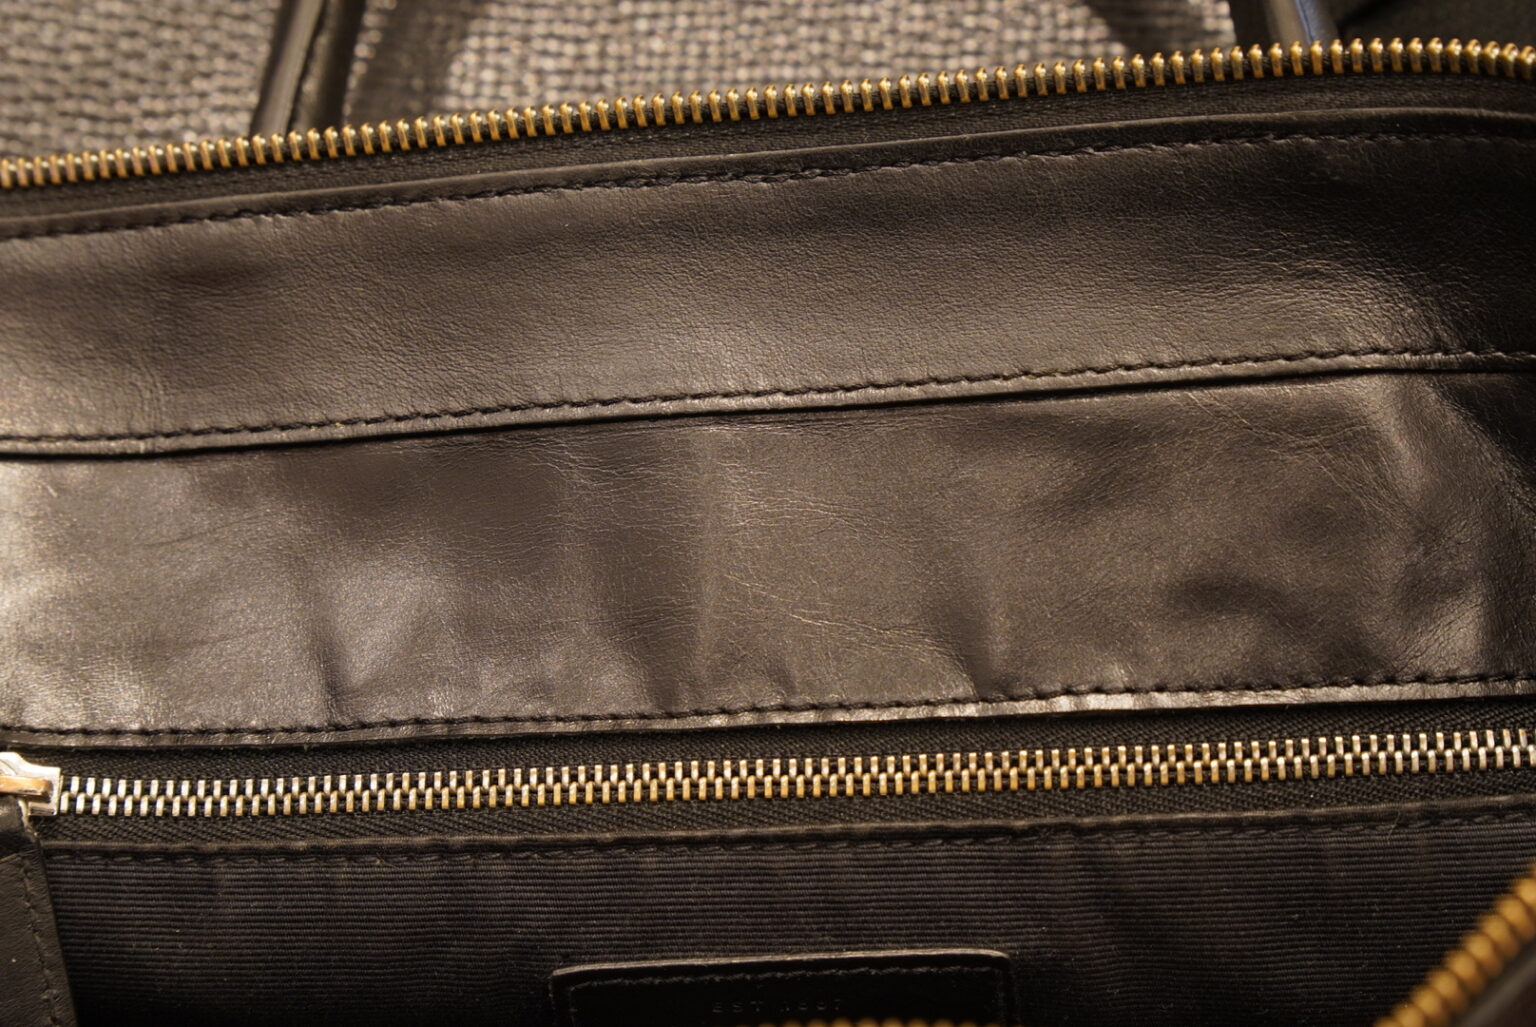
I think it’s turned out rather well this time too, hasn’t it?
At Union Works, we offer repair services not only for shoes but also for bags and leather accessories.
Even if you’re wondering, ‘Can this be repaired?’, please feel free to get in touch with us first.
We look forward to hearing from you.
Thank you for reading to the end.
Yokohama Branch, Yamada


