
[GUIDI] BAG: Zipper Replacement and Handle Leather Repair
[GUIDI] BAG: Zipper Replacement and Handle Leather Repair
20 September 2026
- CATEGORY
- GUIDI
- BAG & OTHER ITEMS REPAIR
Today, we’re going to look at bag repairs for GUIDI.
First of all, let me give you a brief introduction to GUIDI.
‘About GUIDI’
The company was founded in Pescia, Tuscany, Italy, in 1896 as a leather tannery.
Drawing on the leather-making expertise cultivated over more than 100 years, the company launched its own shoe collection in 2004.
Today, the range has expanded to include everything from bags and accessories to jewellery.
One of the hallmarks of GUIDI is a technique known as ‘tumbler dyeing’, in which the finished product is dyed after it has taken its final shape.
By dyeing not only the leather but also the zips and soles, a unique mottled effect and texture are created.
Furthermore, one of the charms of GUIDI is that, the more it is used, the more it takes on the owner’s personal touch and the passage of time, evolving into a unique look—no two pieces are ever the same.
In this article, we’ll be showcasing some real-life repair examples to help ensure you can continue to enjoy your GUIDI bag for many years to come.
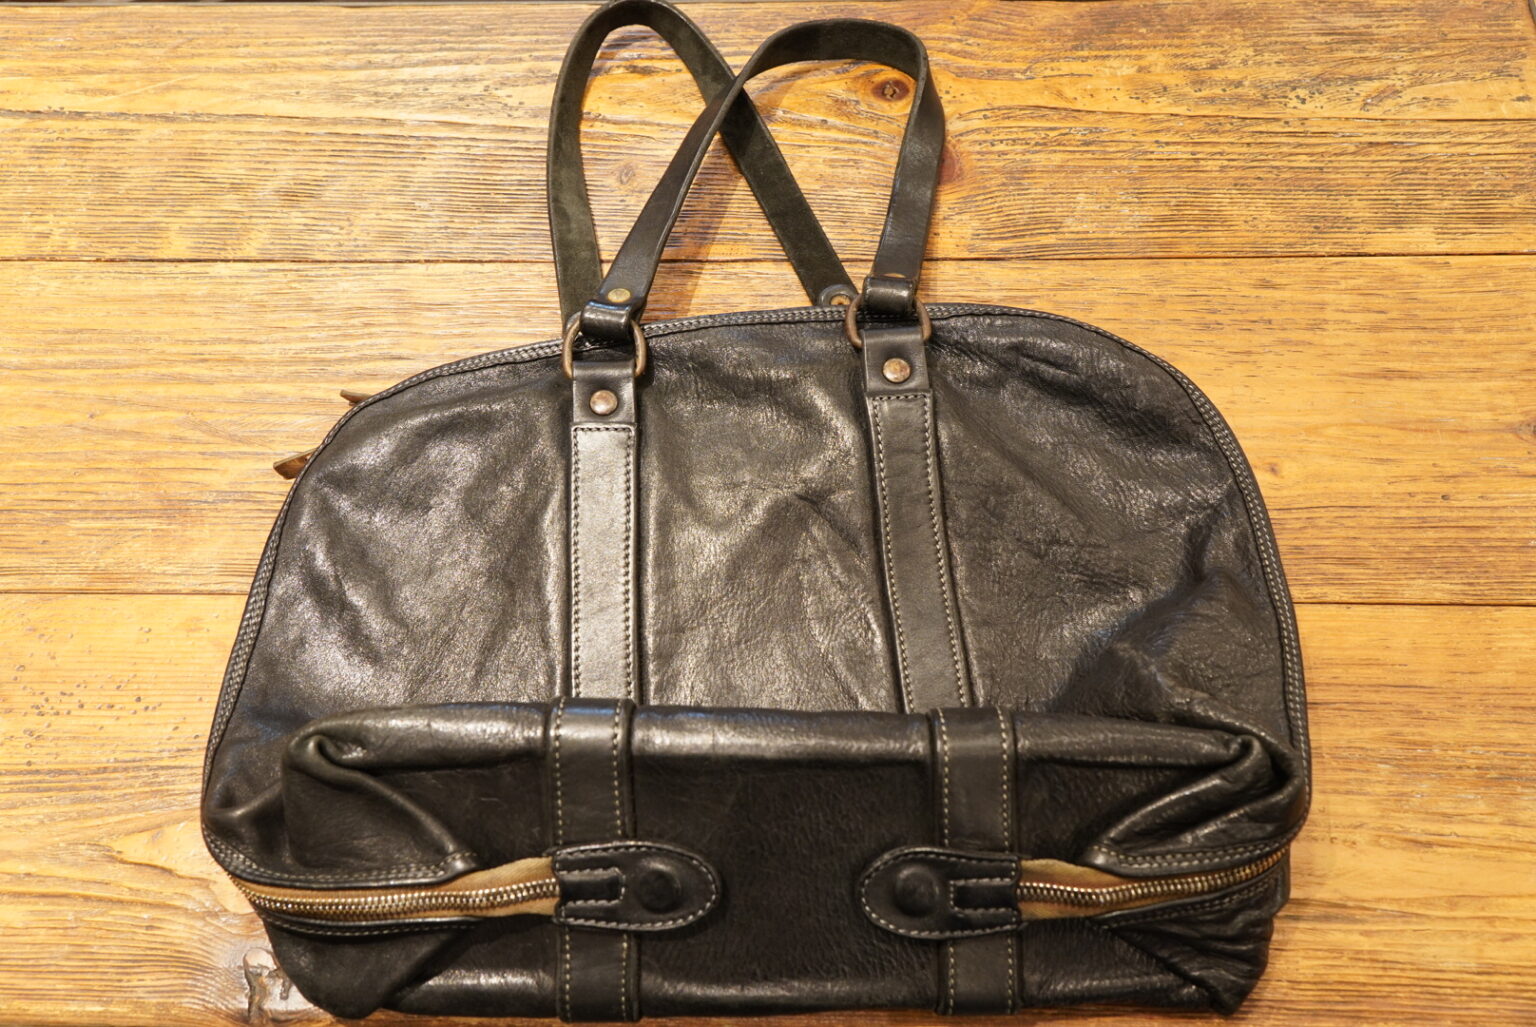
The bag you brought in this time is this one.
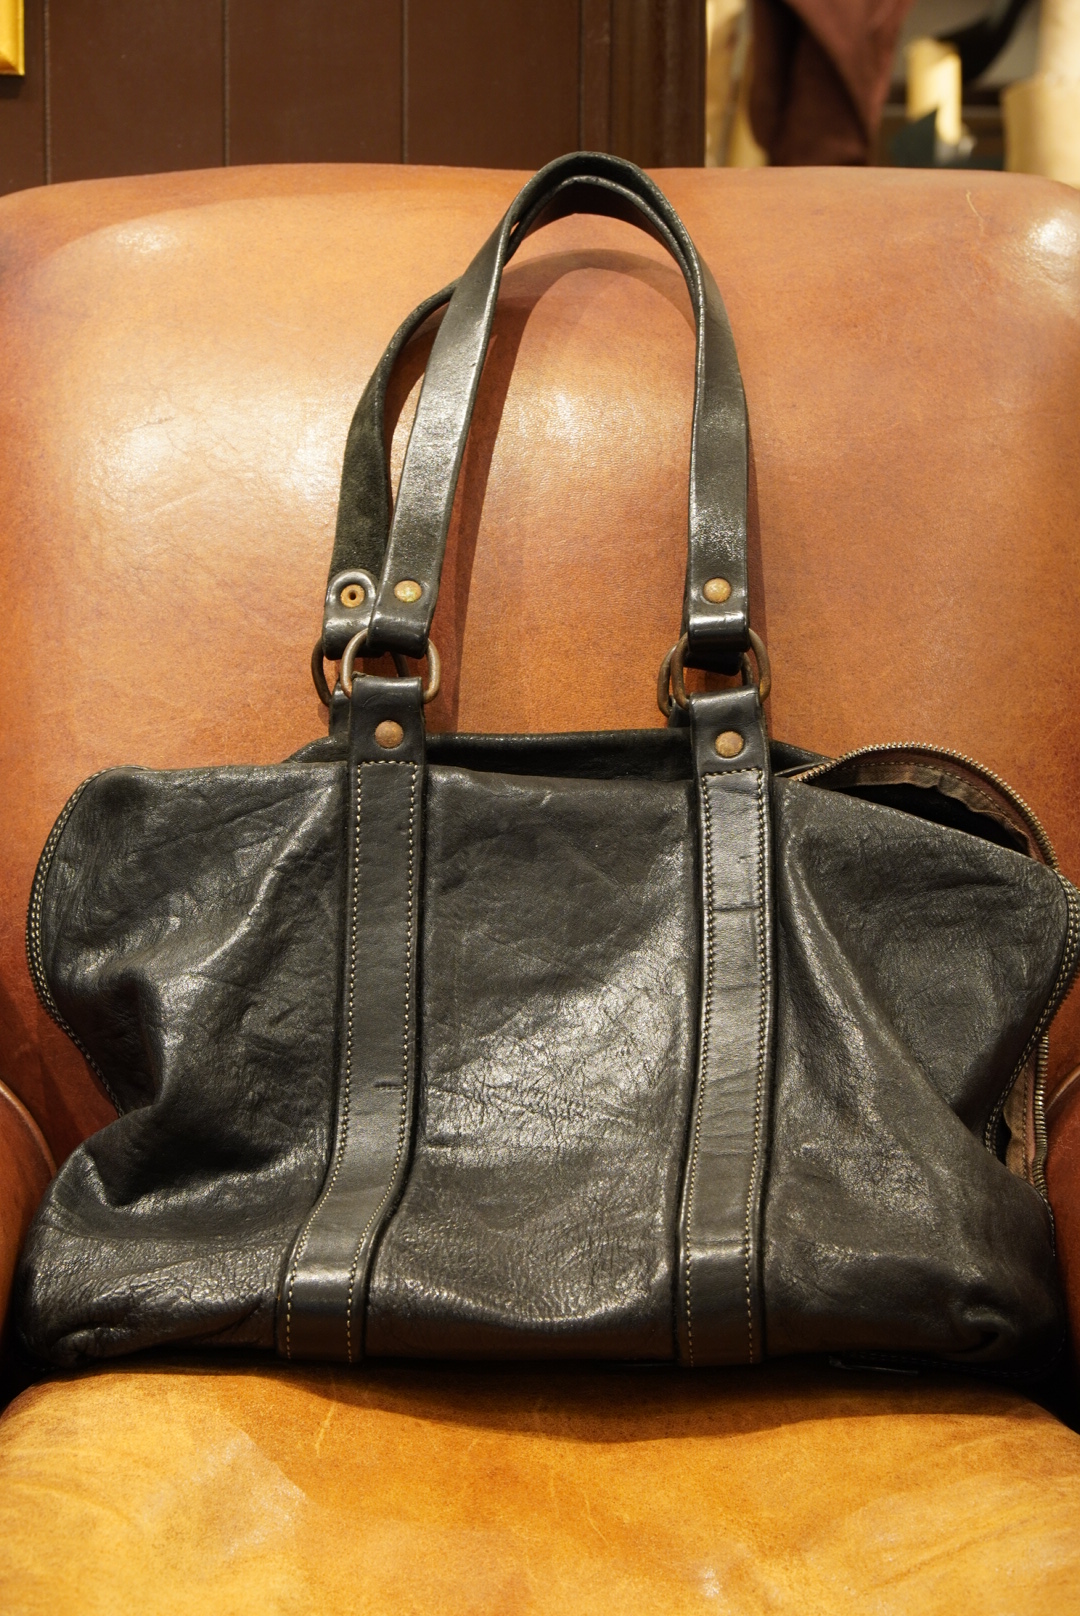
The handles are quite long, so it looks as though it would be easy to carry over the shoulder.
Although it’s a rather large bag, the handles themselves are quite wide, so even when it’s full, the weight is distributed evenly, and the strain on your shoulders doesn’t seem to be too great.
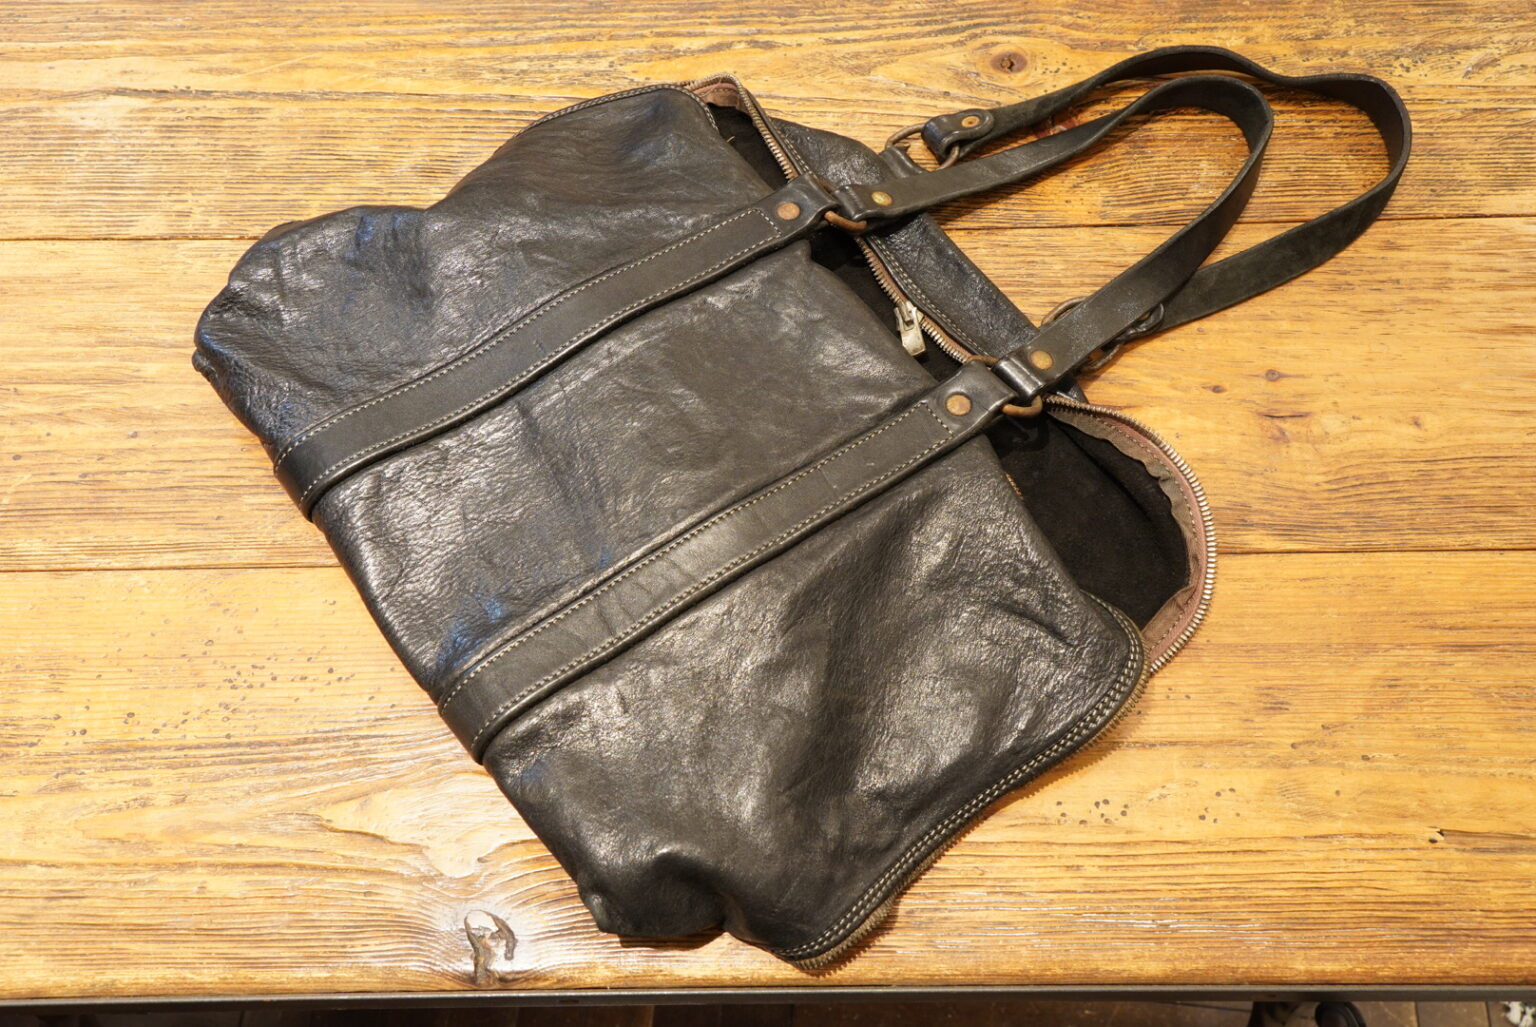
Furthermore, the zip runs almost all the way round, allowing the opening to be pulled wide open.
It’s a bag that looks good and seems practical too.
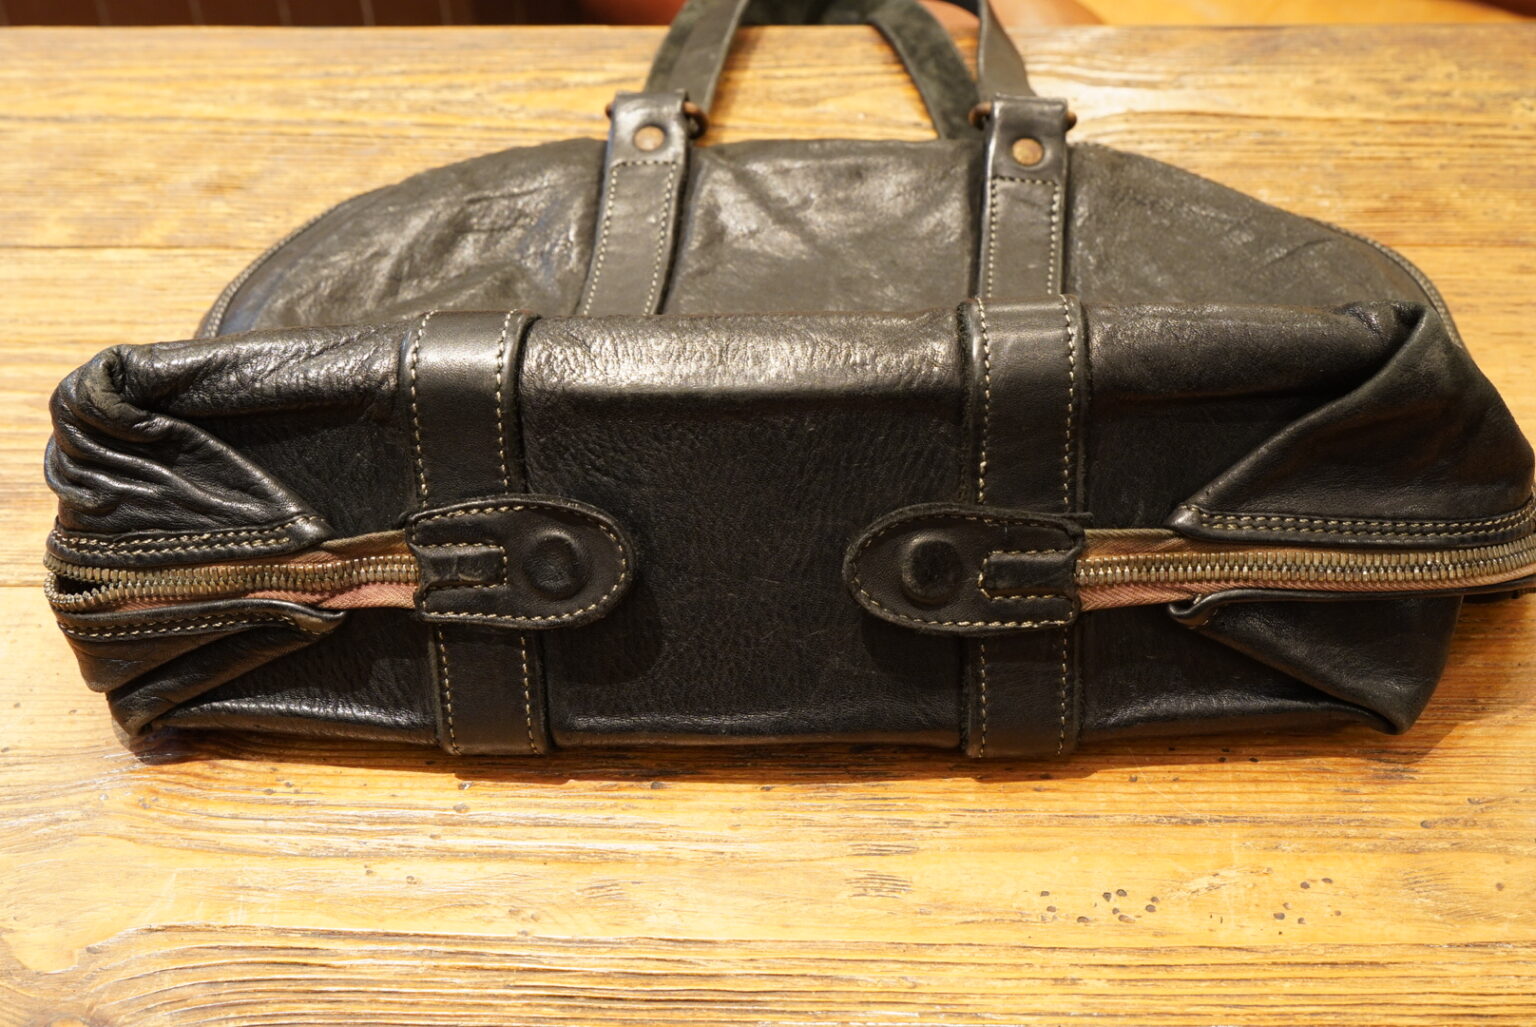
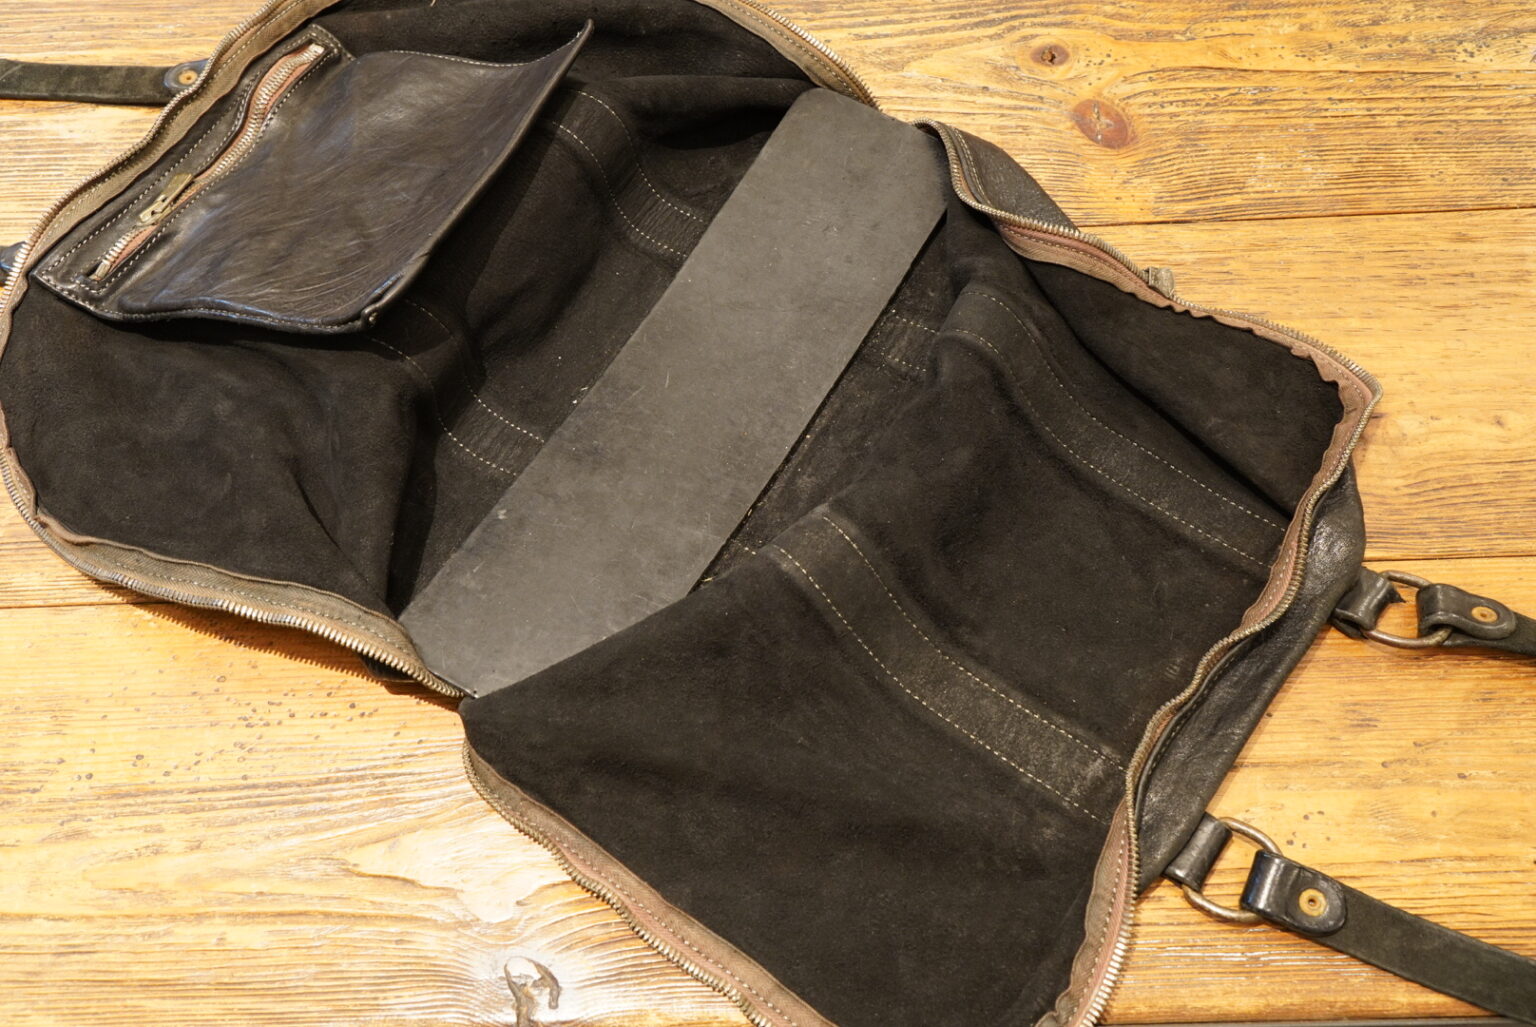
There are two items in this request.
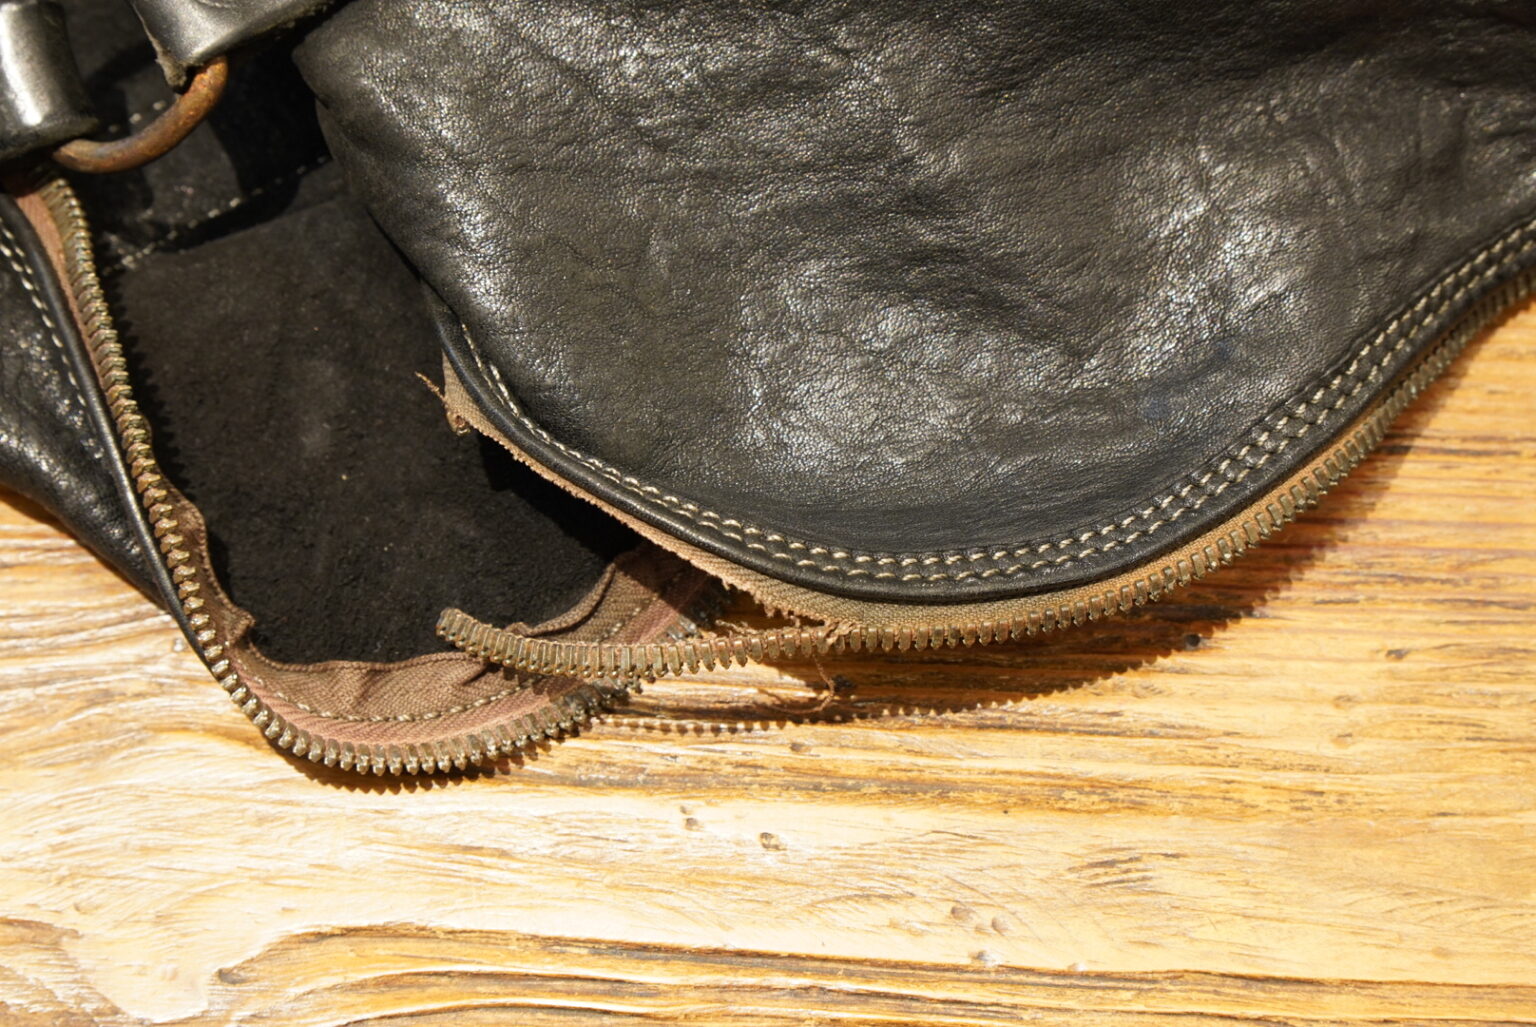
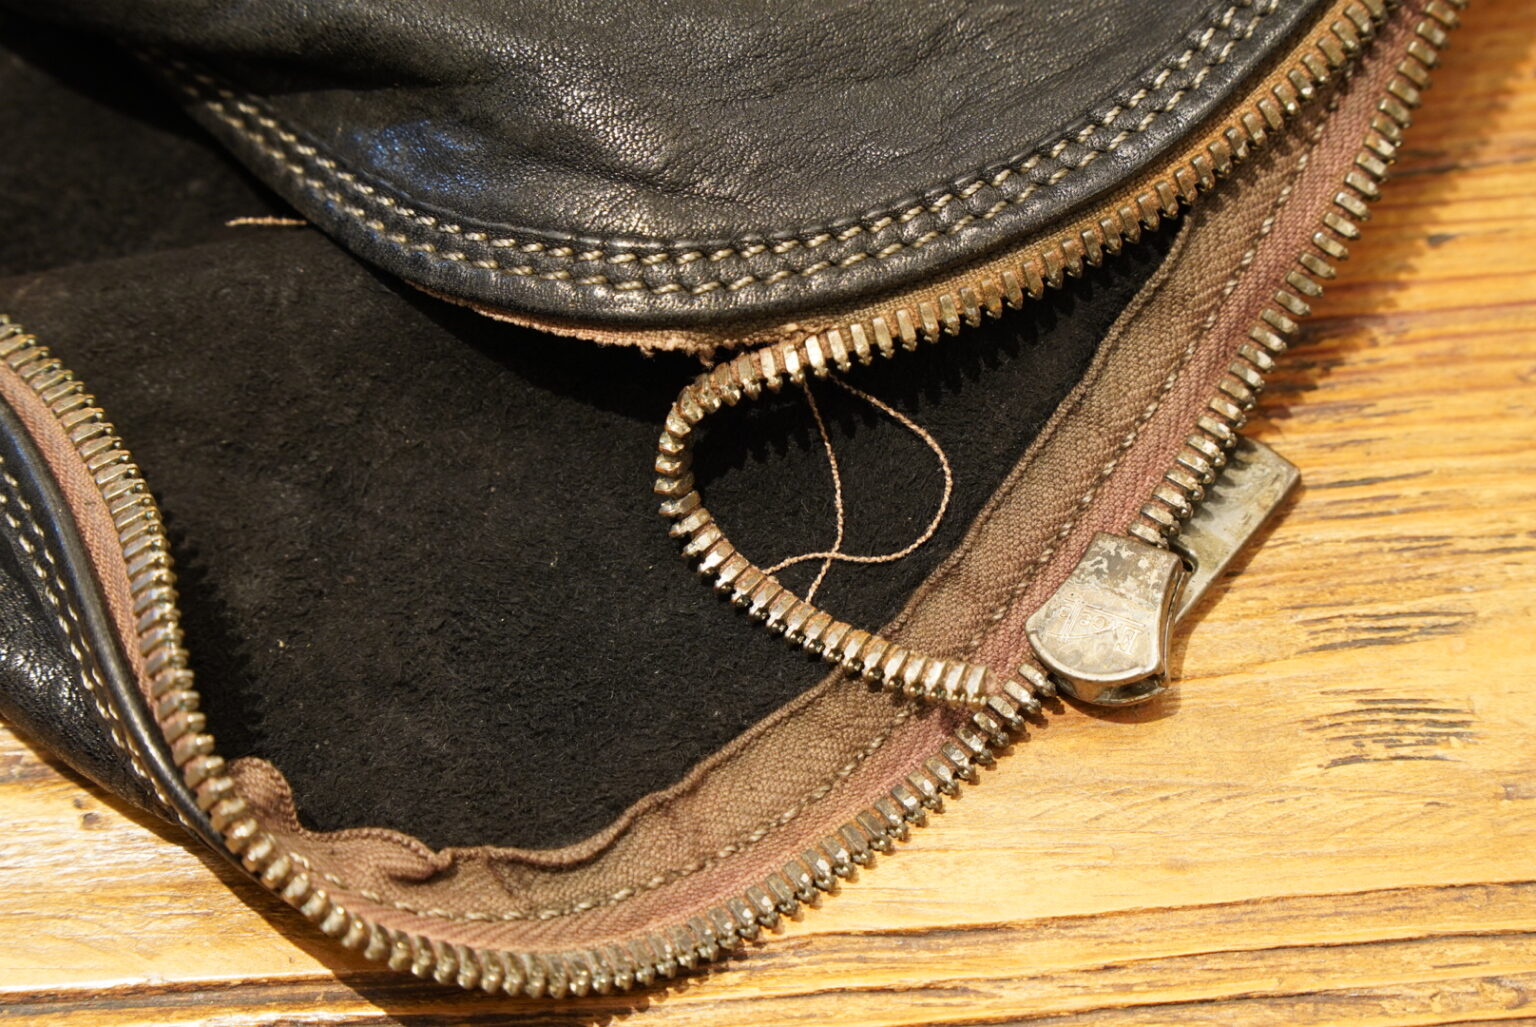
The first is the zip.
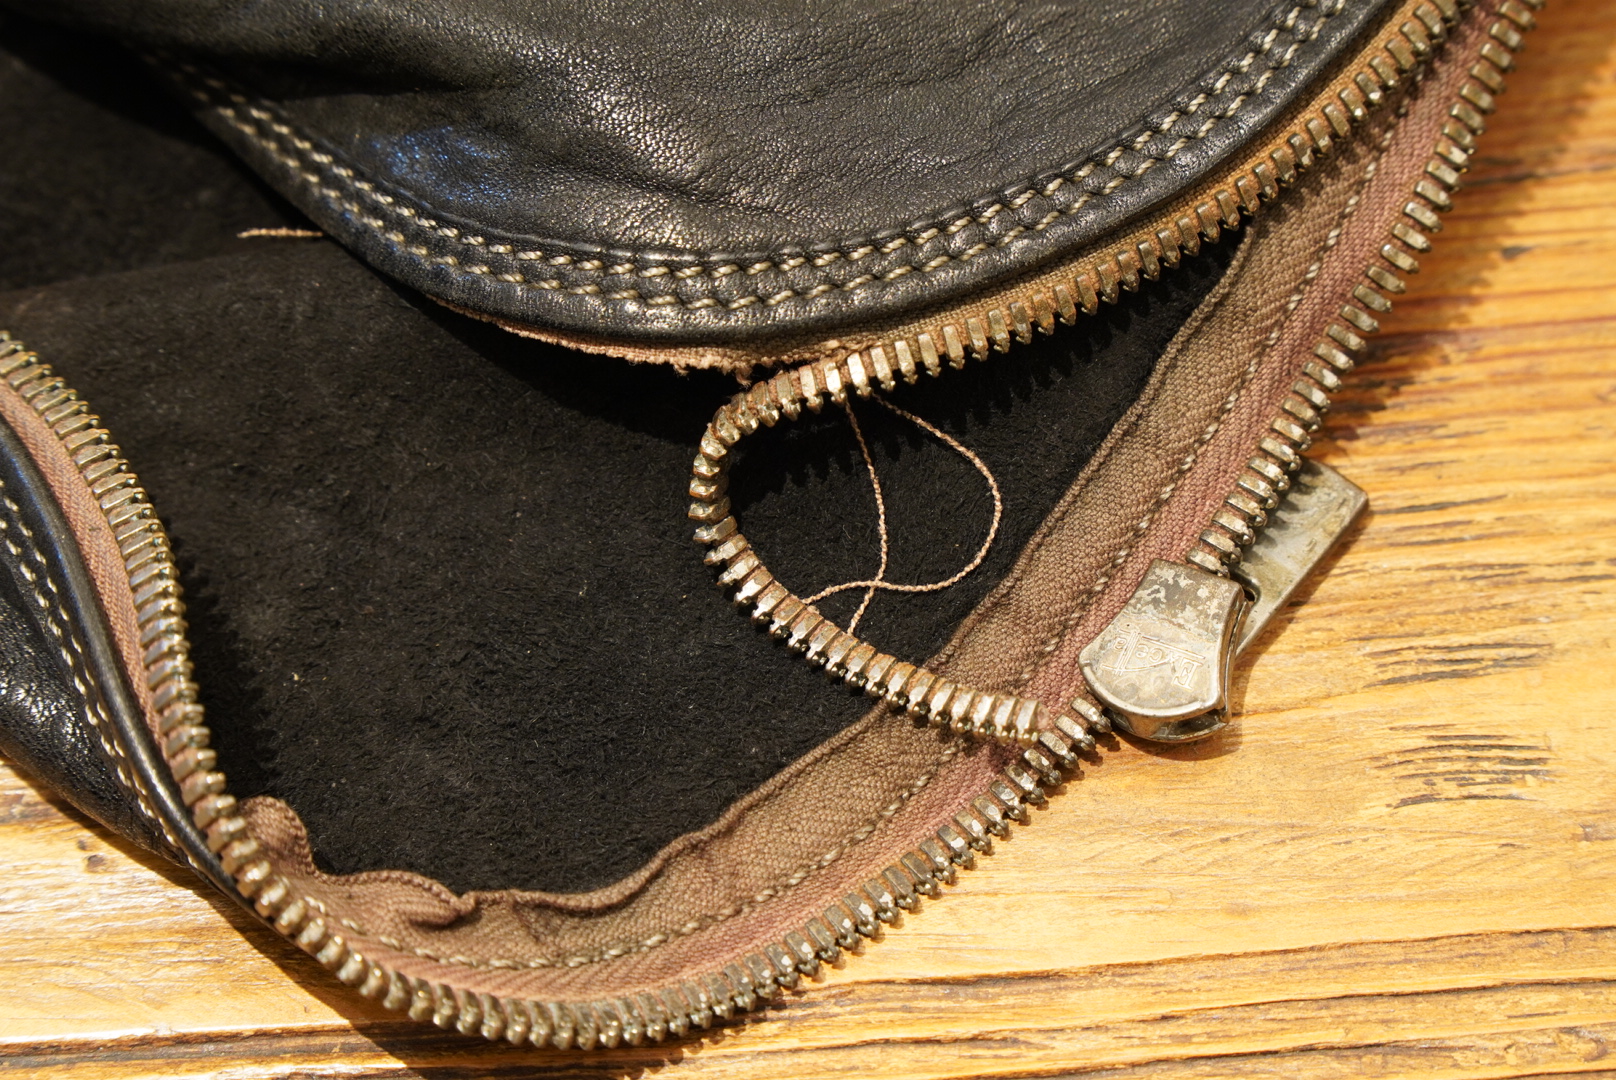
The tape has come unstuck in places.
Furthermore, one of the sliders has come off, so the zip cannot be closed.
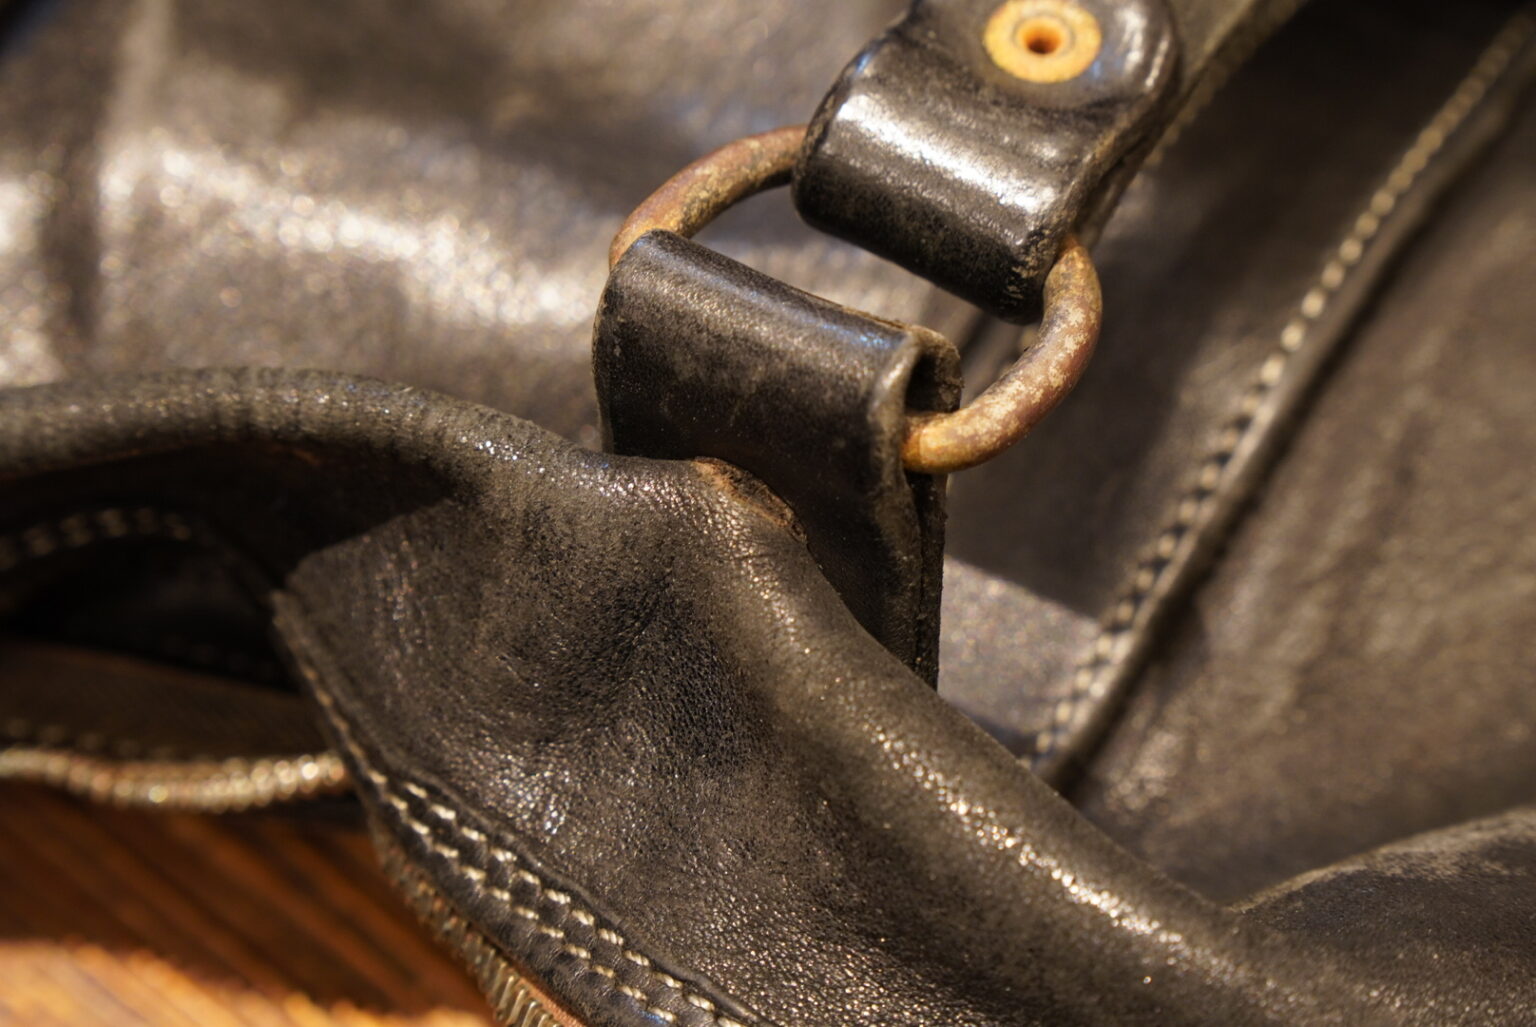
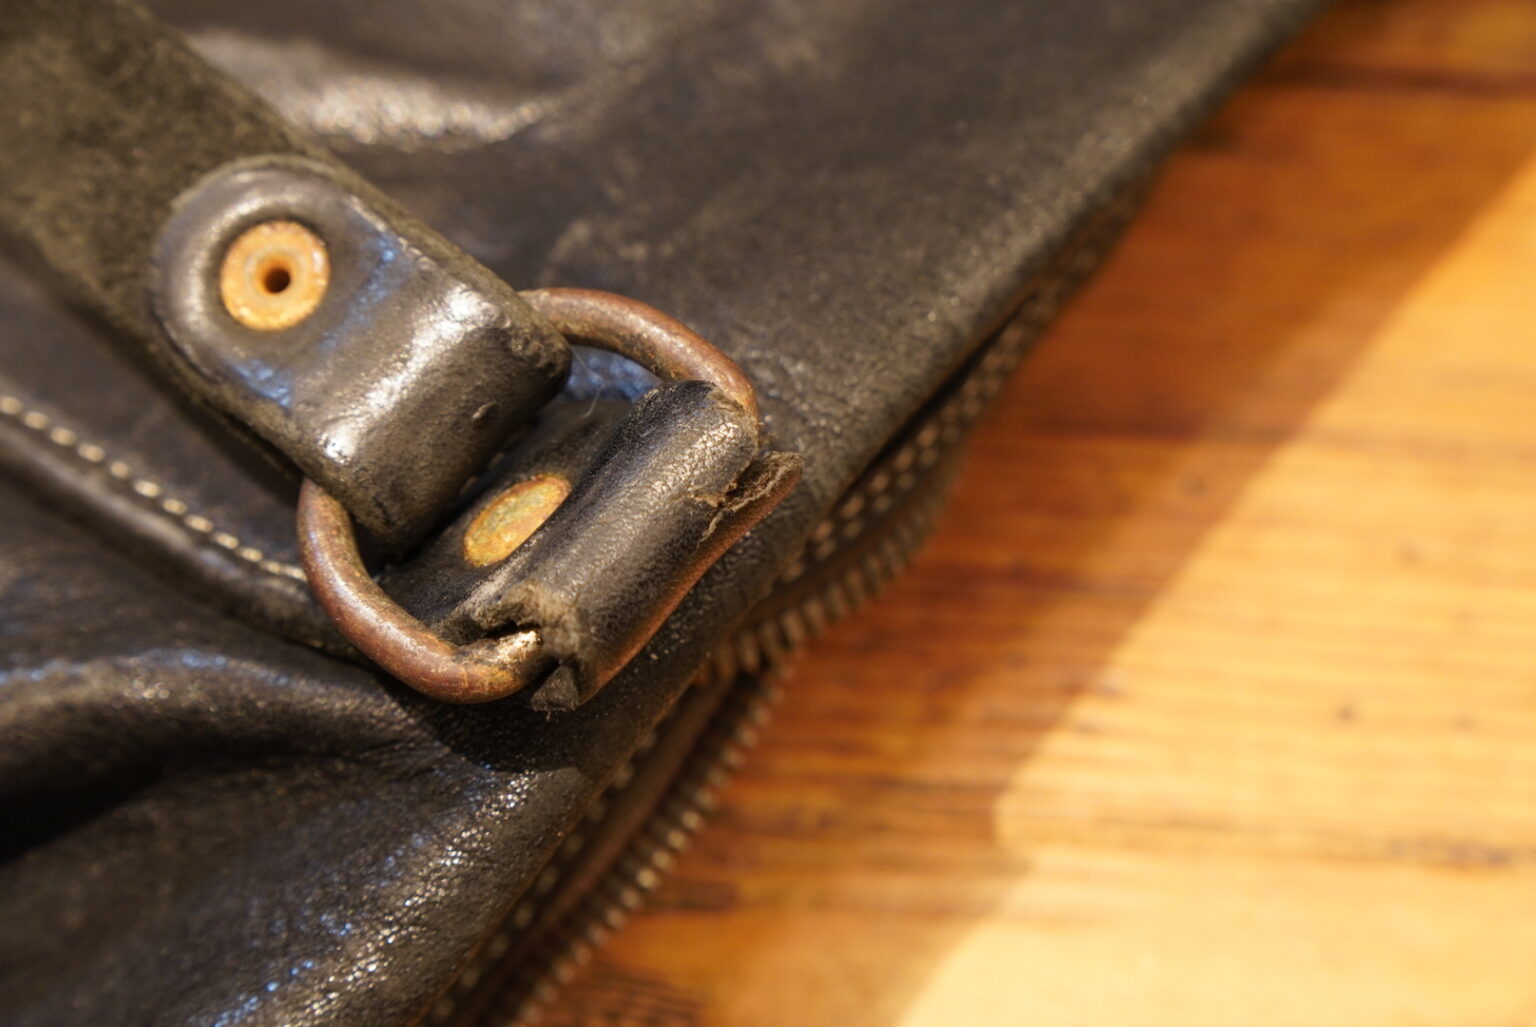
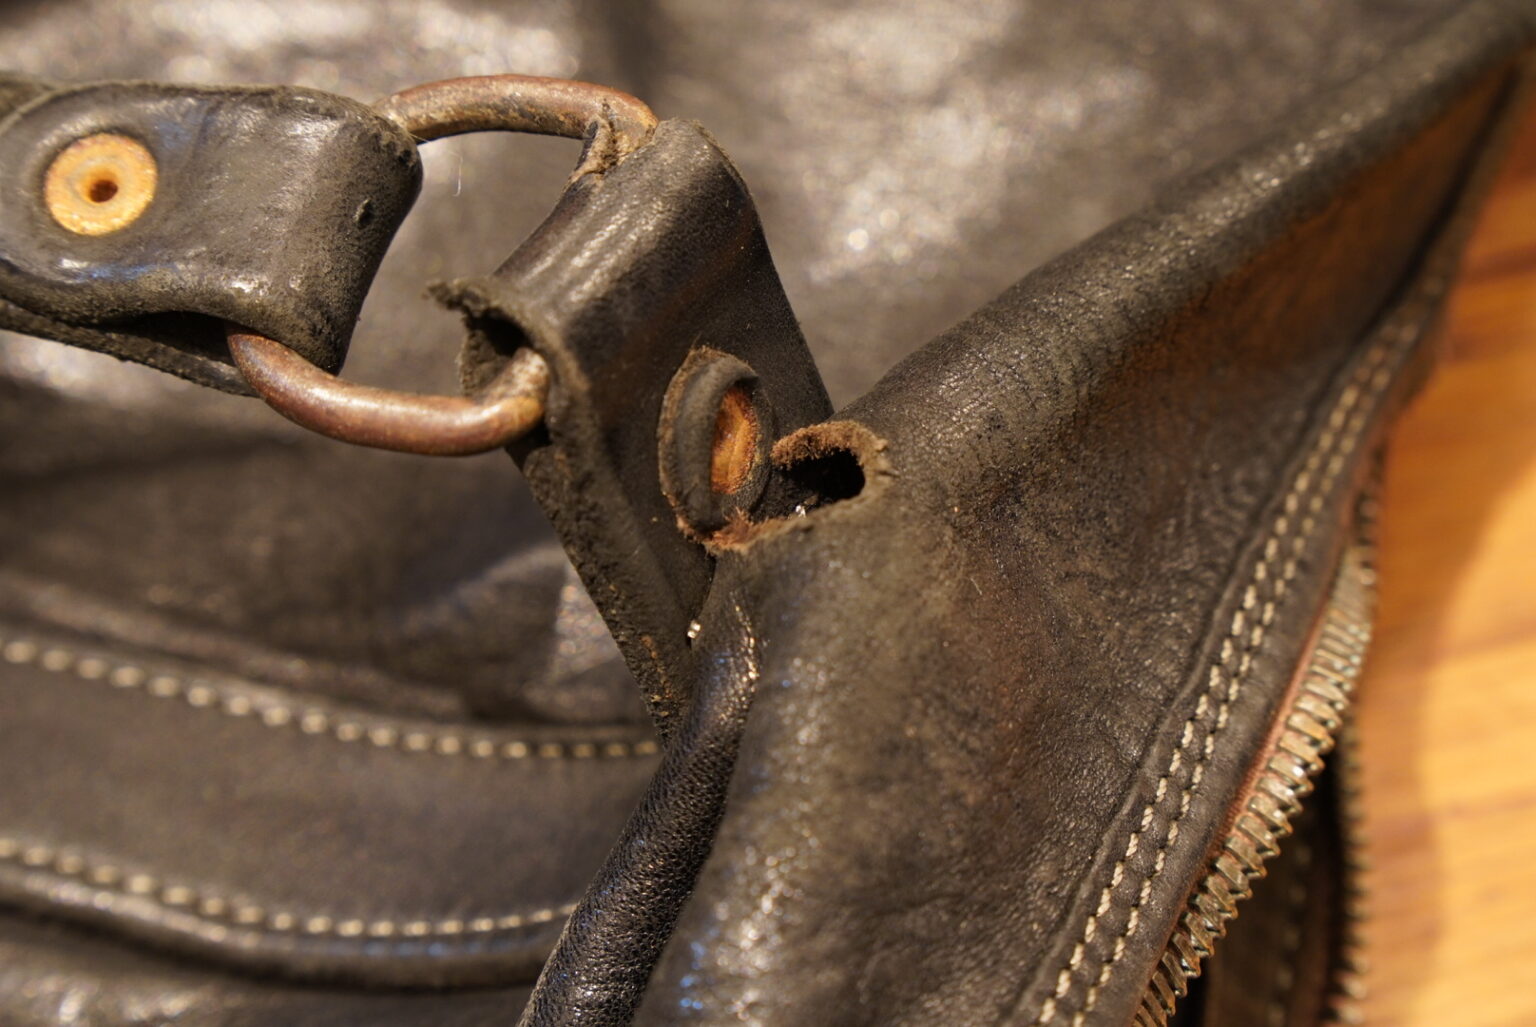
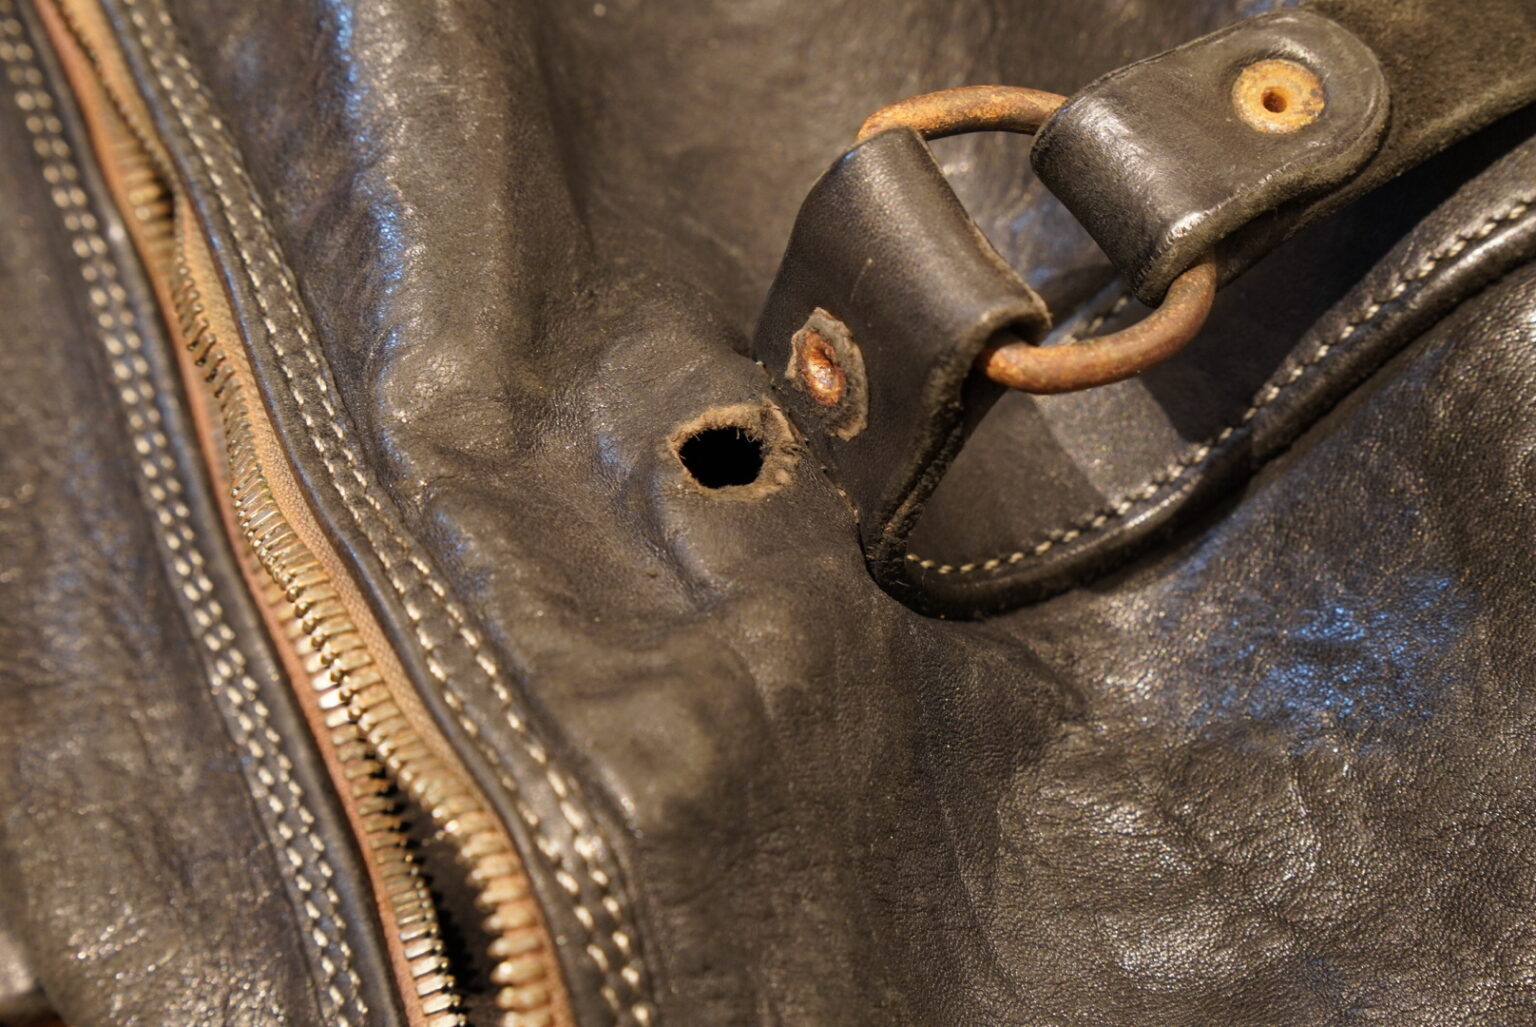
And then there is the ‘root leather’ section that secures the handle to the main body.
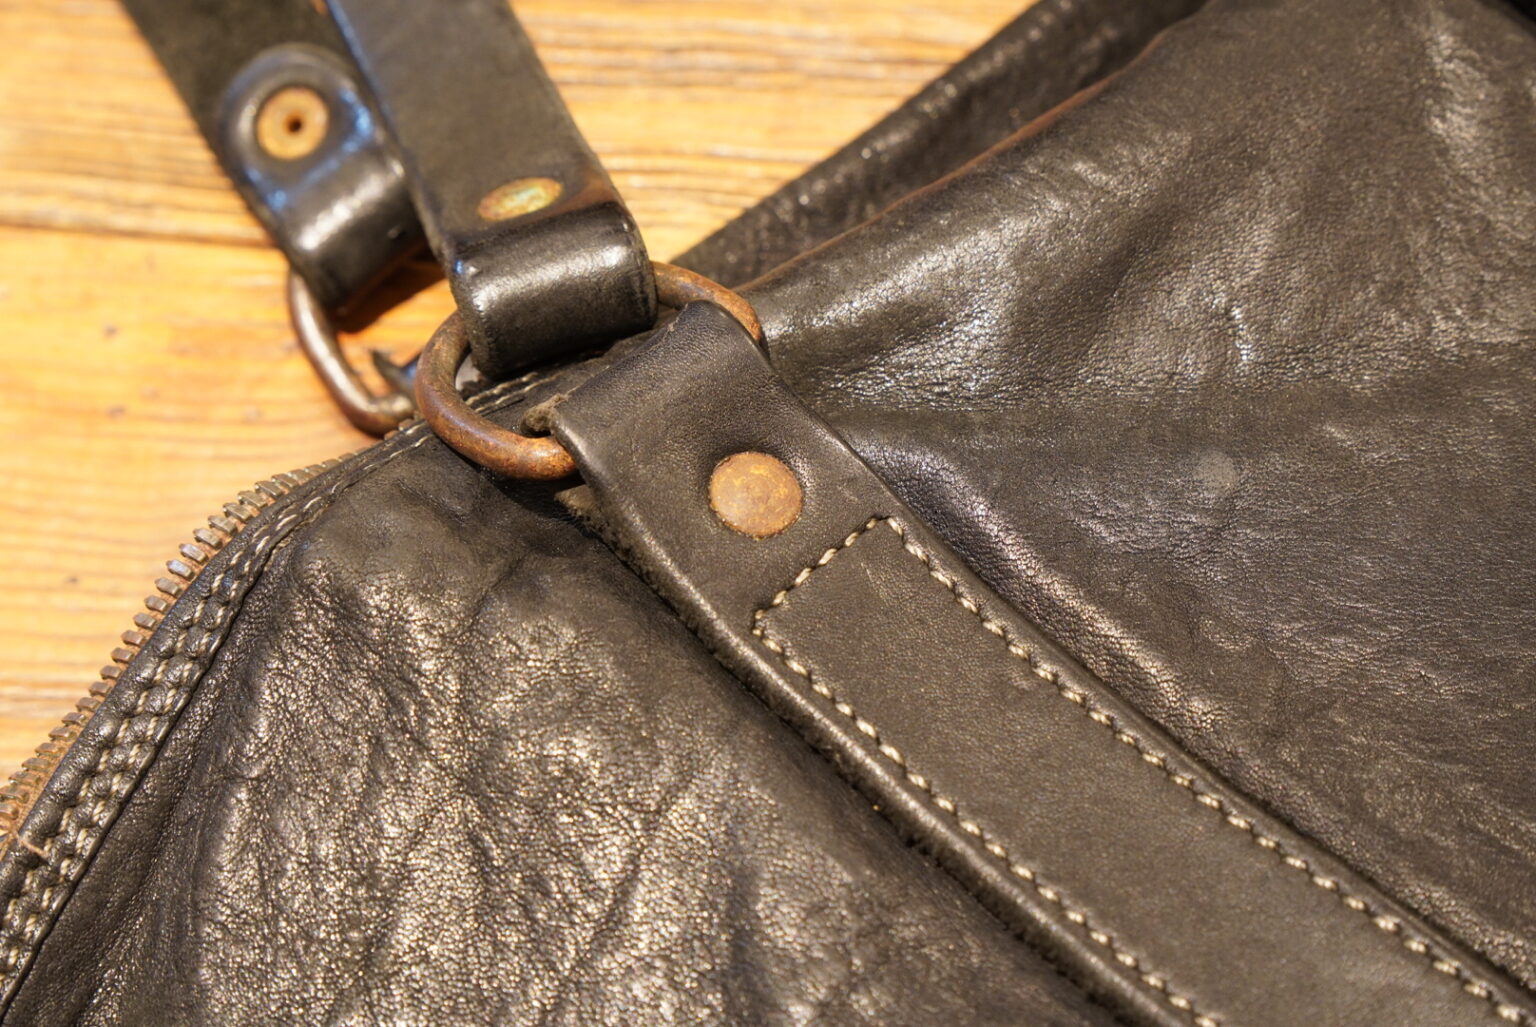
This is a section that is subject to very high loads.
Furthermore, as this is a part that is subject to bending, cracks have developed due to ageing.
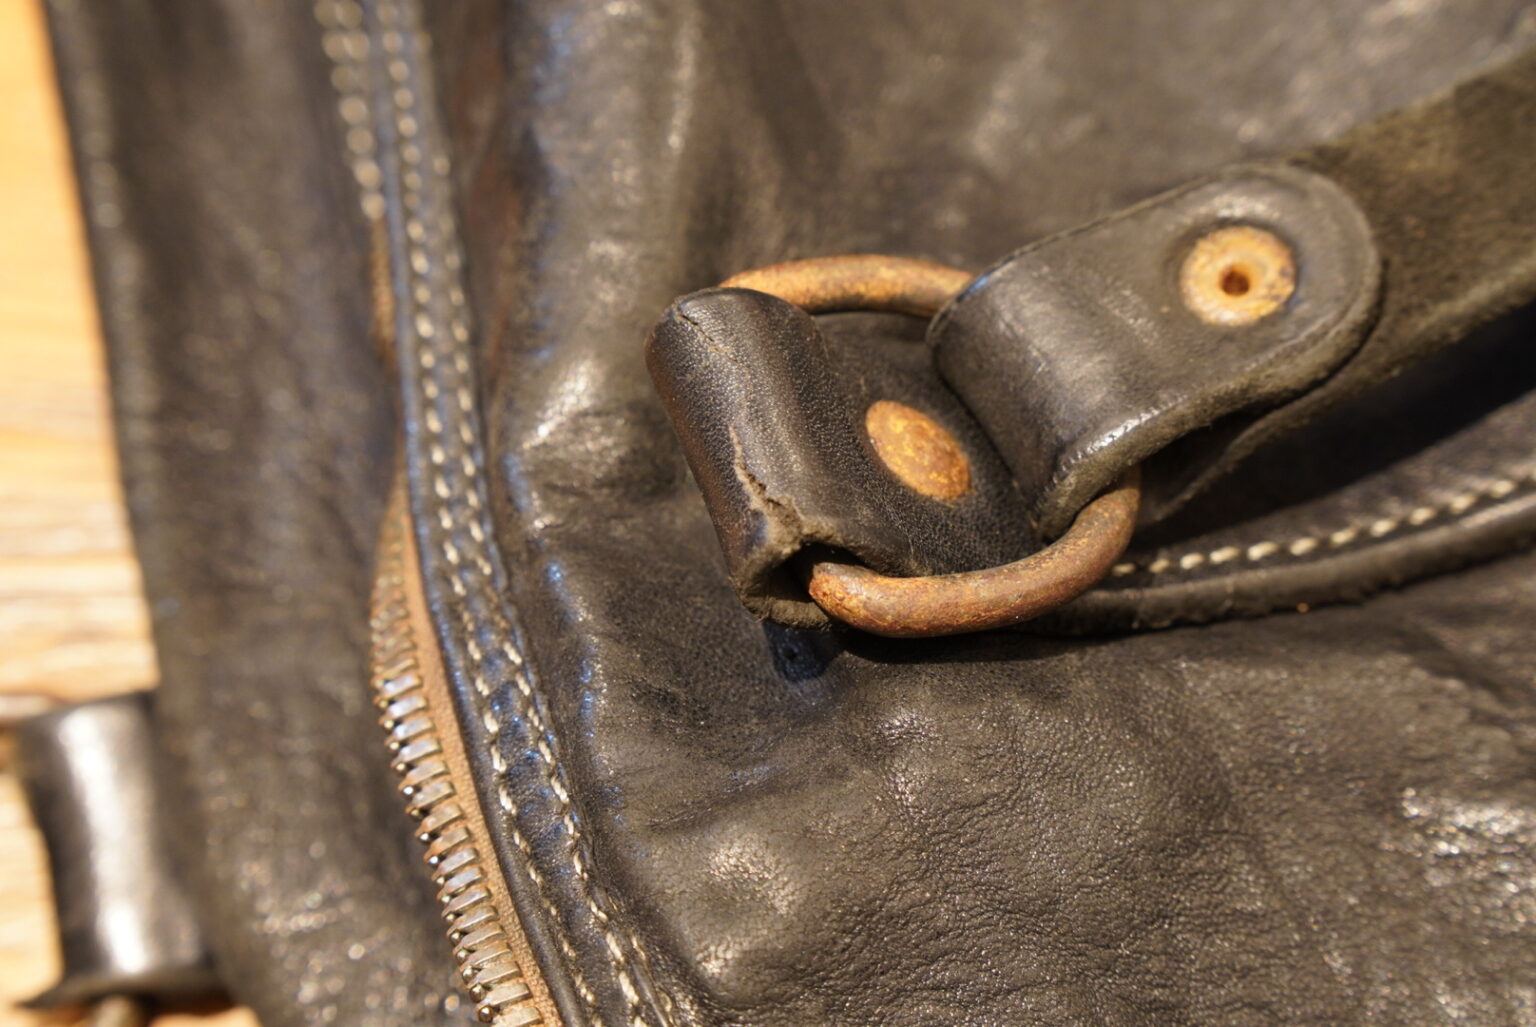
The leather on the main body has also split, and the rivet has been pulled through to the underside along with the leather, leaving a round hole.
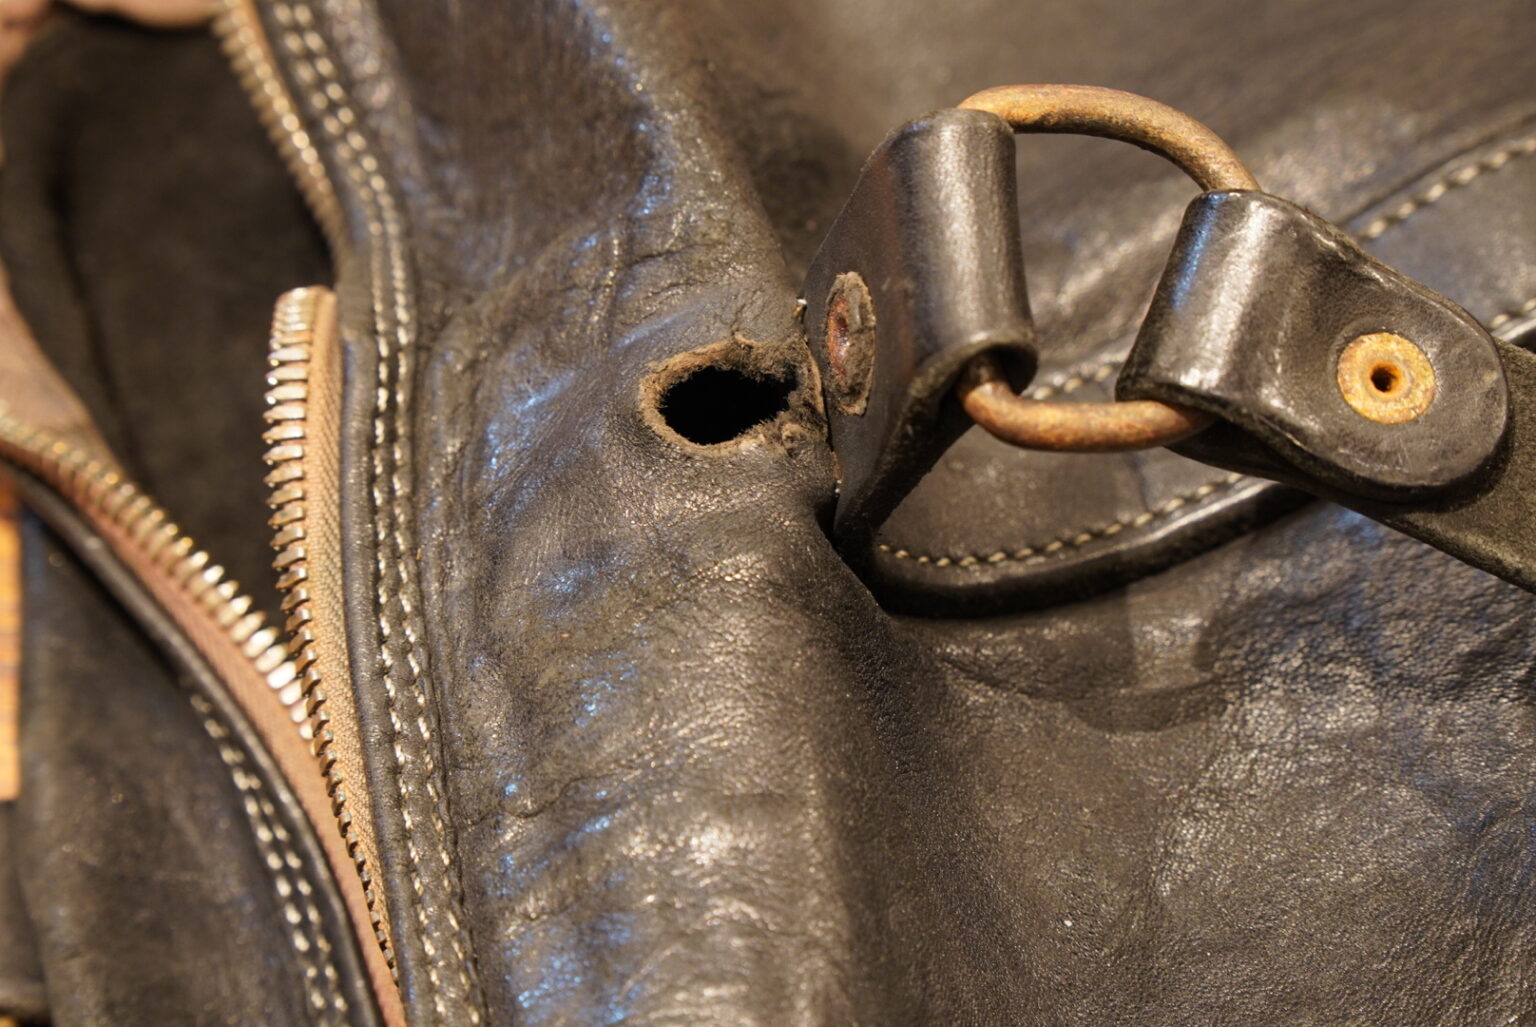
This symptom was observed in almost all four locations.
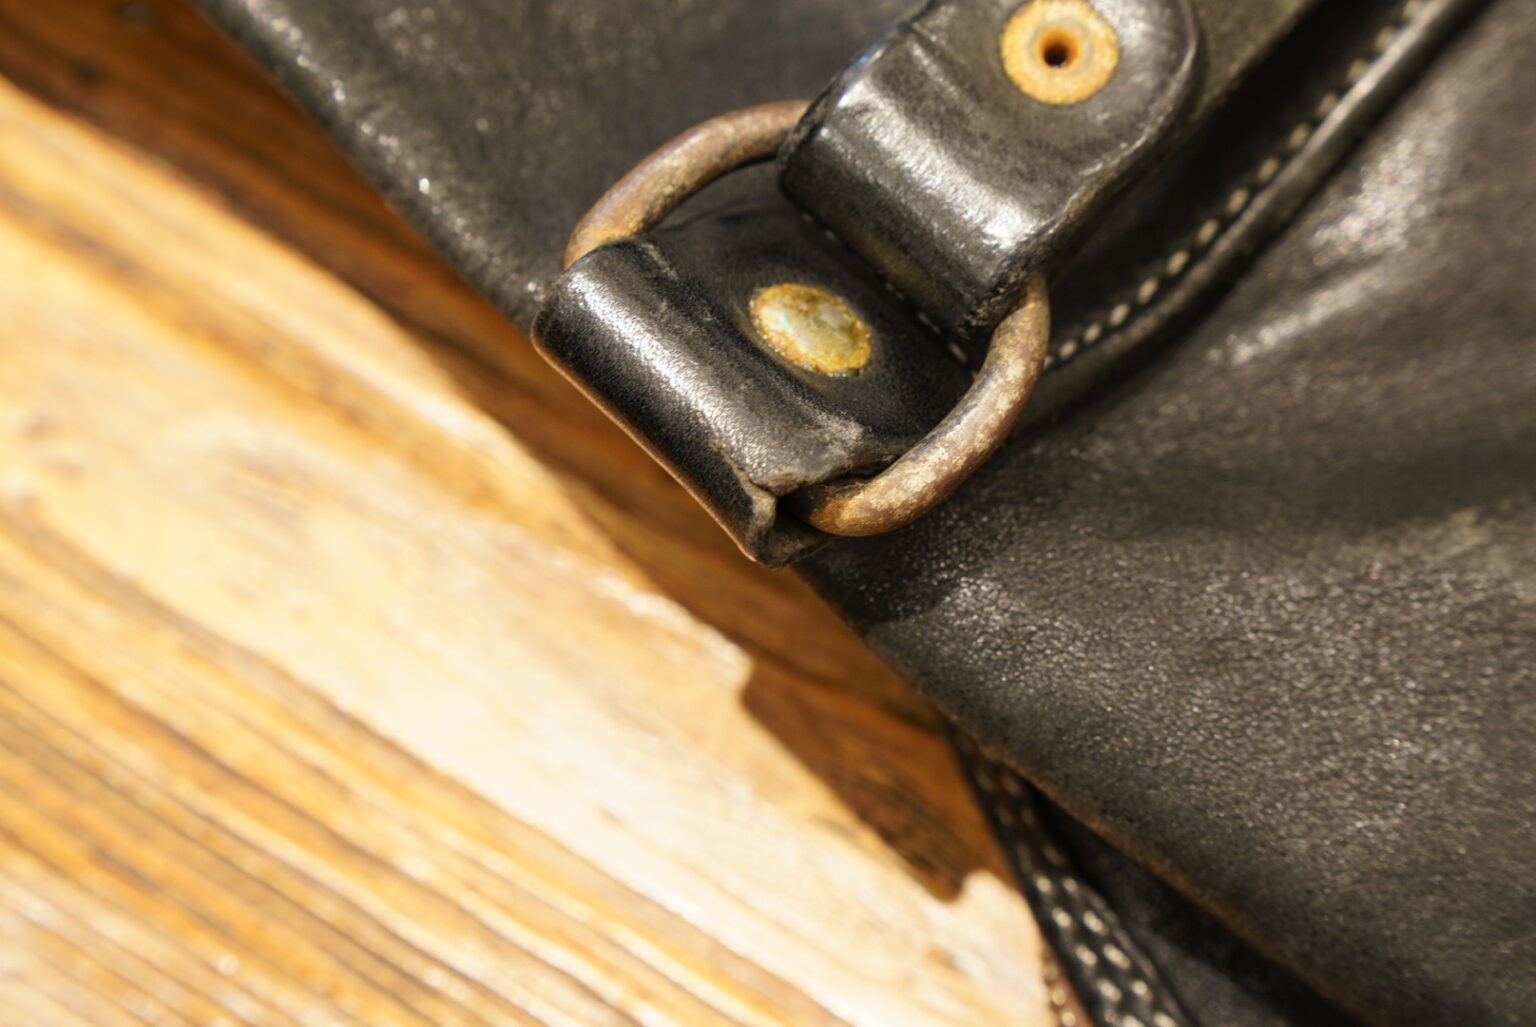
Right then, let’s start by repairing the zip.
This time, we’re going to replace the entire zip.
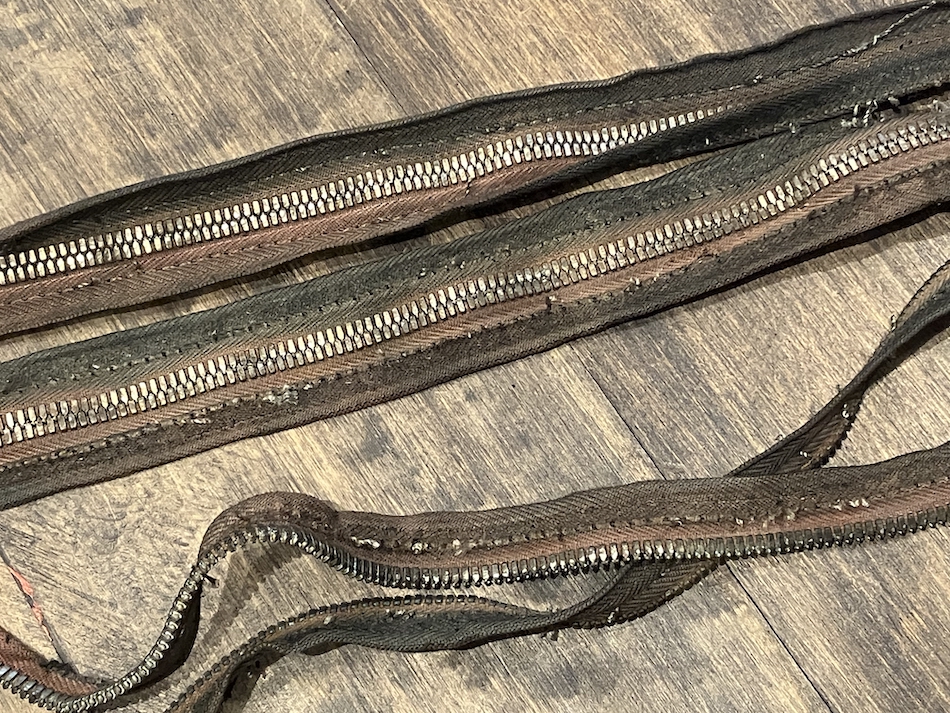
First, remove the original zip.
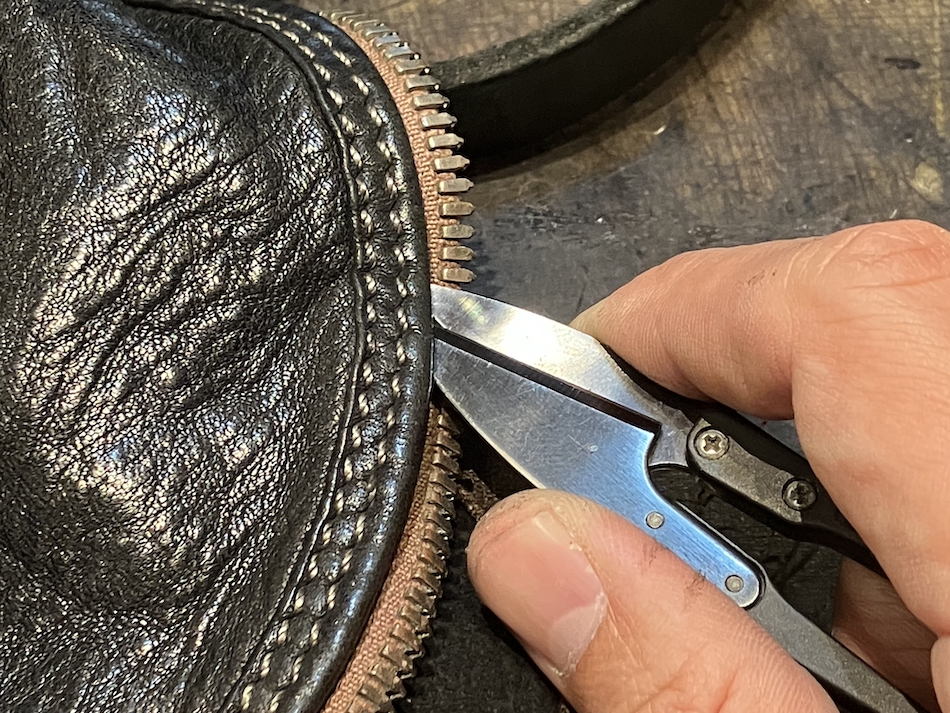
It’s so long that it doesn’t all fit in the photo, does it?
It is at least 120 cm long.
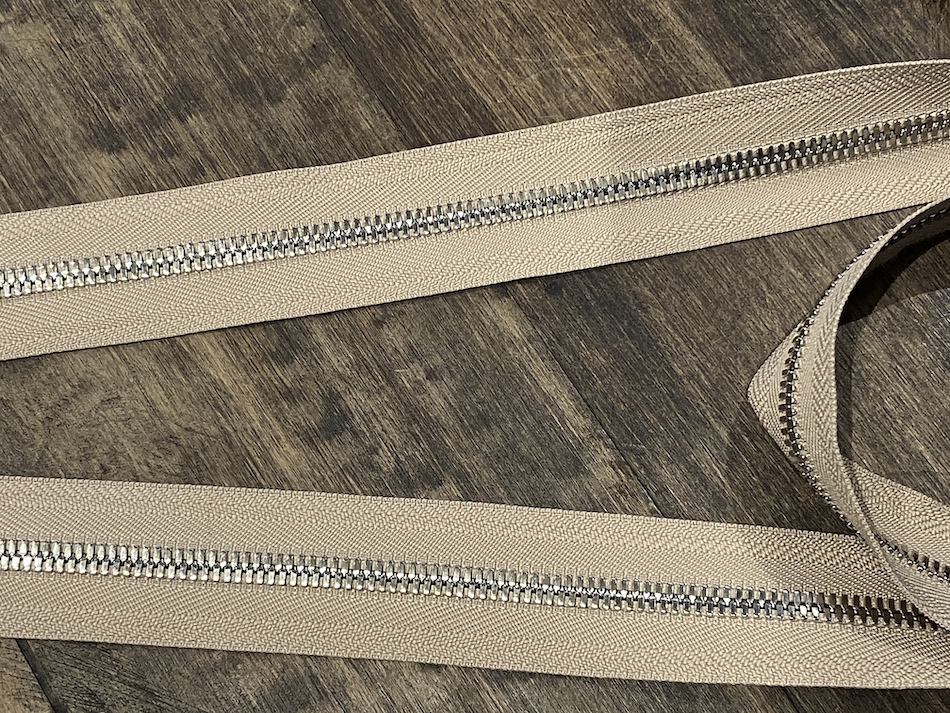
Next, we will dye the new zip to be fitted.
The product we’re using this time is YKK’s ‘EXCELLA’, a brand Japan is proud to present to the world.
We use items made of nylon.
By layering several different colours of dye, we create the distinctive mottled effect characteristic of GUIDI.
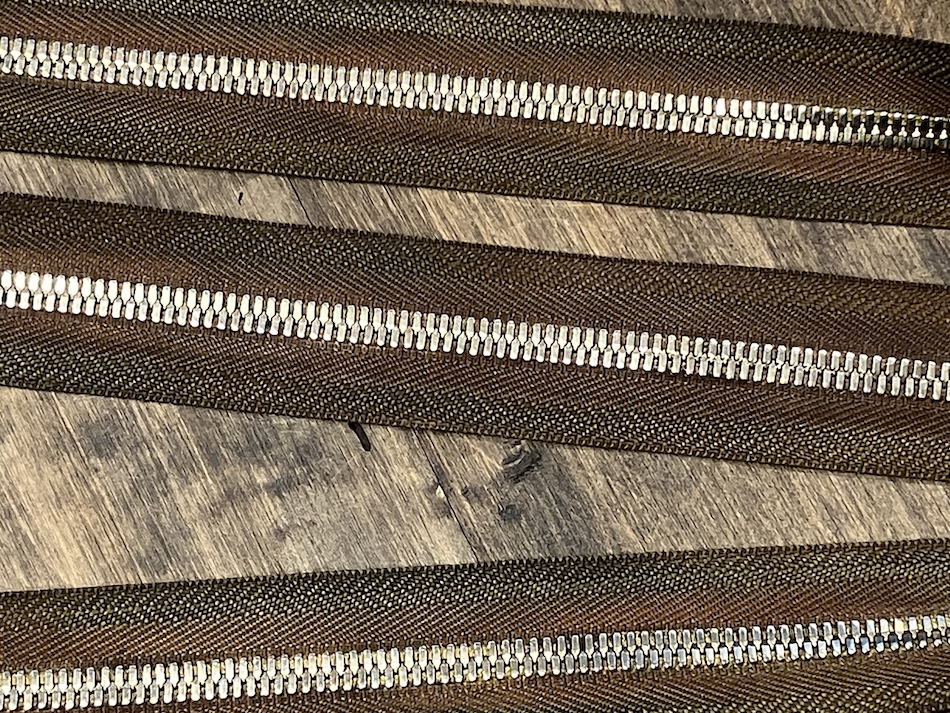
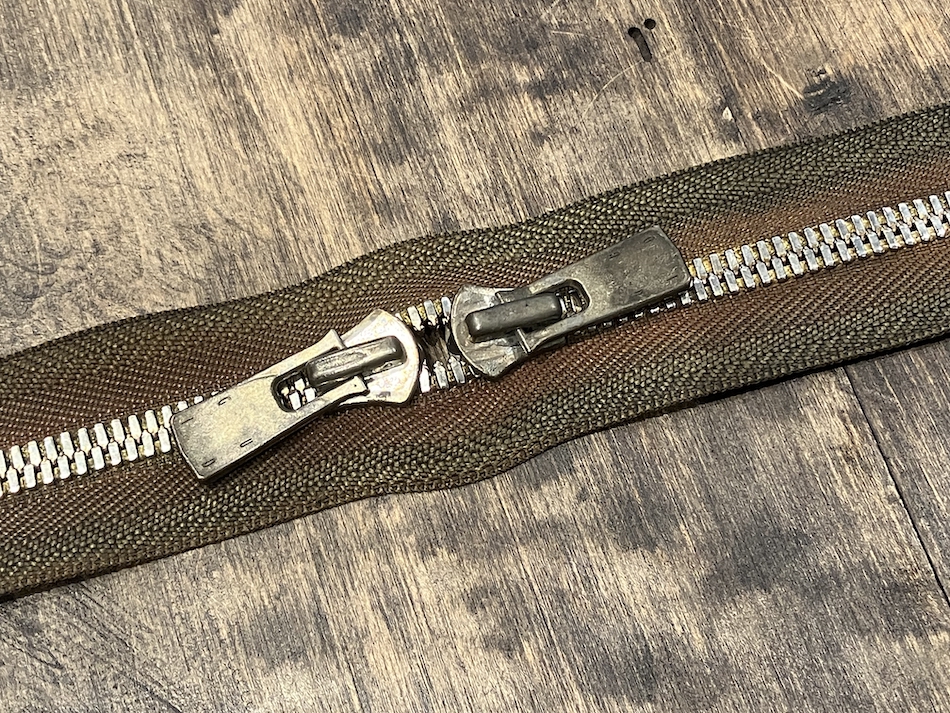
Once the tape has been dyed, thread it through the slider.
As the original features the GUIDI logo, I’ll be reusing this slider this time.
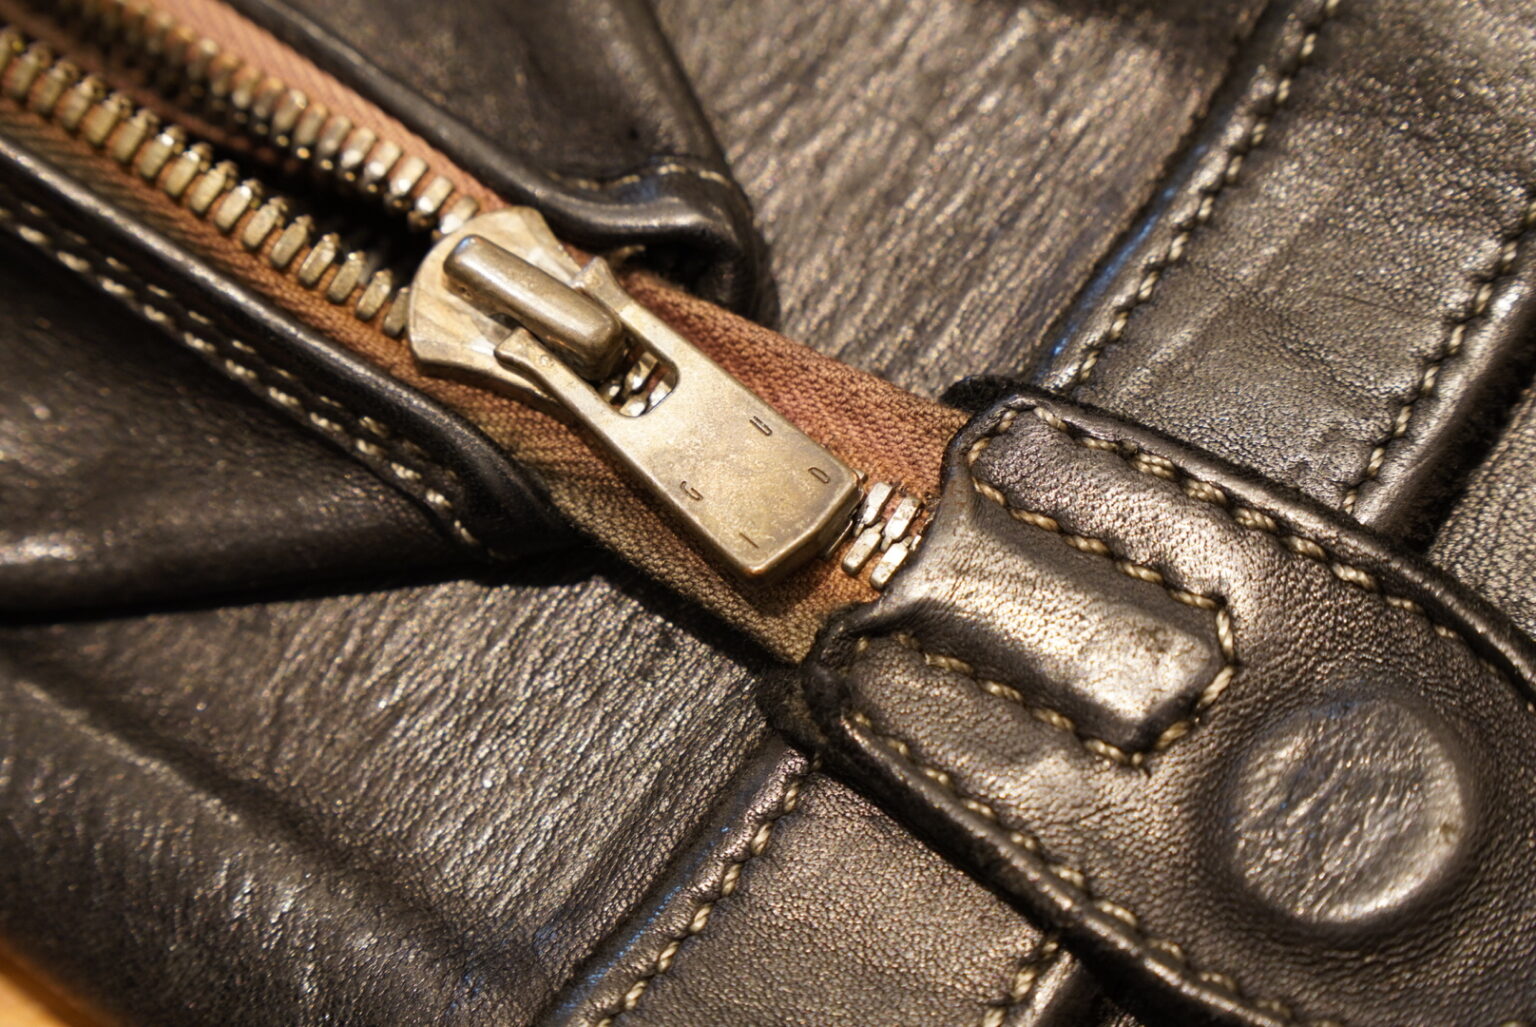
However, depending on its condition, we may not recommend reusing the original slider.
A common problem is where the connection between the pull handle and the slider has worn thin and is on the verge of snapping.
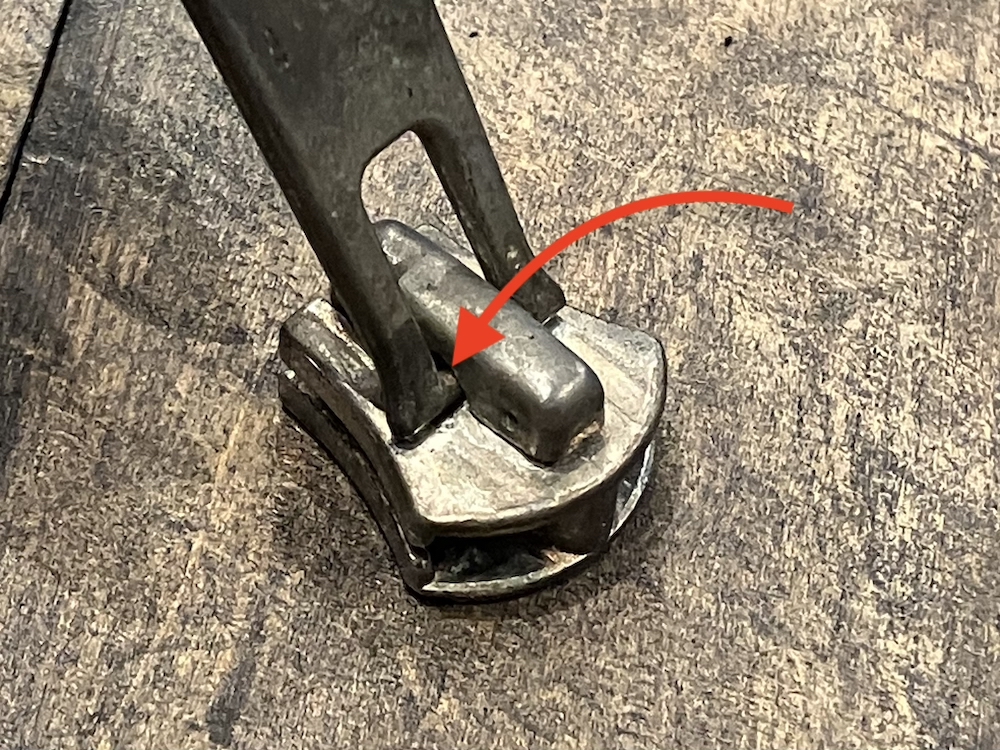
As there don’t seem to be any issues this time, I’ll just reuse it as it is.
And, as we’ll be reusing this piece of leather at the end of the zip, we’ll carefully remove it.
Once you’ve threaded the slider onto the tape, your replacement zip is complete.
Temporarily secure this to the main body, and then sew it in place.
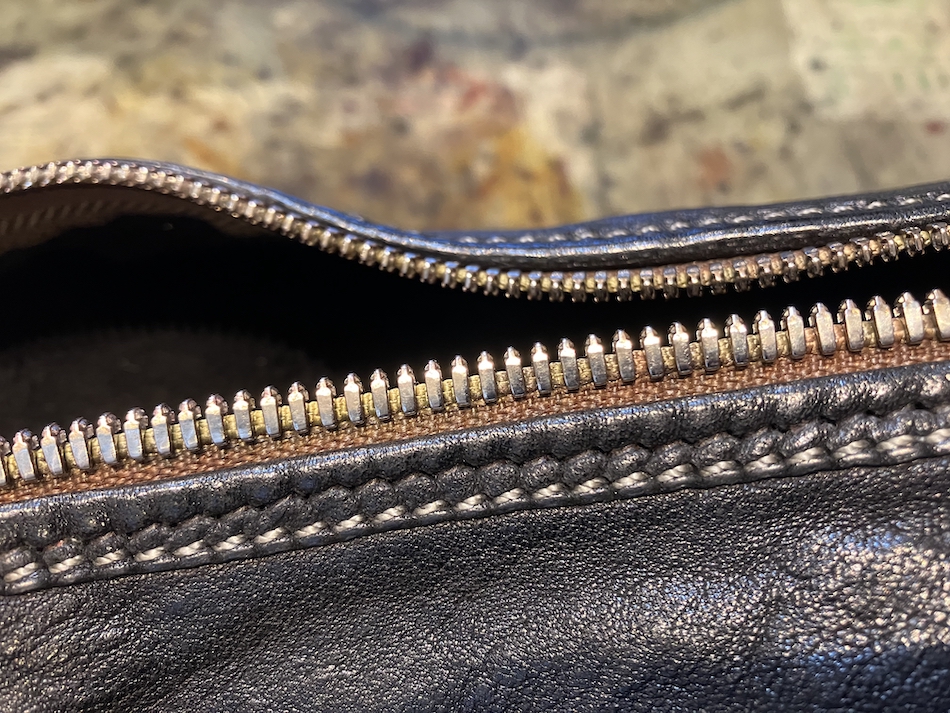
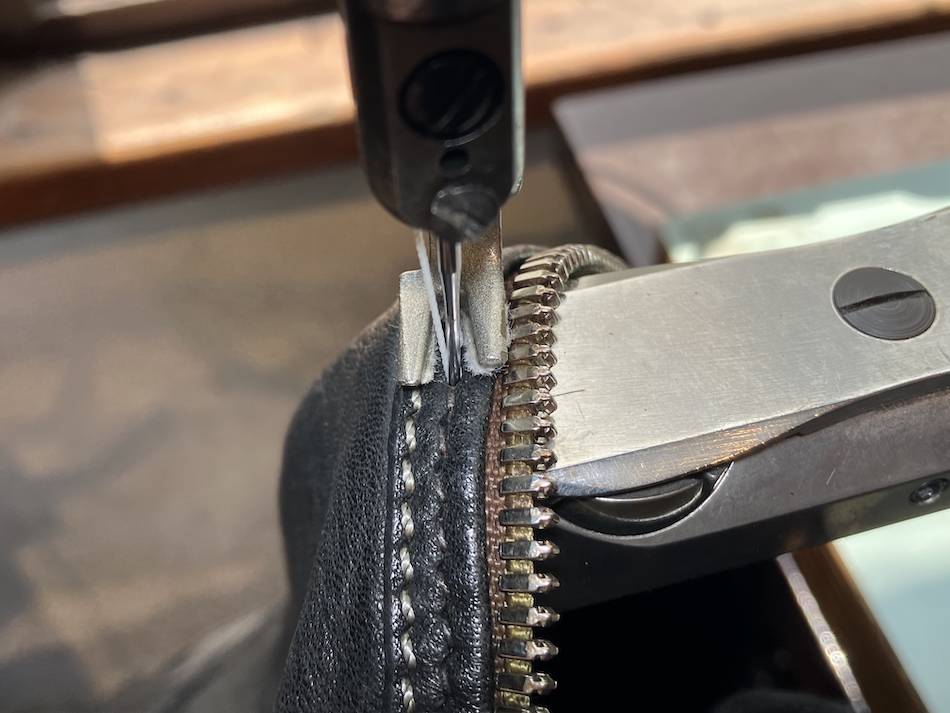
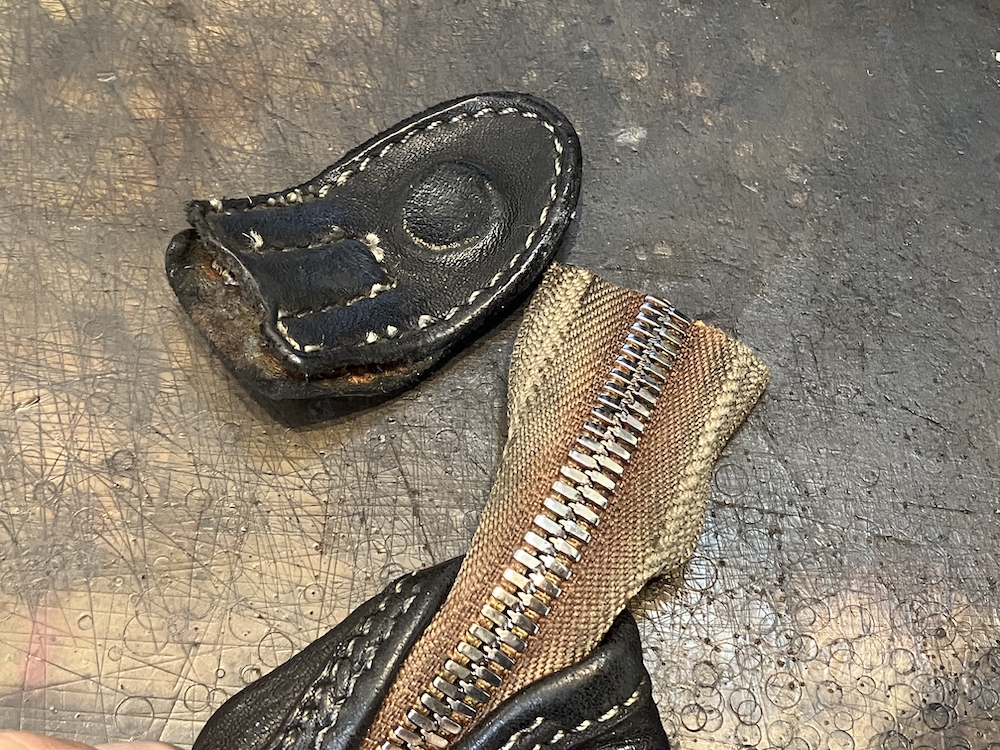
Finally, simply sew the leather back onto the tip—which you removed earlier—and the zip replacement is complete.
Next, I’ll start repairing the base of the handle.
This time, I decided to carry out the repairs in a way that preserves the original as much as possible.
This method involves cutting away the damaged section and adding a new piece of leather to replace it.
First, reinforce the hole that has appeared in the main body using reinforcing material and leather, and then sew it shut to seal the hole.
After that, cut away the damaged parts.
Slide the newly prepared leather between the main body and the remaining base leather.
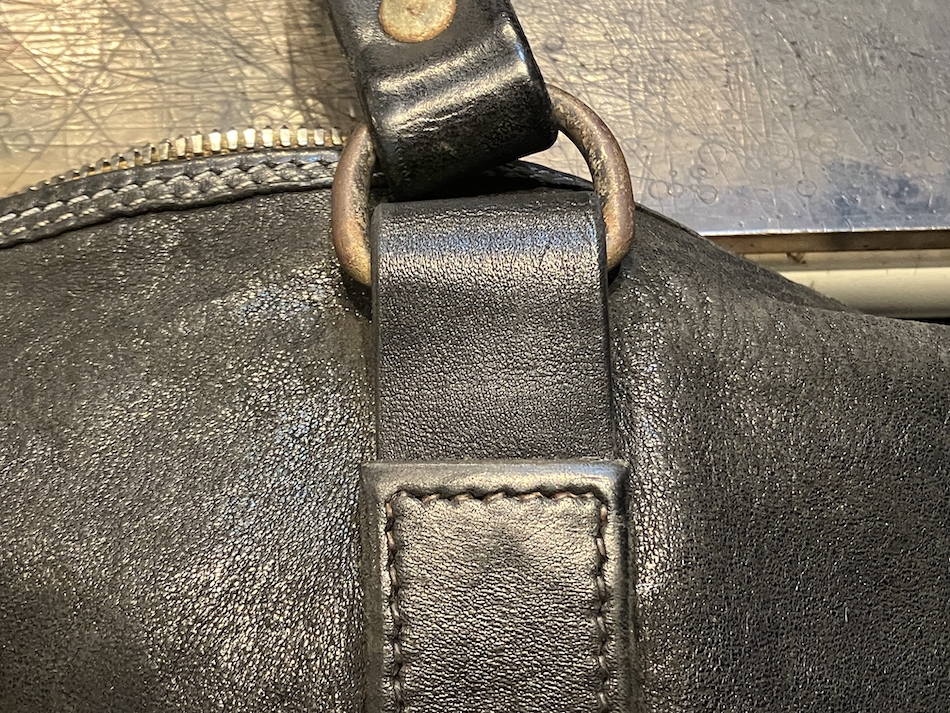
Sew the added piece of leather in place, re-set the rivets, and it’s finished.
The rivets have been deliberately given a rusted finish to match the overall look.
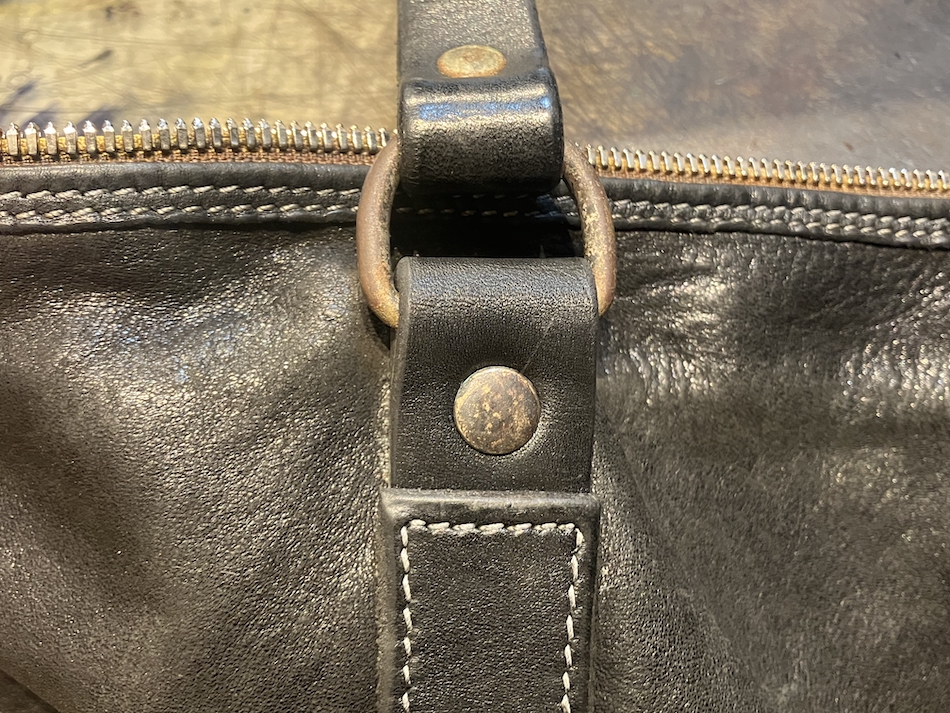
Apart from the rivets, we have incorporated a number of other design features to harmonise the overall look and enhance strength, but I shall not go into detail about them here.
It would be a bit of a spoilsport to explain everything, so I hope you’ll be able to get a sense of it from the finished photos I’ll show you at the end.
……To be honest, I just forgot to take some photos of the work in progress.
Well then, please take a look at the finished result.
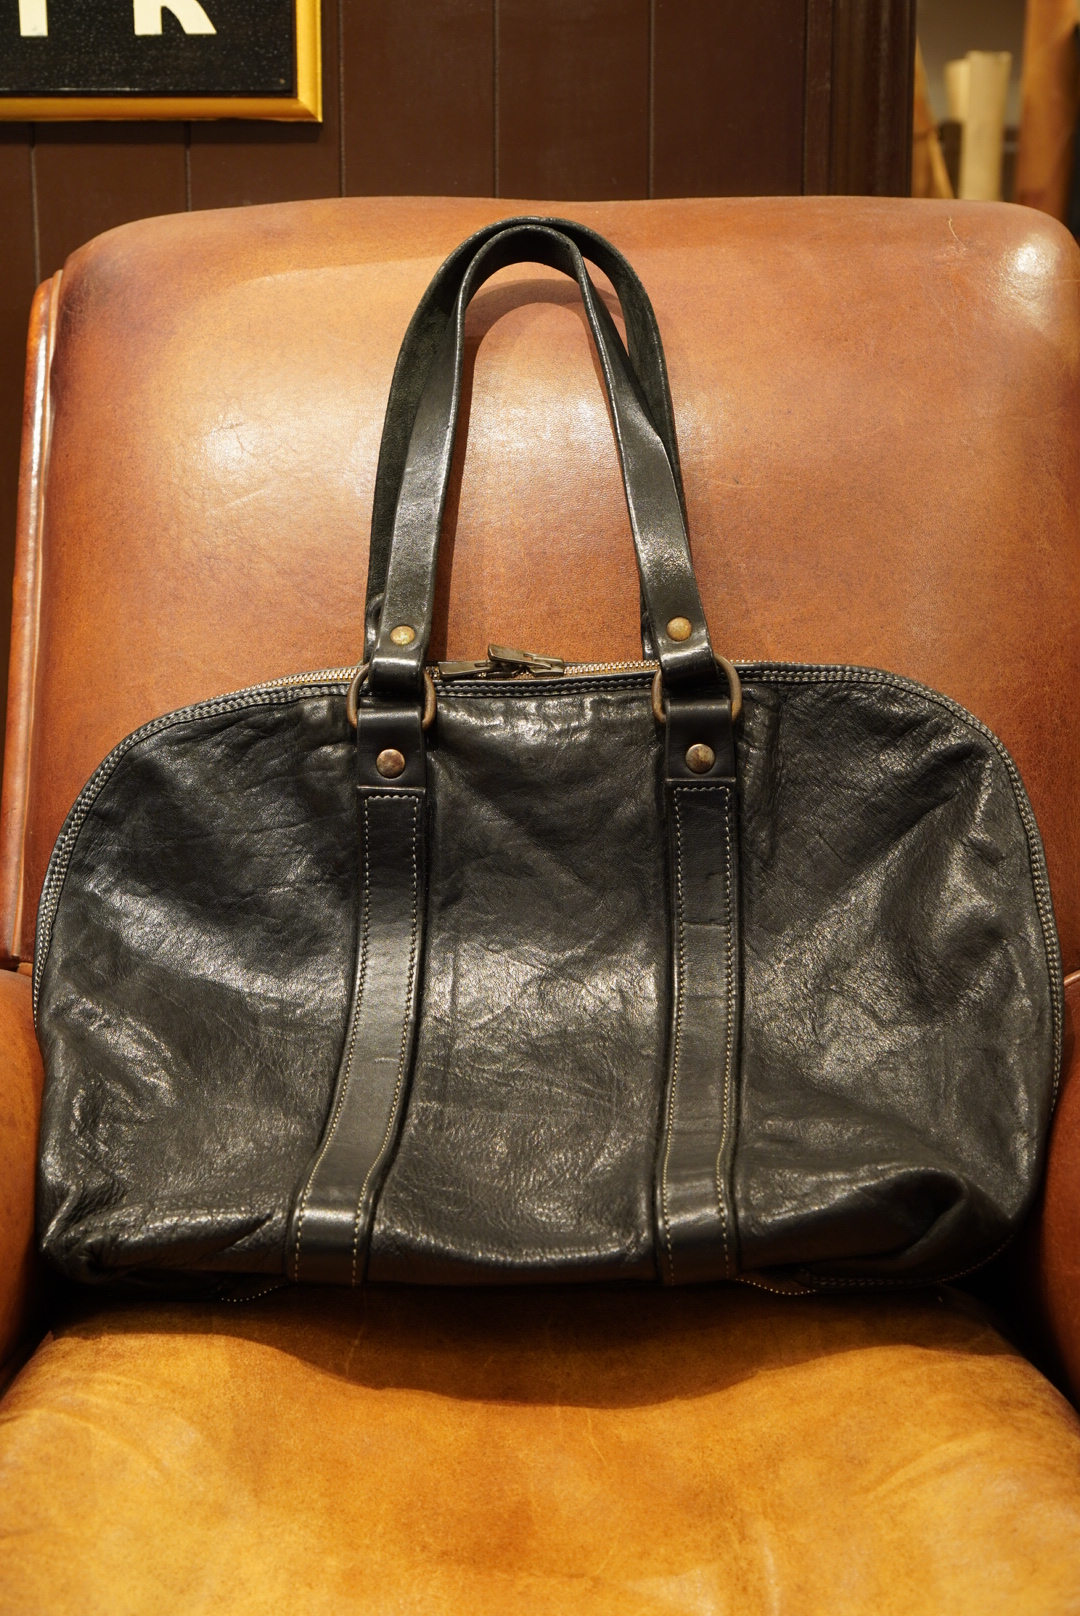
‘Zip’
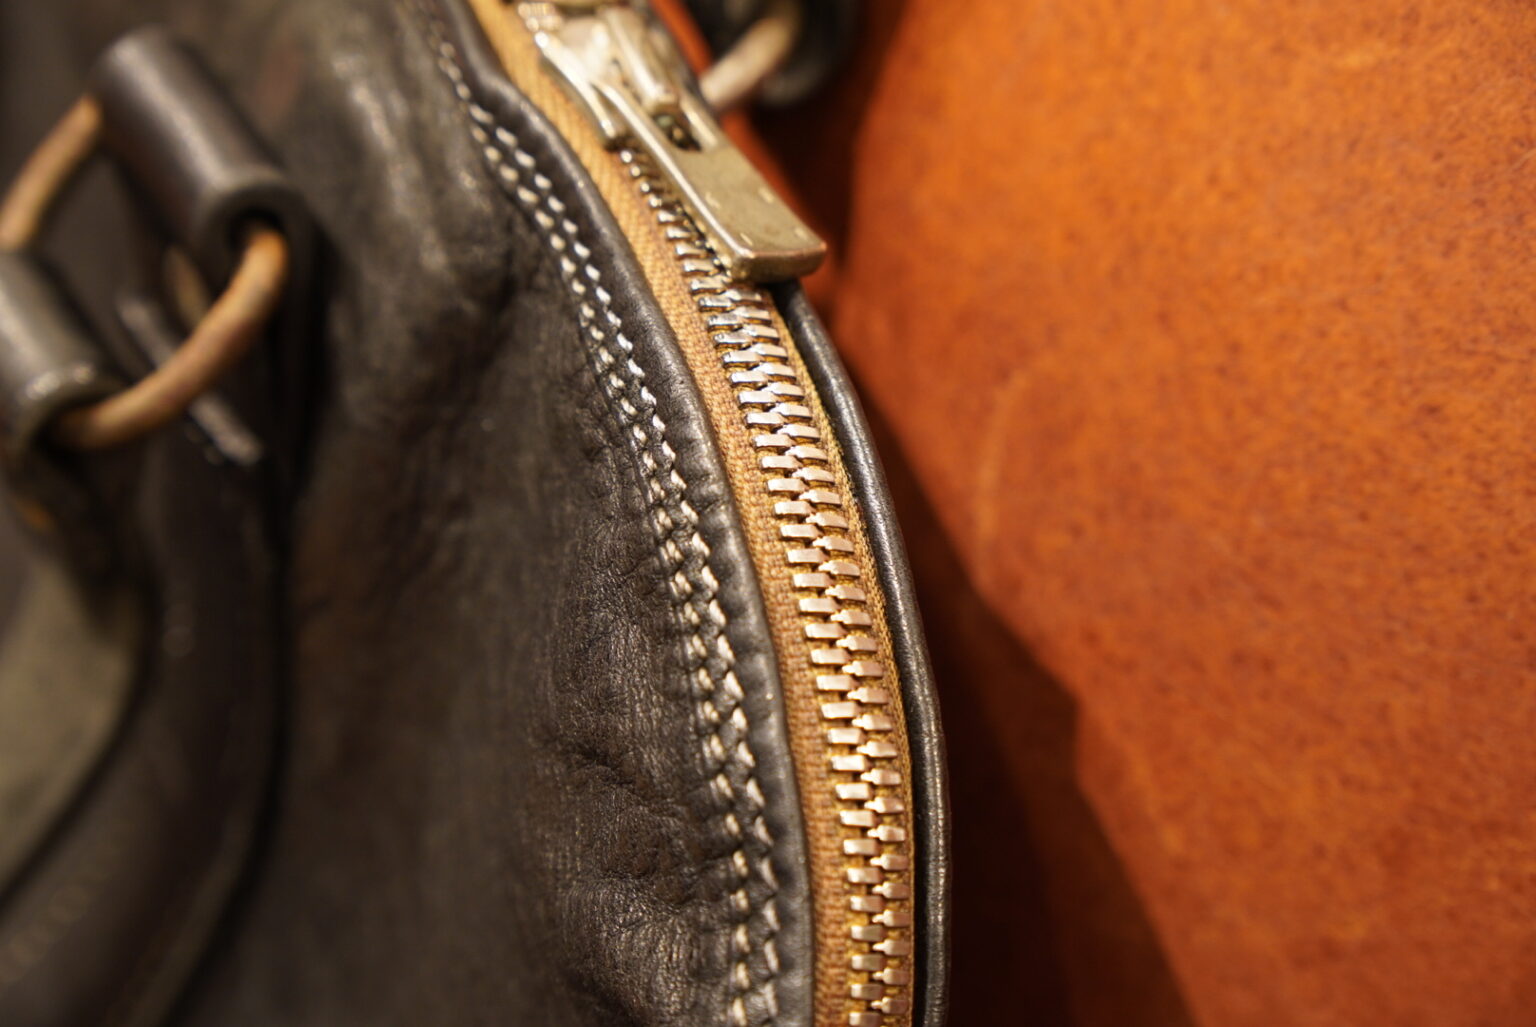
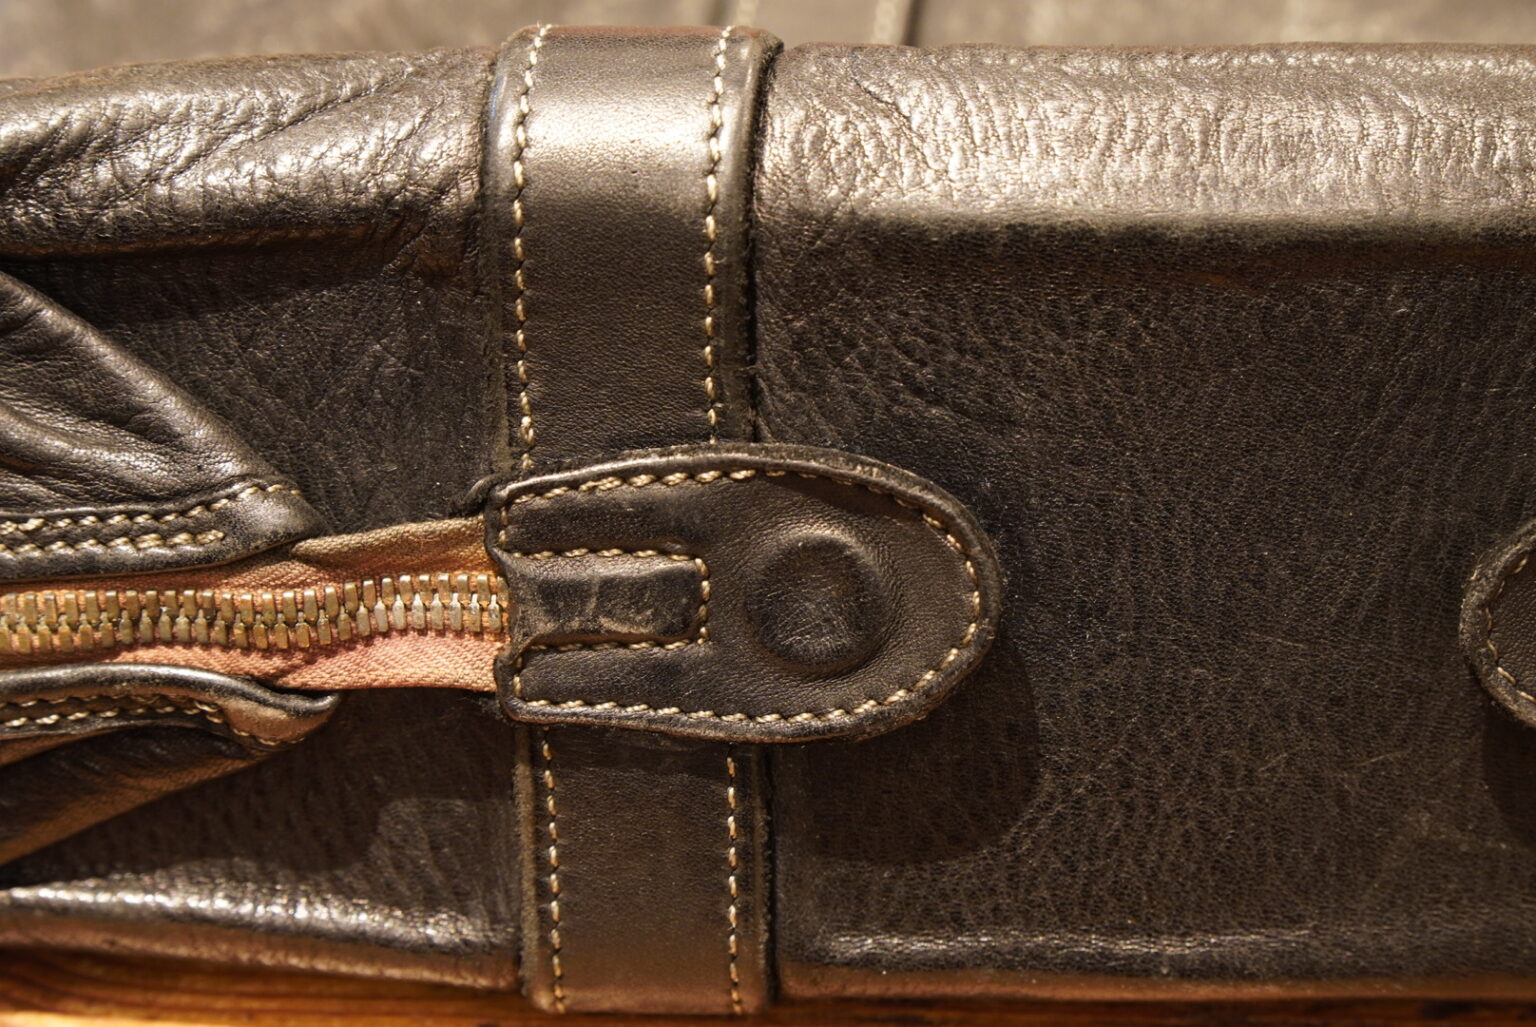
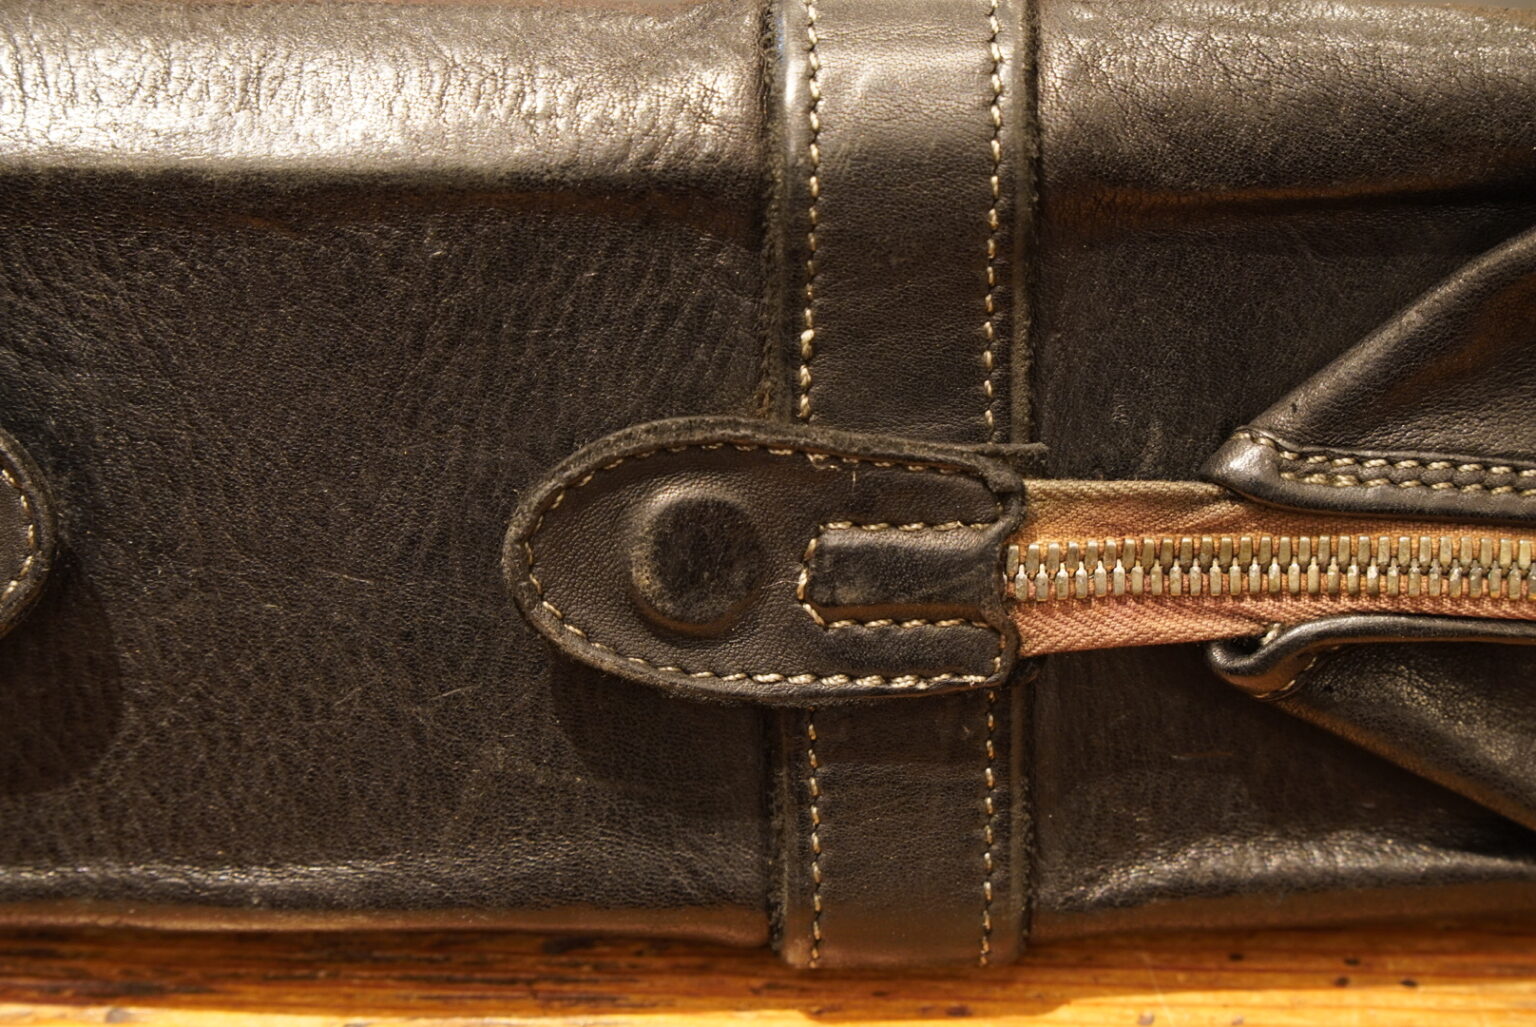
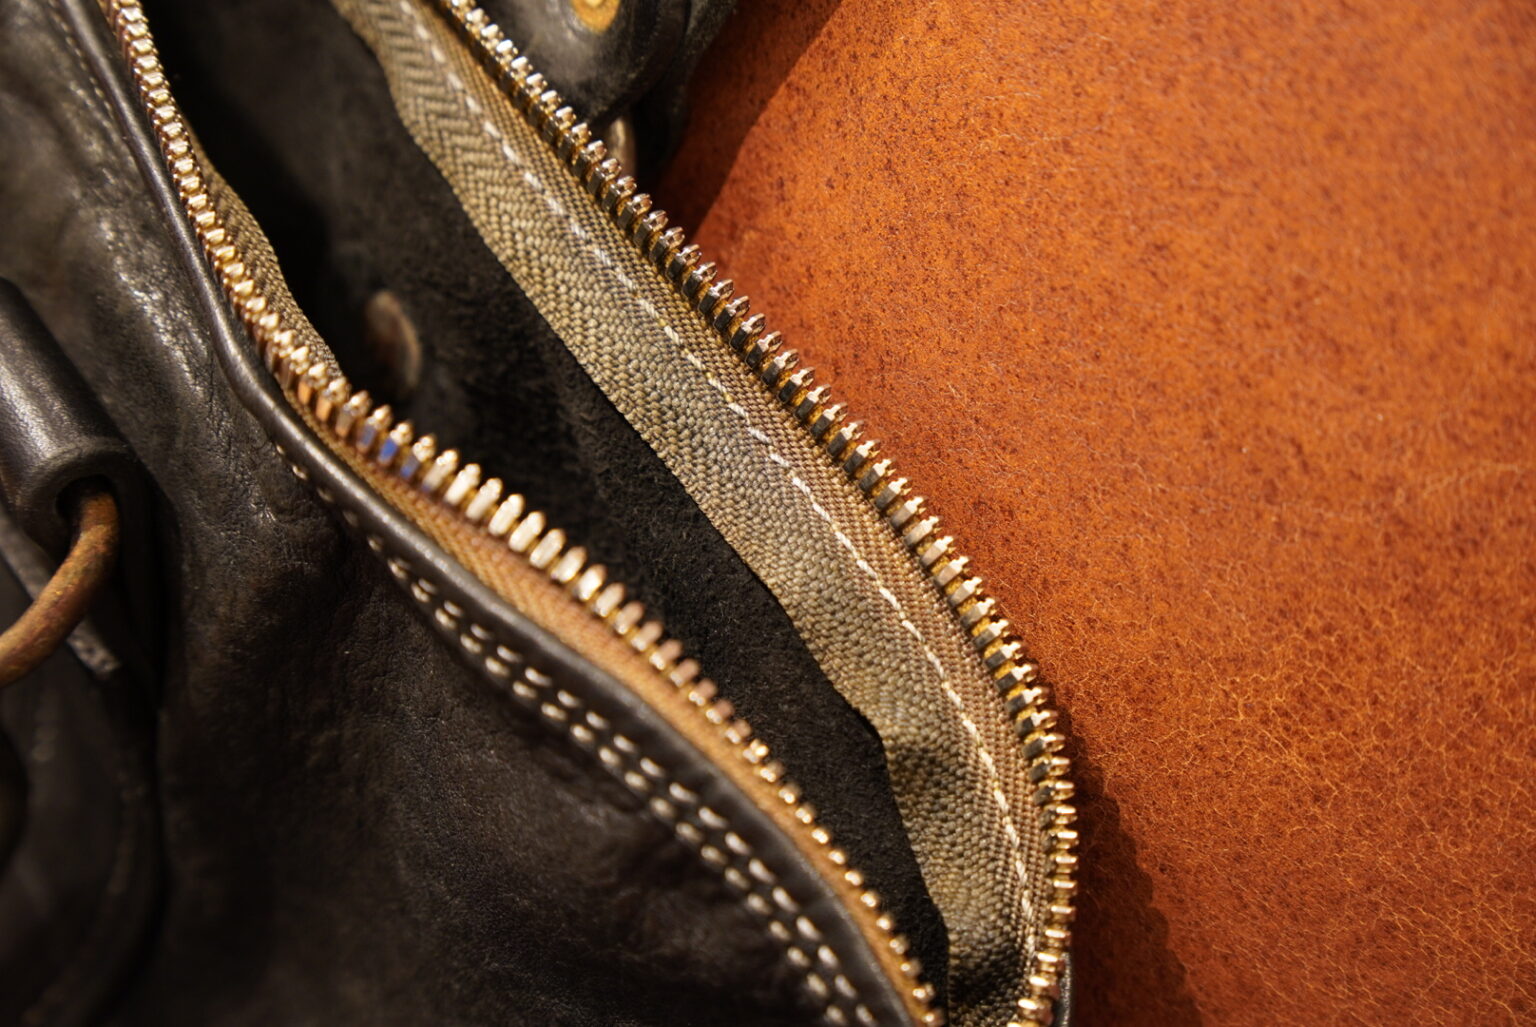
When you open it, you can really see the unevenness of the zip.
It may be a minor detail, but aspects like this are also key to ensuring that the GUIDI atmosphere is not compromised.
The original sliders have also been faithfully ported over.
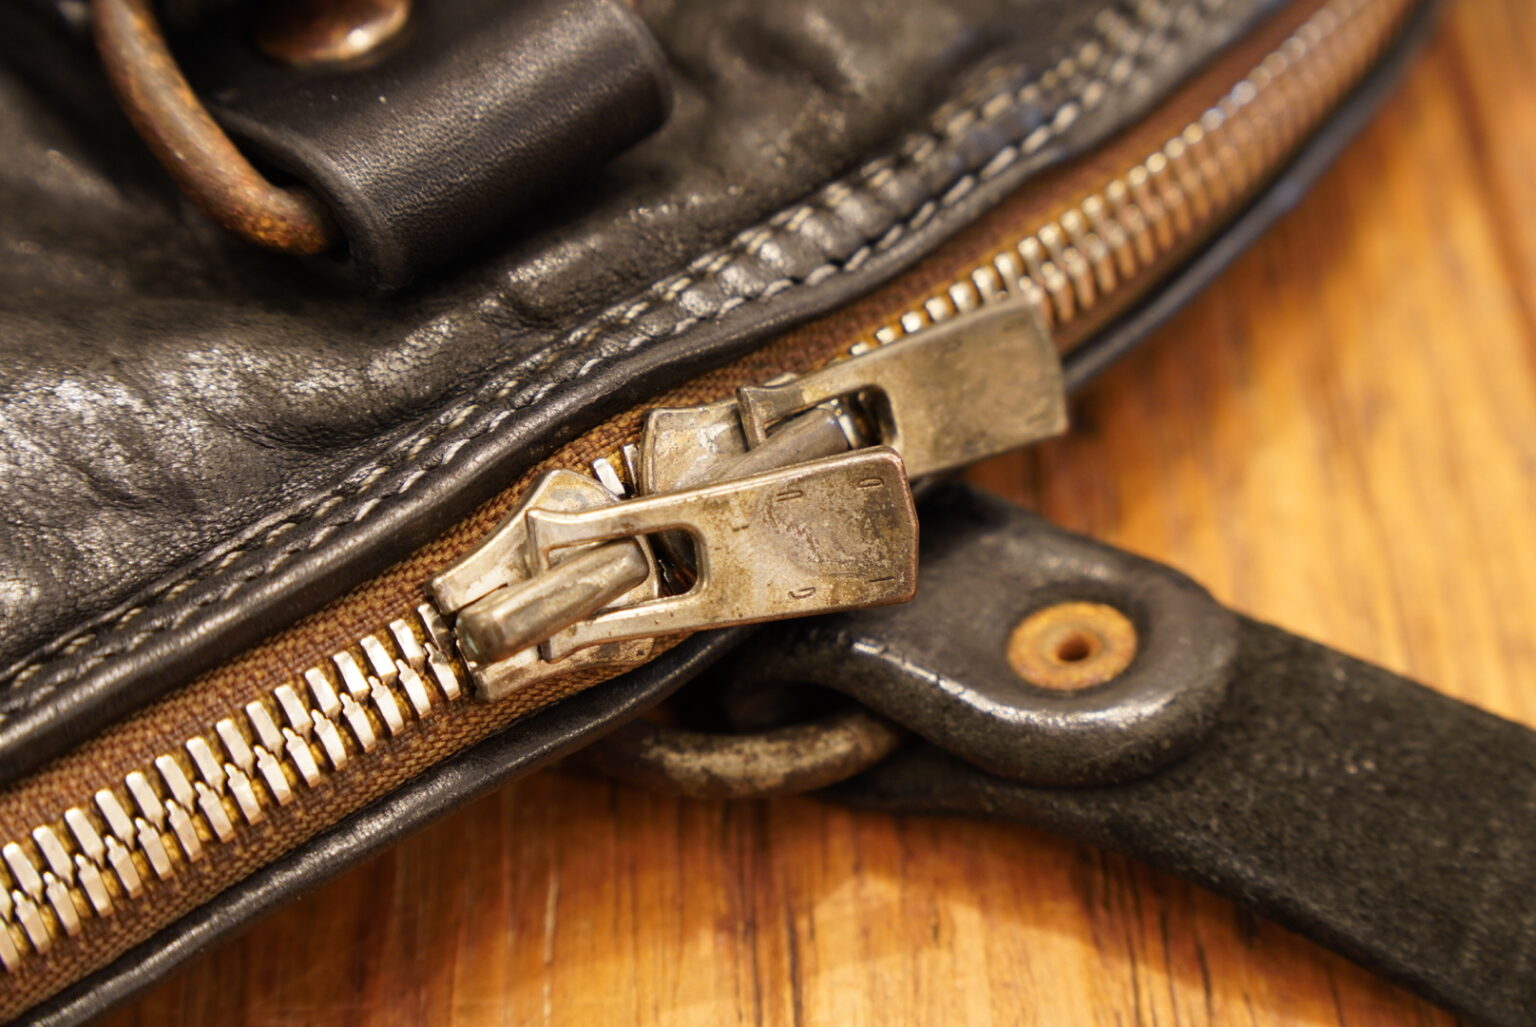
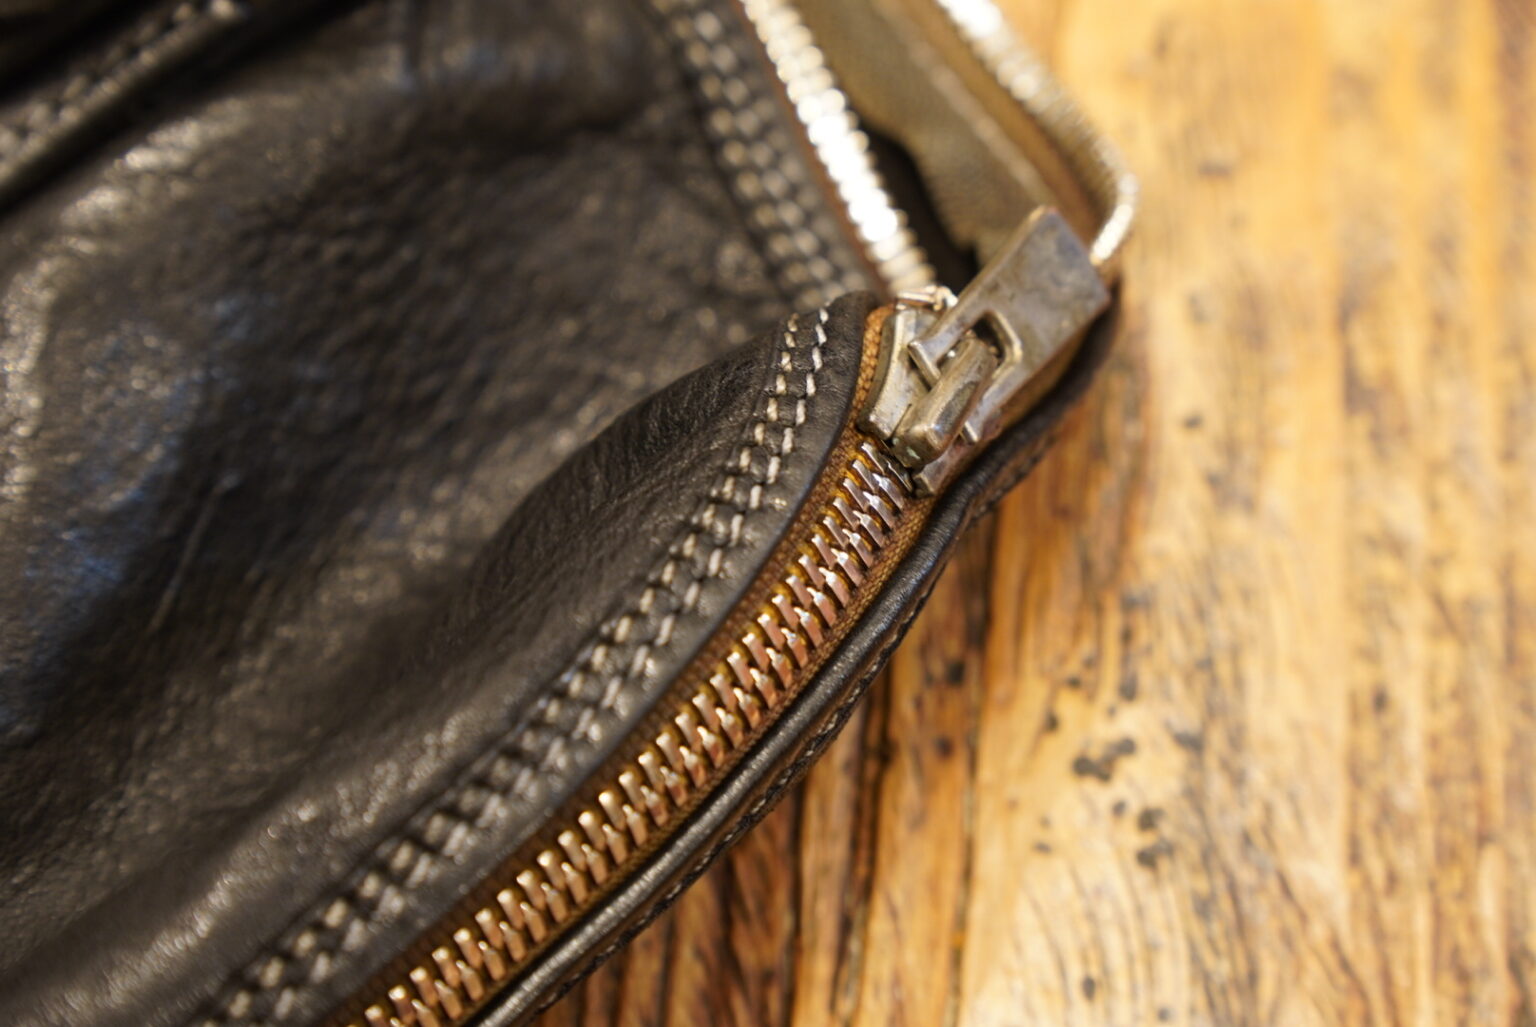
It now opens and closes more smoothly.
‘Base of the handle’
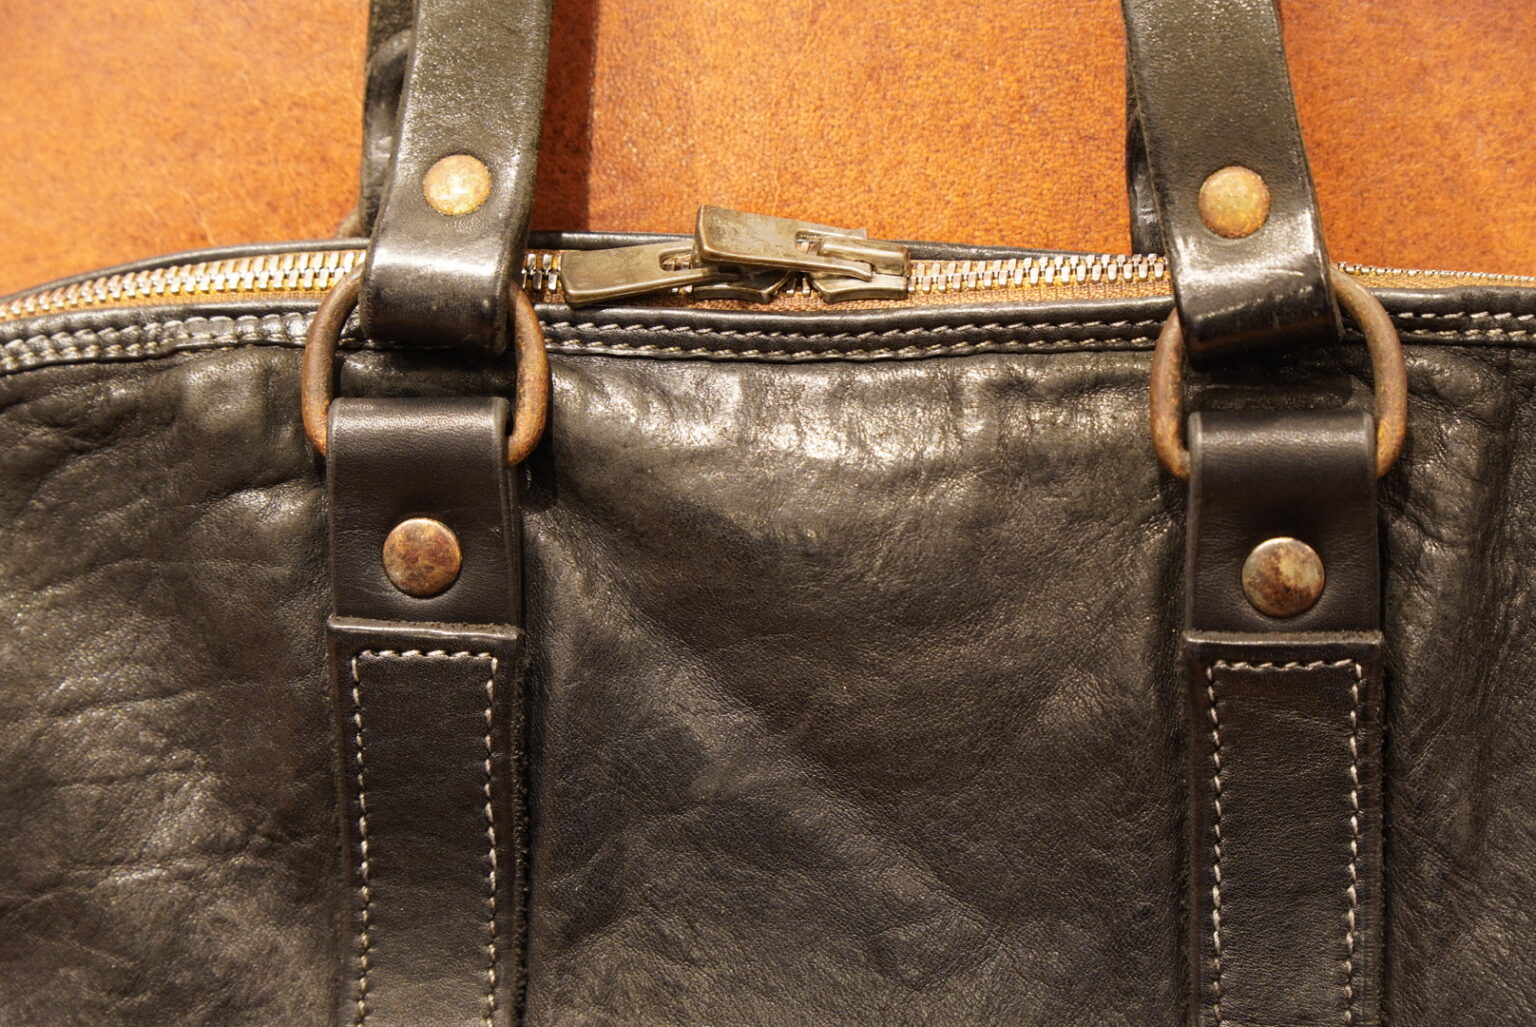
By selecting leather with a similar feel and paying particular attention to the finish of the edges, it blends in quite naturally.
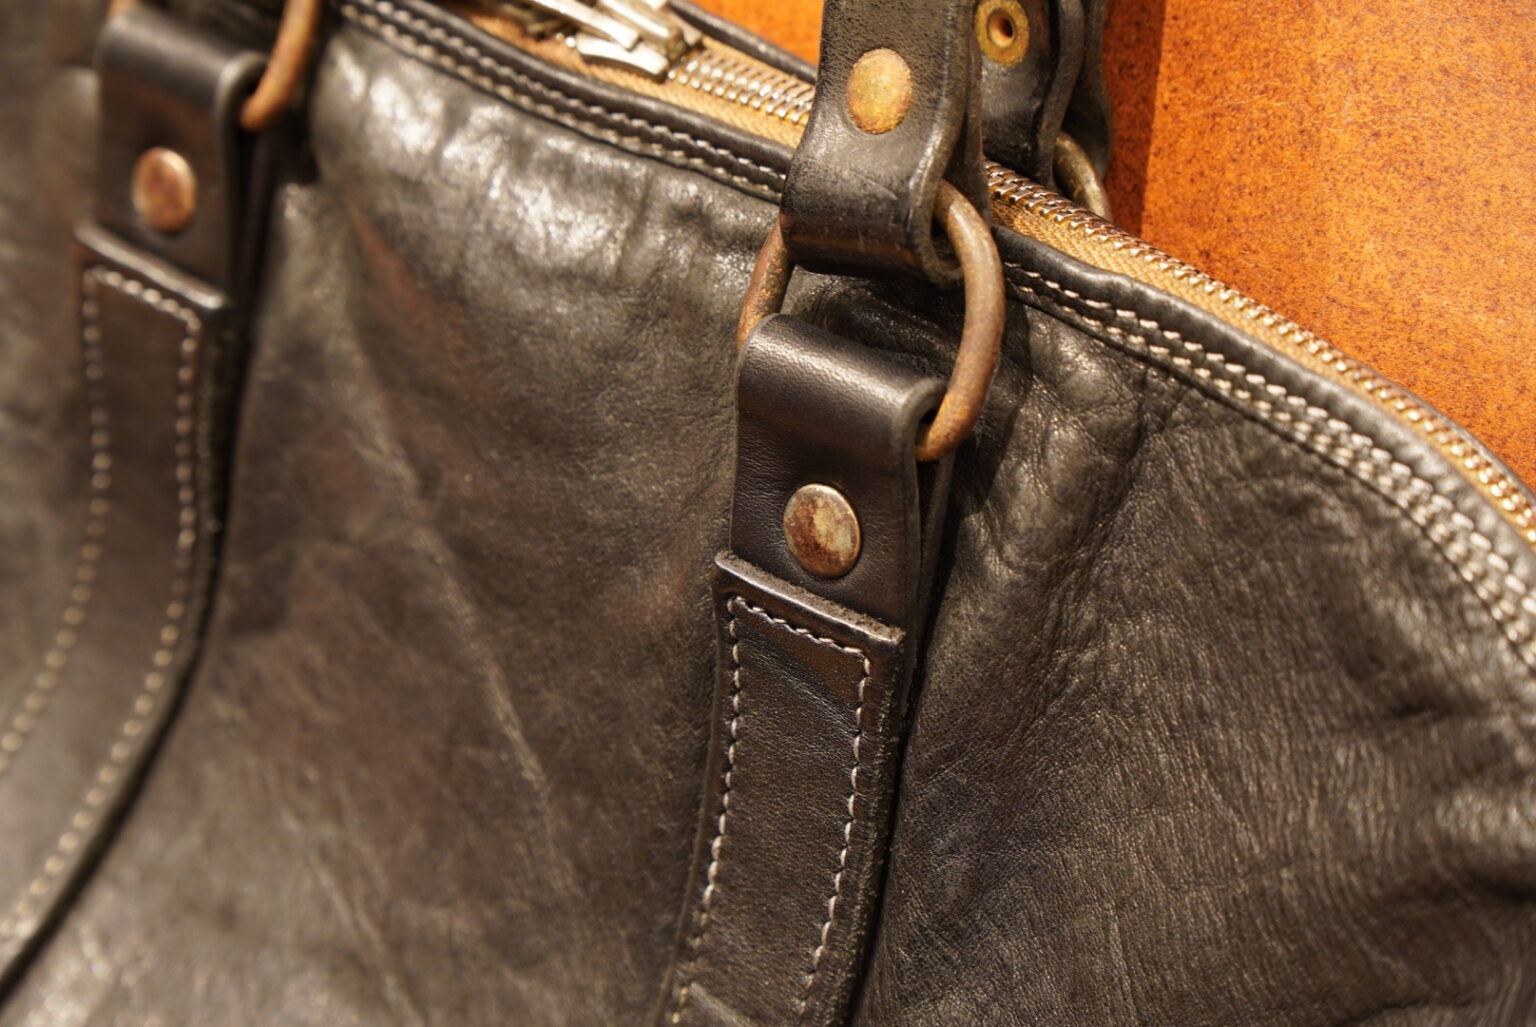
Although the rivets are brand new, they have been treated to give them a worn, well-used look.
I think this one blends in quite naturally as well, doesn’t it?
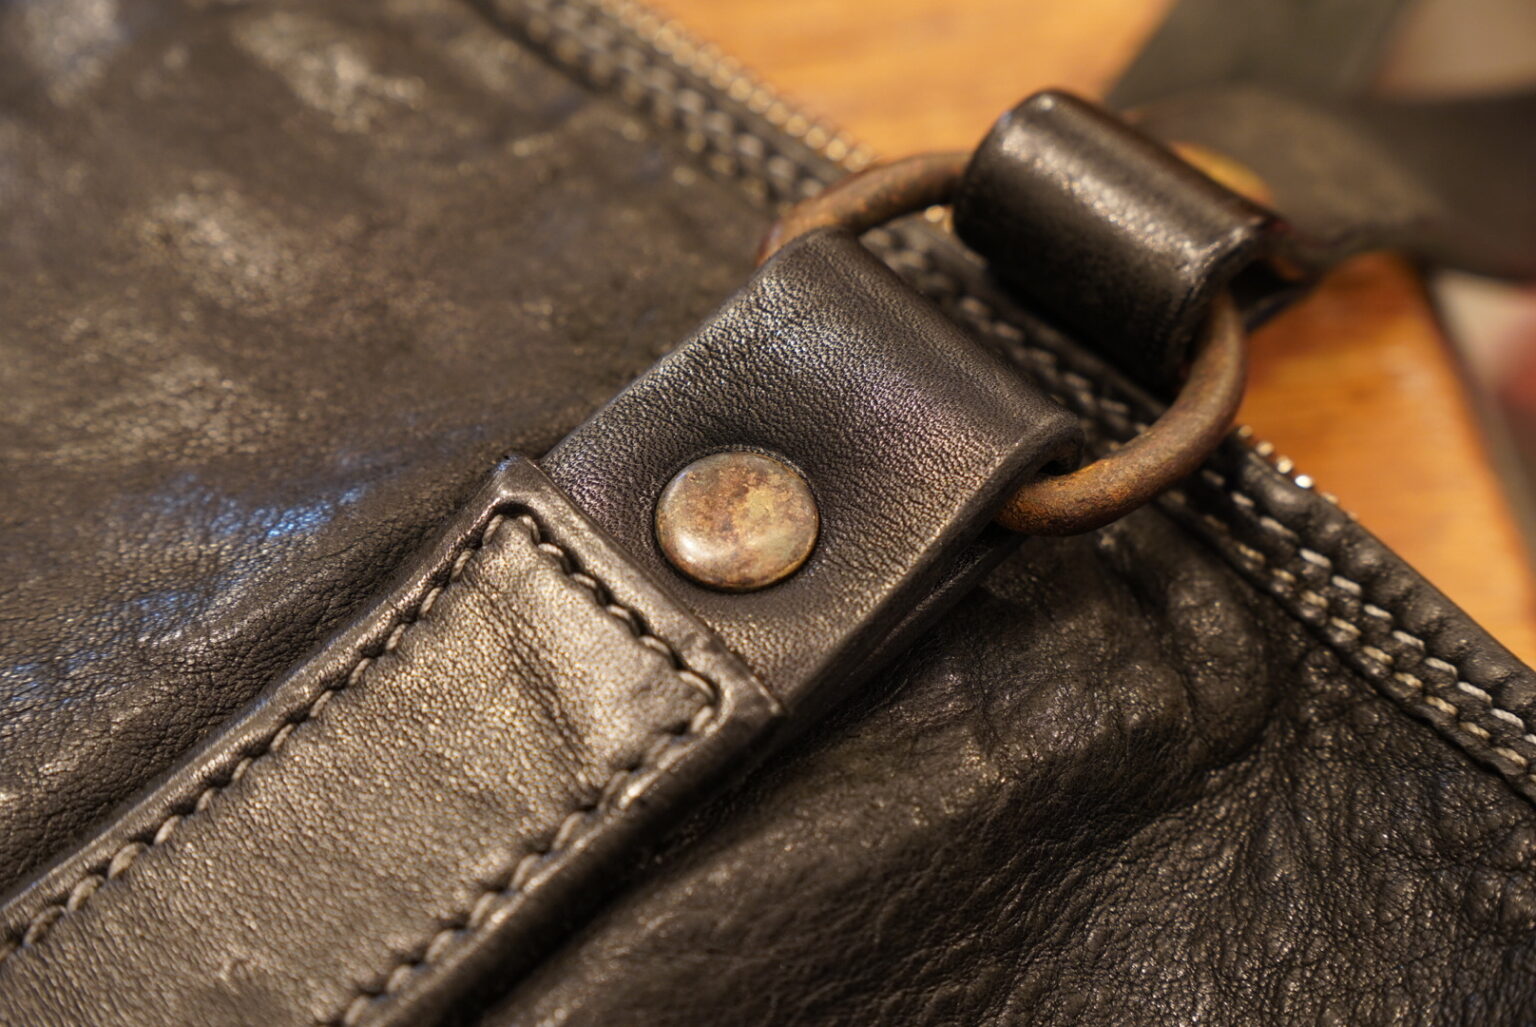
I think it’s turned out really well.
Items such as GUIDI, where the unique texture and the way they age over time are part of their appeal, are,
It is important not to spoil that atmosphere even when carrying out repairs.
At Union Works, we offer repair services not only for shoes but also for bags and leather accessories.
If you have any concerns regarding your favourite bags or leather accessories, please do not hesitate to contact us.
Thank you for reading to the end.
Yokohama Branch, Yamada


