
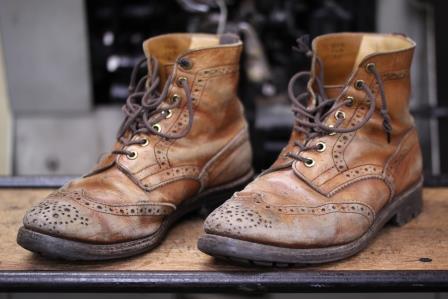
These are my personal belongingsTricker’s Country Boots... I wear them at the factory whilst working.
It’s not so much that the flavour’s off as that it’s rather grubby, isn’t it? (laughs)
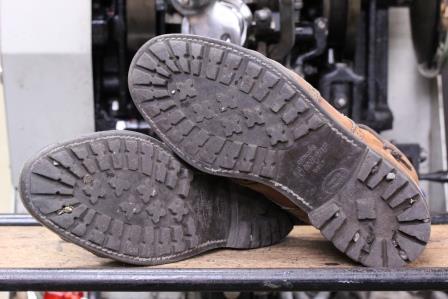
The sole features the Command Sole, renowned for its durability and grip, making it perfect for work boots☆
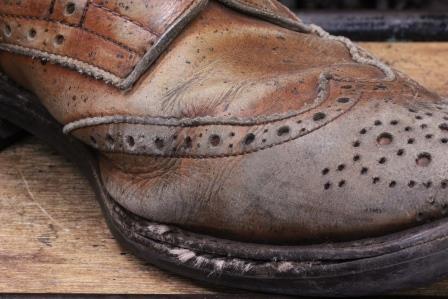
The sole has worn down so much that the outseam has come apart; I hadn’t realised at all (oops).
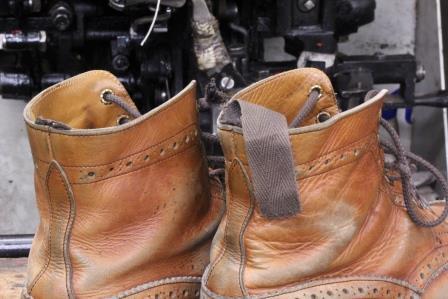
The pull tab on the left is missing, and the one on the right has been torn off.
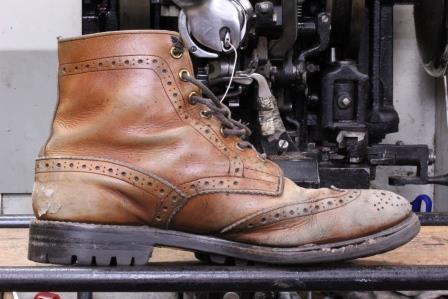
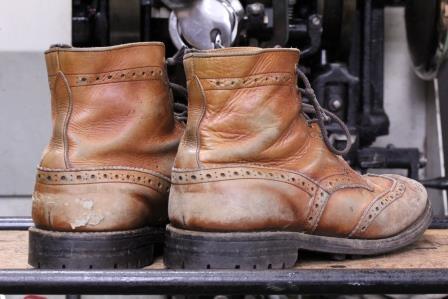
They’re a bit grubby, aren’t they? I’ve really put them through their paces, even by my own standards (laughs).
We’ll give it a full resole and a thorough polish!!
As this is a personal item, I’d like to take my time repairing it outside of working hours, whilst taking photos of each stage of the process☆
In this post, I’ll be explaining the repair process in quite some detail; it’s going to be a bit long, but please bear with me☆
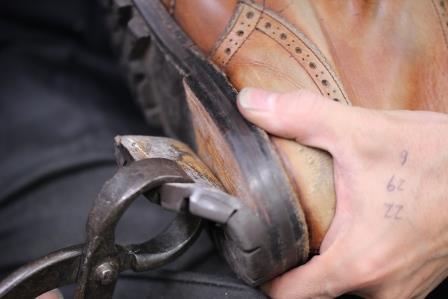
First, remove the heel.
I used to use the pliers with such vigour—I remember getting blisters on my hands from this task when I first joined the company; it really did hurt! ☆
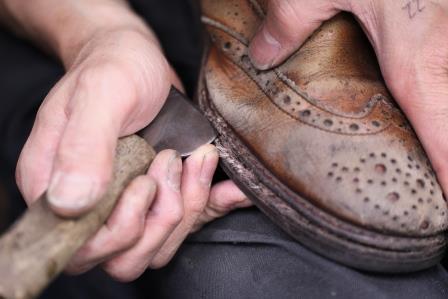
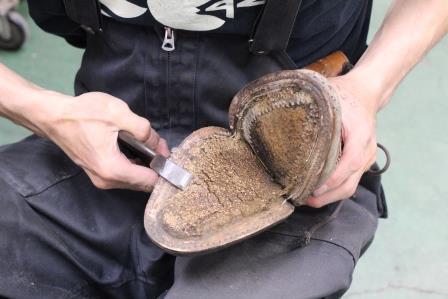
The process of removing the sole after taking off the heel
Insert a kitchen knife between the welt and the midsole to cut through the outseam, then peel it away in one go using a pair of pliers.
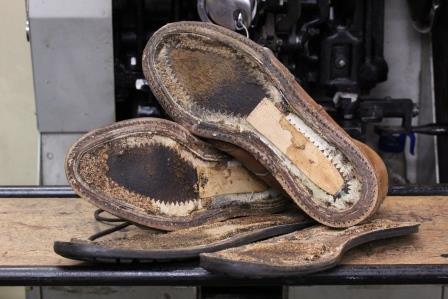
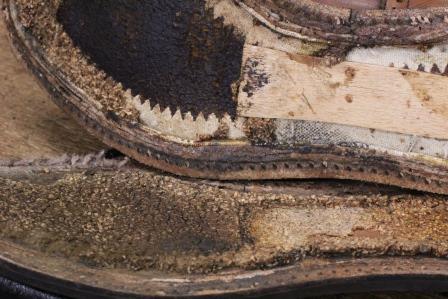
Here is the shoe with the sole come away
The cork had deteriorated and had come away, having practically stuck to the sole.
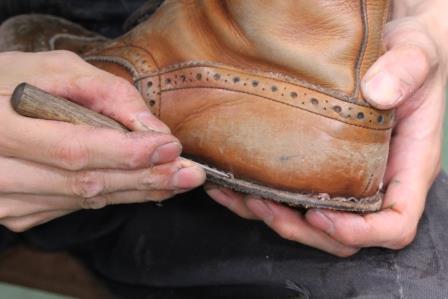
Carefully remove any remaining outseam stitches from the welt.
If you miss even a single stitch, you’ll get told off by your senior, so you really need to be careful (laughs)
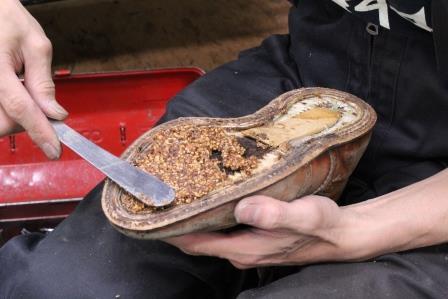
Missing corks have been properly replaced☆
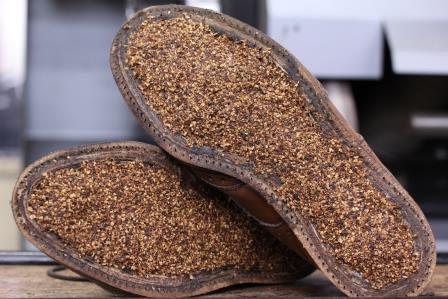
After applying a layer of cork and leaving it to dry overnight.
As cork shrinks when it dries, the trick is to apply a generous amount from the start☆
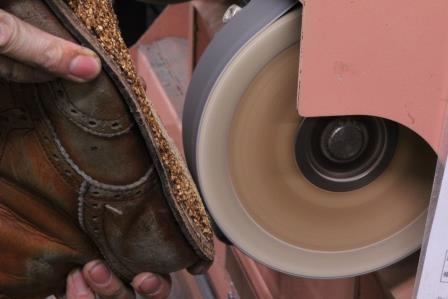
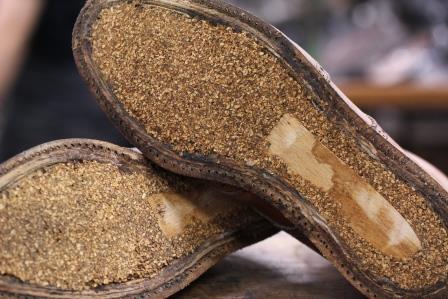
I’ve sanded down the excess cork to make it flat, so now I can finally attach the sole☆
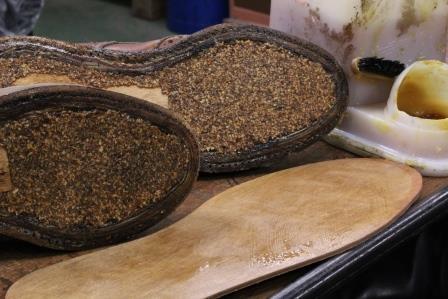
Country boots really do need a double sole; first, I’ll glue in the leather midsole.
Apply adhesive to both the cork surface and the midsole, and bond them firmly together.
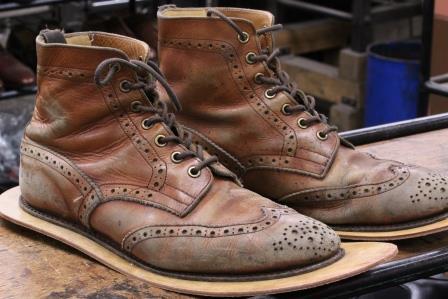
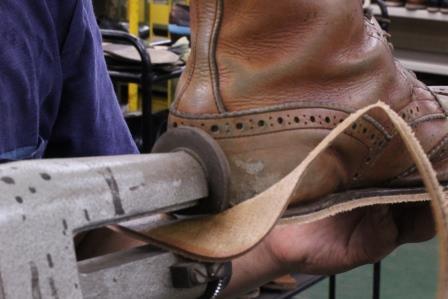
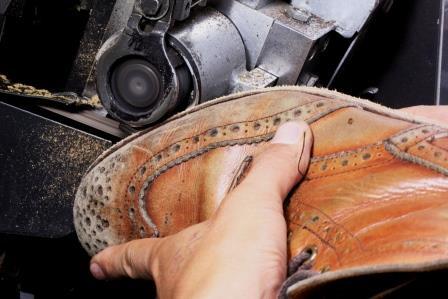
Trim off any excess using rubber cutters or a small cutter.
Here, we take care not to chip the welt, but we push right to the limit.
If I get cold feet and don’t sand it down enough, I’ll inevitably get told off by the senior colleague in charge of the next stage (lol)
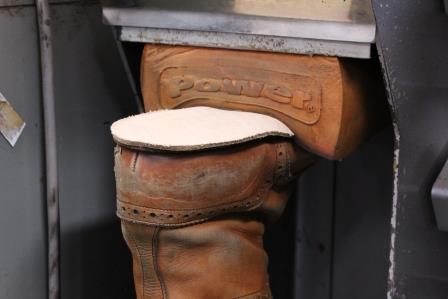
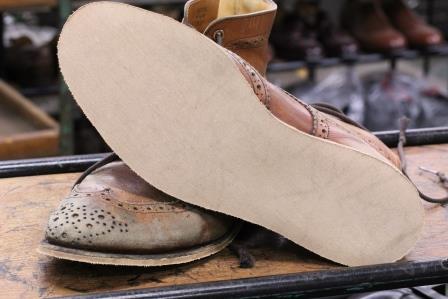
Once the trimming is complete, place it in the press to bond it firmly, and the midsole attachment is complete.
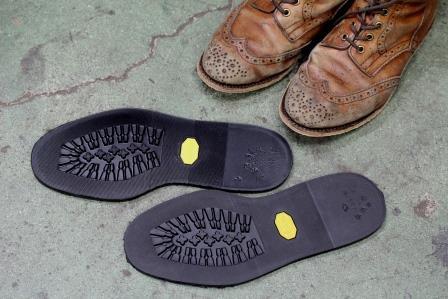
The outsole is a Vibram #430 – just like the Command, this is also a sole designed for work boots☆
Made from high-quality rubber, it’s a great sole that’s quite slip-resistant and provides excellent grip★
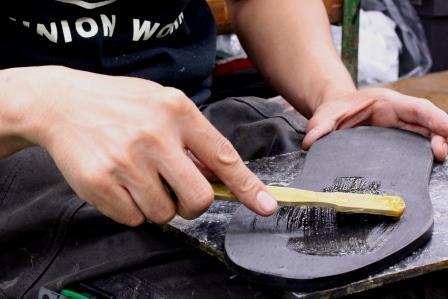
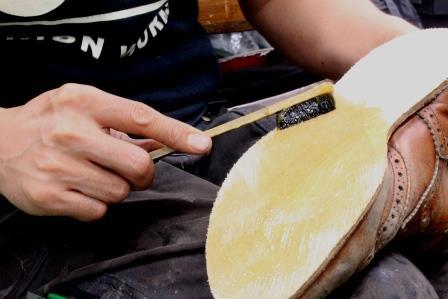
The outsole is bonded in at the same time as the midsole
Apply adhesive to both the outsole and the midsole, and bond them together.
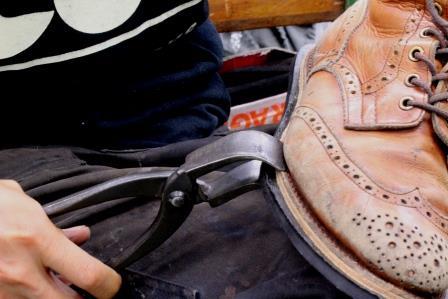
Use a tool called a ‘crocodile’ to clamp the welt and sole together, ensuring a more secure bond.
Of course, we’ll put it through the press as well.
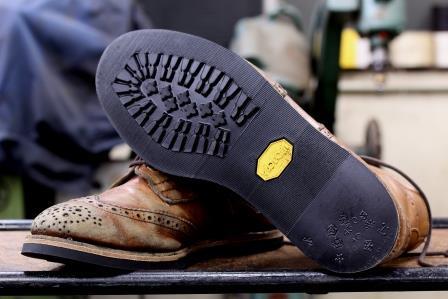
Once the trimming is finished, the outsole will be fully attached☆
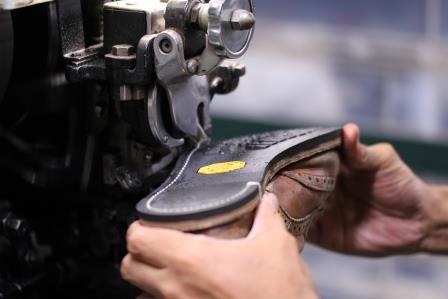
Next up is the outseam
With this massive sewing machine, it’s done in one go—it takes about 10 seconds per leg☆
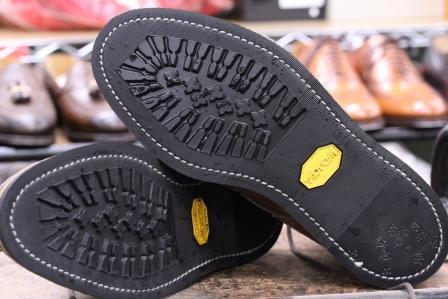
It’s come together really nicely☆
It’s coming along nicely, isn’t it? ☆
This has gone on a bit too long, so I’ll leave it there for today.
The next instalment will be published tomorrow, so stay tuned☆
For the month of July only, we are offering free return postage to customers who have registered with us.
*For further details, please see here →http://unionworks.blog118.fc2.com/blog-entry-2701.html
If you haven’t registered as a customer yet,HereYou can register here.
*We will send a direct mailer containing special offers to those who register by 25 July, around the time of the Obon festival in August.
I imagine there are many of you who are too busy to visit our shop.
We are also more than happy to accept shoes sent directly to our factory for repair.
Repairs by post:https://www.union-works.co.jp/order/
Repair Menu:http://unionworksrepair.com/#!/
Online shopping:https://unionworks.stores.jp/#!/
Thank you very much☆
Morita Factory