
[CROCKETT & JONES] Belt Cut
[CROCKETT & JONES] Belt Cut
14 June 2024
We’ve been receiving a lot of requests recently to adjust belt sizes (to make them shorter).
Whilst I felt grateful, I also found myself wondering why there were so many.
Just then, we received a new request to adjust the size of a belt.
‘Since I’ve been working from home more and don’t go out much anymore, I started going to the gym to make up for the lack of exercise, but I’ve actually ended up losing weight.’
I see!
It is possible that this is simply a coincidence of requests coming in at the same time, but,
This may well be one of the factors.
It seems that quite a few people have seen their lifestyles change dramatically over the last few years.
I feel much better now.
Enough of the preamble—let’s get down to the business of repairs.
As I mentioned at the start, this time I’ll be showing you how to adjust the size of a belt.
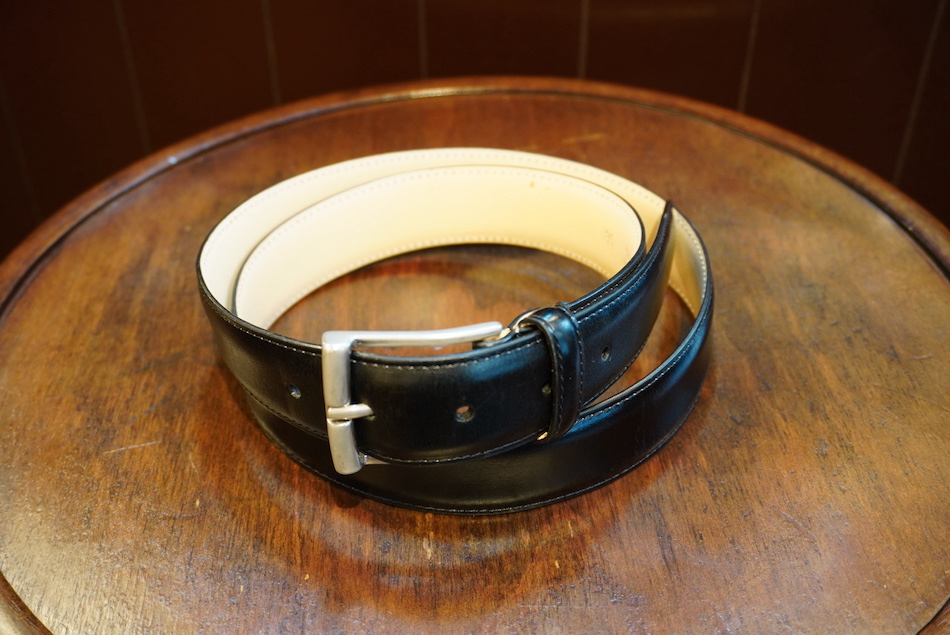
Many belts are designed on the assumption that the middle hole will be used.
Although there are exceptions, it is said to be designed so that it looks most balanced when fastened through the middle hole.
We understand that the client is currently using the innermost hole.
The customer requested that it be shortened so that it could be used in the middle hole.
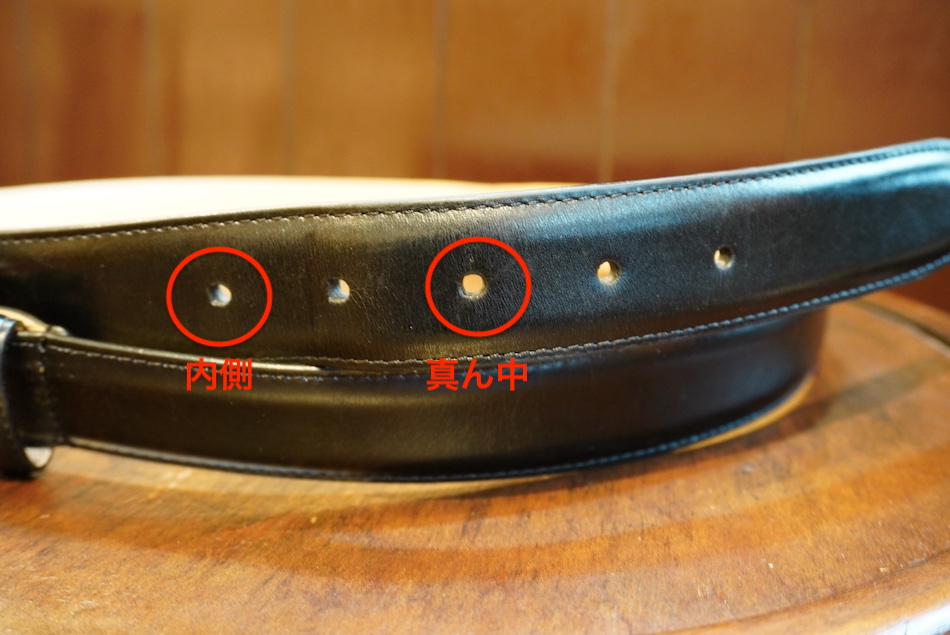
As the distance from the inner hole to the middle hole is 5 cm, I’ll make it 5 cm shorter this time.
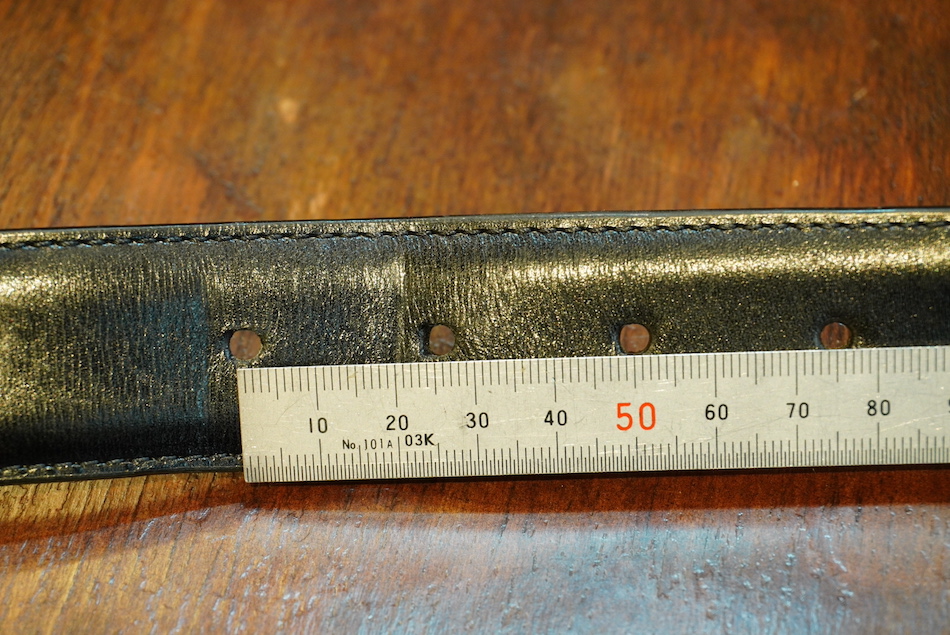
When adjusting the length of a belt, you generally cut the leather on the buckle side.
After all, even if you cut the tip, the position of the hole won’t change.
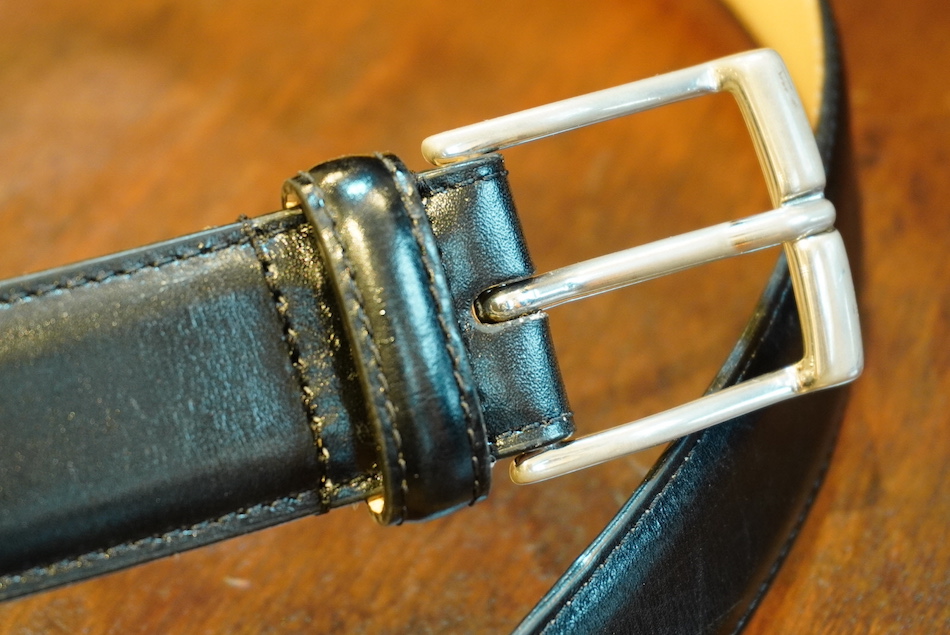
As you thread it in from the buckle end, depending on the length you cut,
In some cases, the holes where the original stitches or buckle pins were threaded may remain.
As we’re cutting 5 cm off this time, the stitch marks and pin holes will be 5 cm further along.
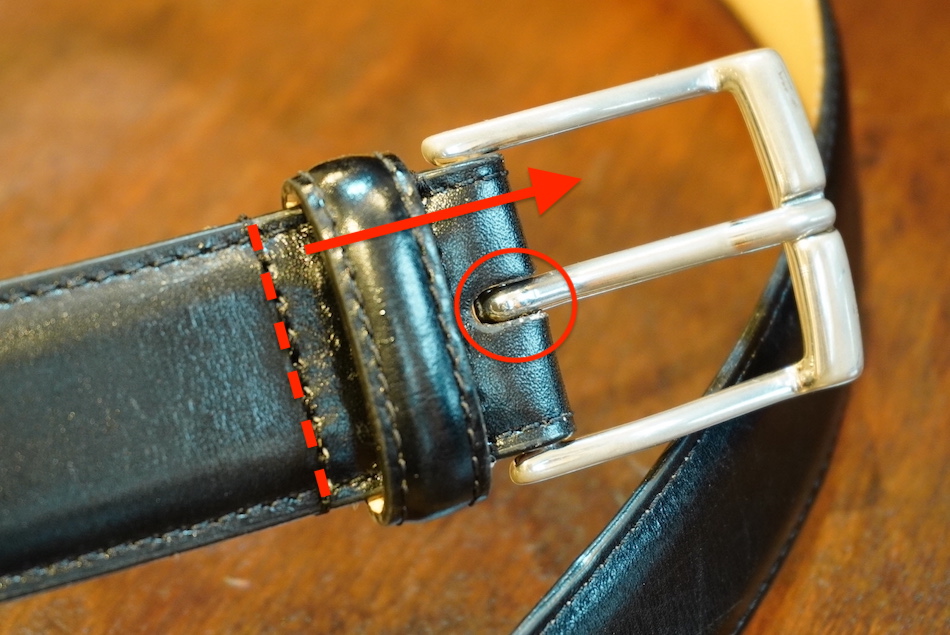
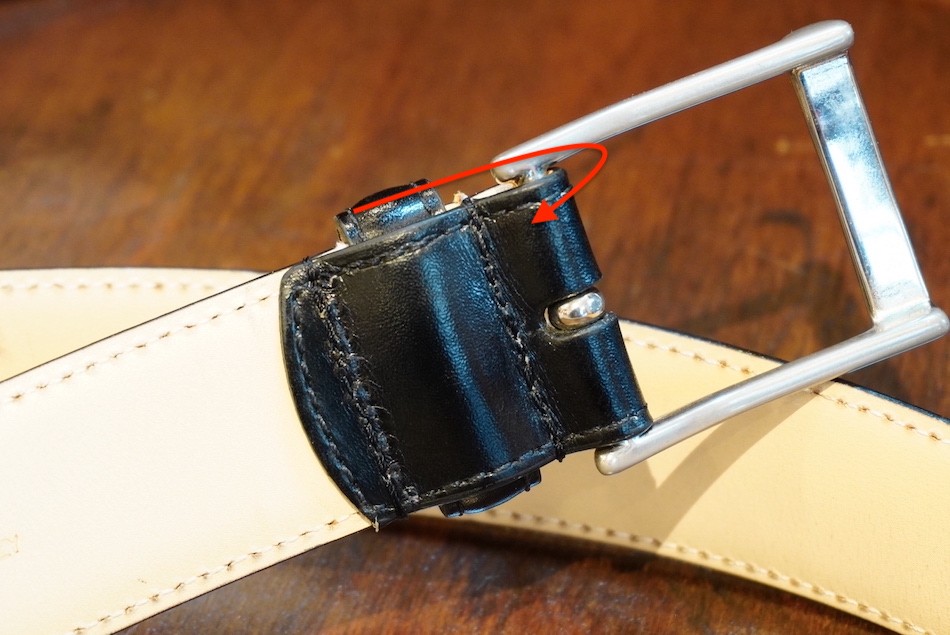
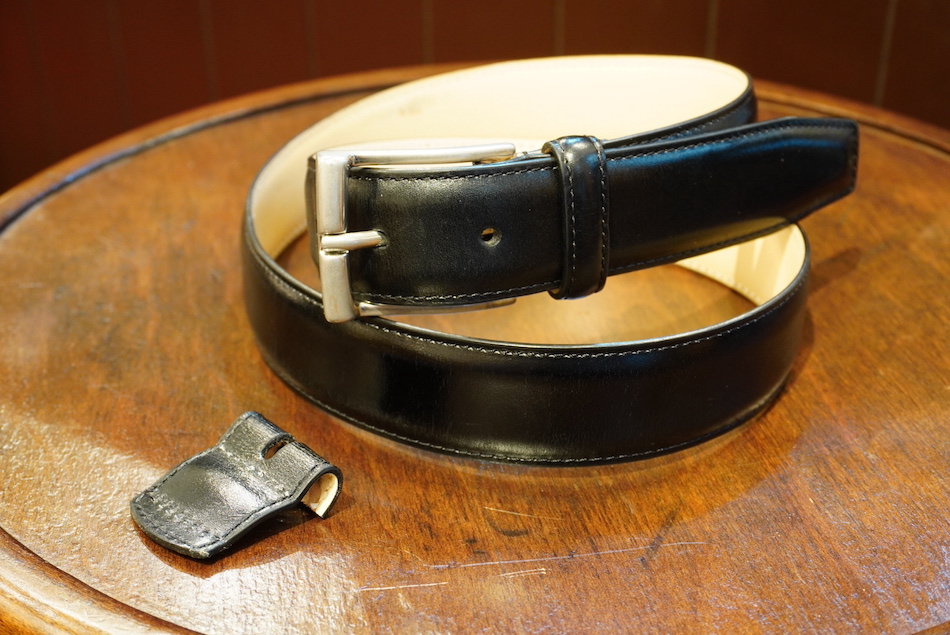
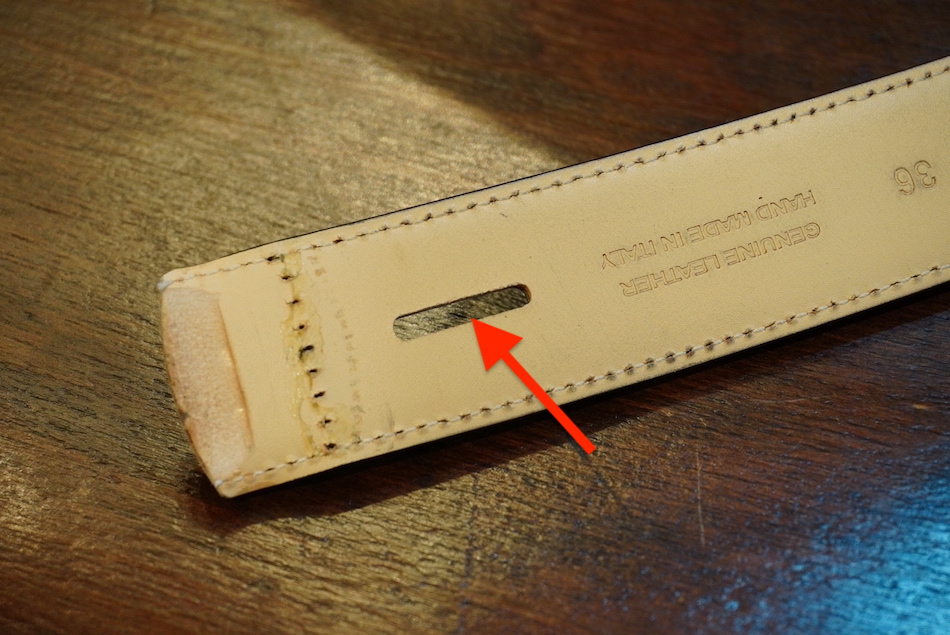
First, unpick the stitching, cut a 5 cm length, and make a hole through which to thread the buckle pin.
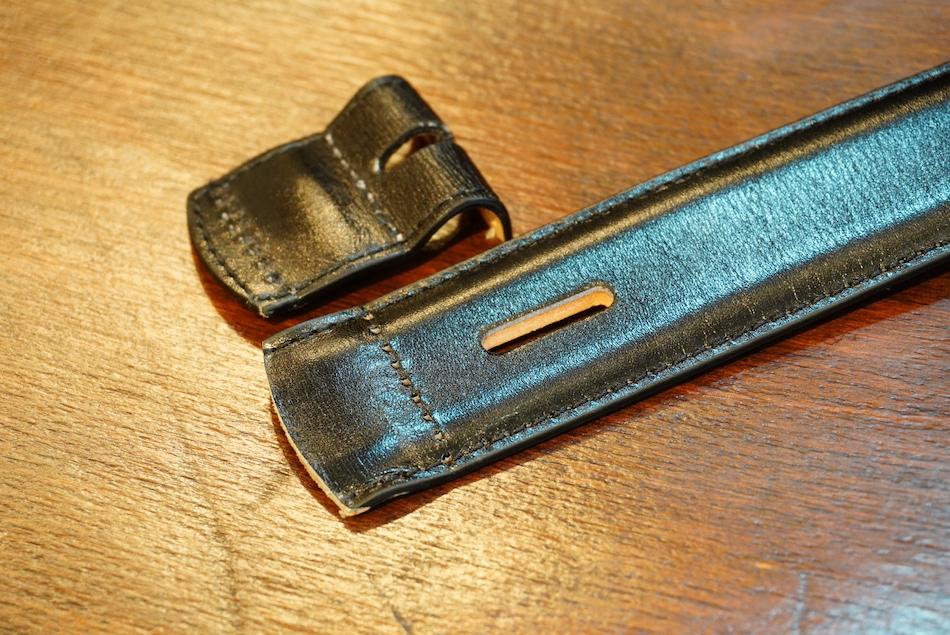
Adjust the thickness so that you can fold the paper around the centre of the hole.
If things carry on like this, it won’t bend, and,
Even if it bends, it can cause tears in the silver surface or make it look too bulky, resulting in a poor finish.
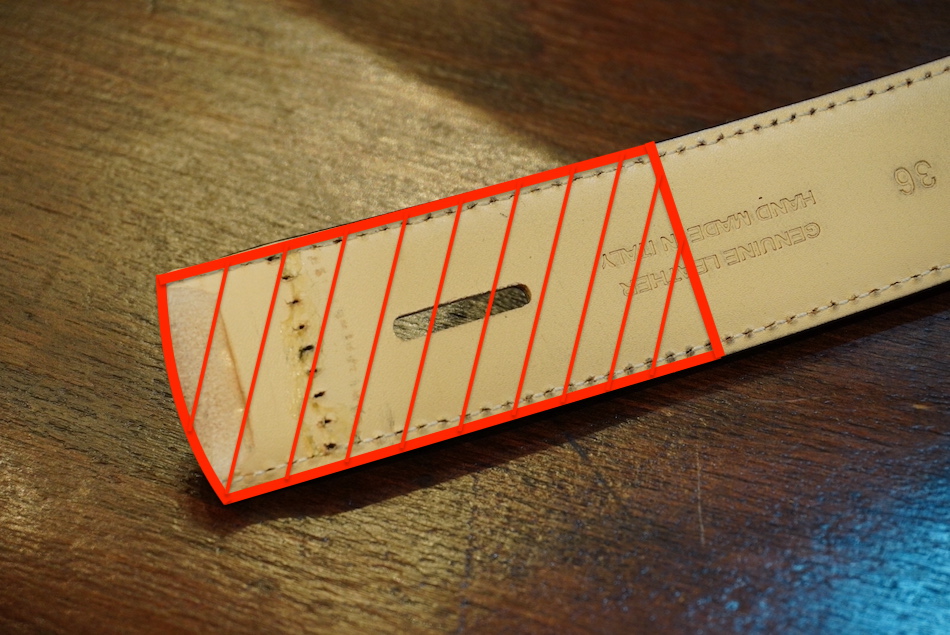
To minimise the bulk, thin the leather evenly at the points where it overlaps when folded.
It mustn’t be too thin or too thick.
It’s actually quite a delicate task.
As the stitching may come undone after adjusting the thickness, we will re-sew the outer edge.
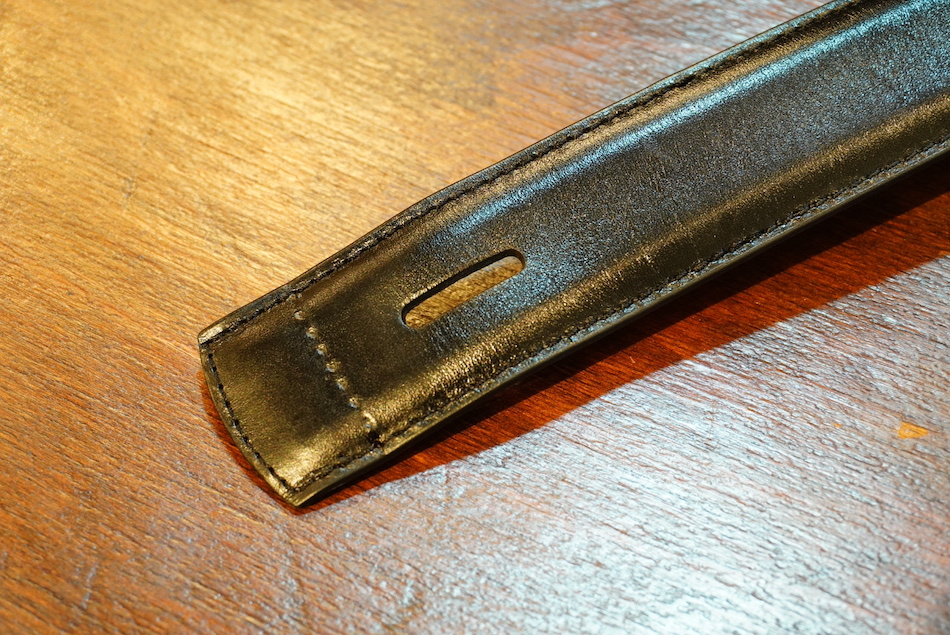
Now that we’ve got this far, it’s all down to the final stretch.
Once you’ve made the final adjustments, thread the buckle through the loop and sew it in place with a few stitches to finish.
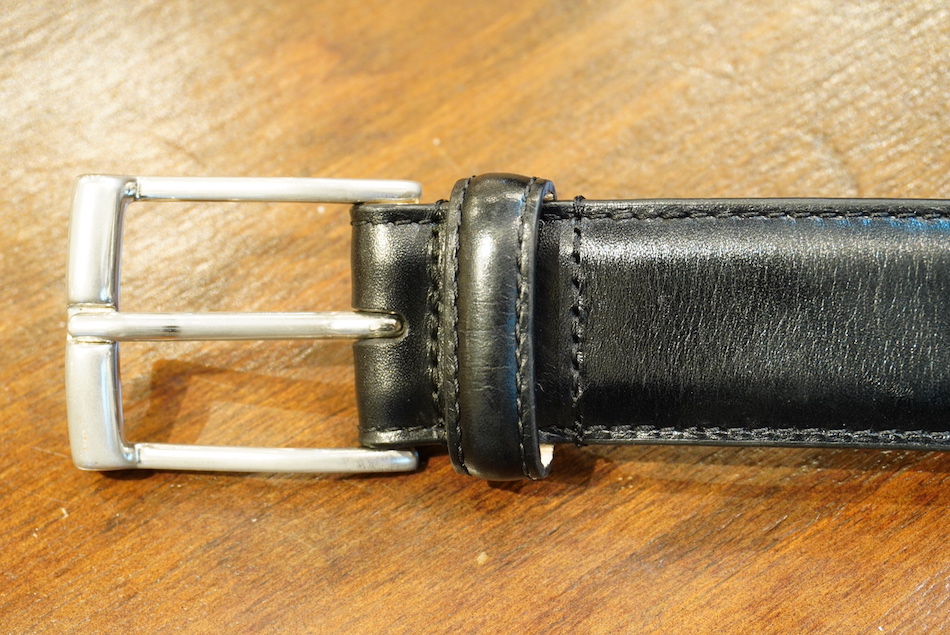
There’s just one stitch mark left on the back, isn’t there?
You can’t see it when you’re using it, and there are absolutely no issues with its strength.
In my experience, I find this often happens when the cut is less than 7 cm.
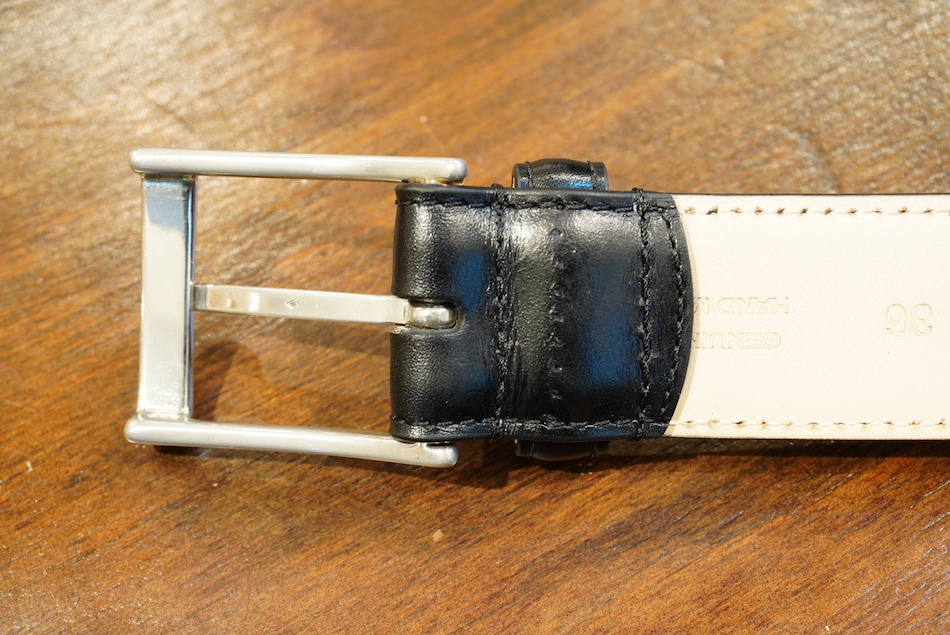
This is what it looks like when you thread it through the buckle.
It looks exactly the same, except it’s a bit shorter.
‘The belt I’m using has gone a bit loose.’
If this sounds like you, please do get in touch.
We look forward to welcoming you.
Thank you very much for staying with us until the end.
Yokohama Branch, Yamada