
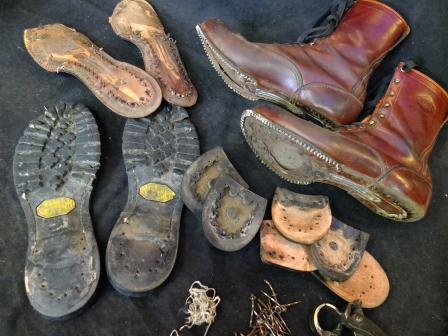
The other dayThis is the continuation of the story after I took apart the Wesco sole!
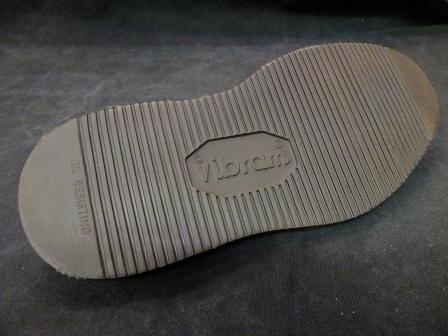
I’ve started wearing them again after quite a while, but in response to requests to make them more casual to wear,
This time, I’d like to replace the sole with this Vibram #2021.
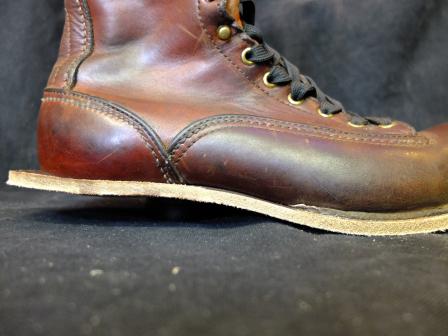
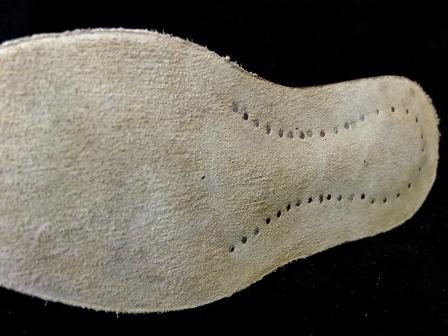
First, the midsole.
As this is a vital component that securely fastens the upper to the outsole,
We’ll cover it with a sturdy, slightly thick piece of leather.
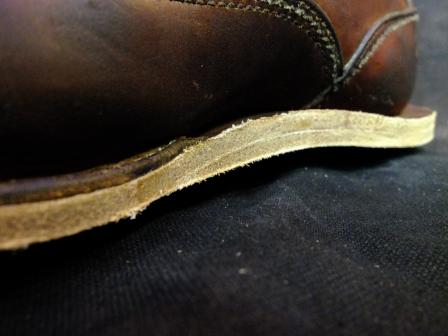
Next, attach the half midsole to the rear half.
Simply fitting this part to a wedge-type club such as the #2021 improves the balance, and
It looks quite crisp and fresh when it’s finished.
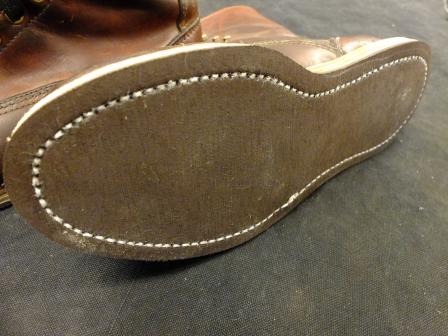
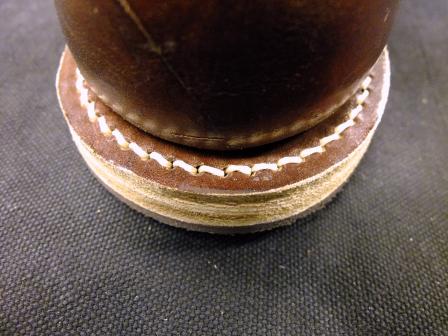
Next, attach a thin rubber base layer, and
Sew a seam all the way round, from the toe to the heel.
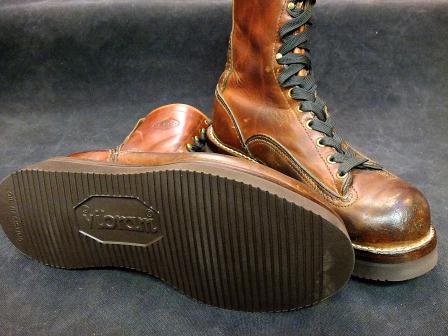
And finally, stick on #2021 and it’s done!
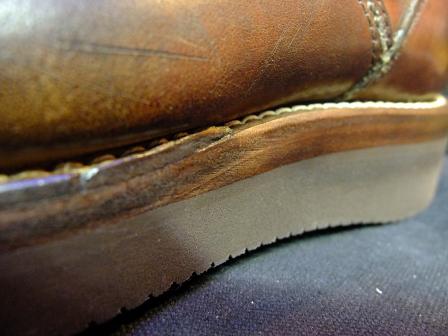
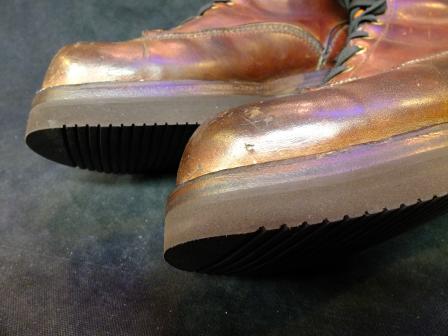
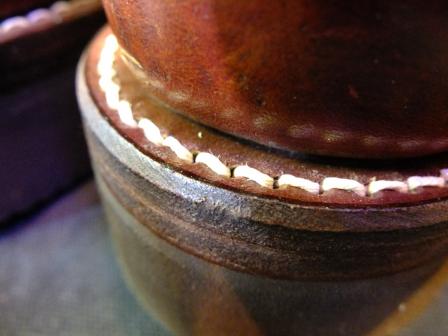
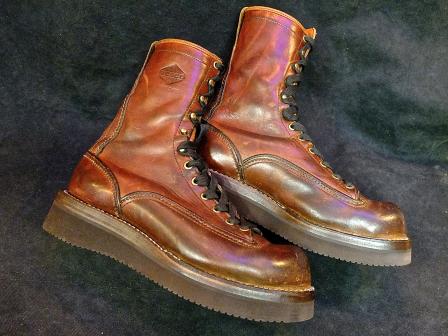
The atmosphere has changed quite a bit from that rough-and-ready feel it had in the early days, but
Changing the sole to #2021 makes it look and feel softer, and
I think it will become more of a shoe for everyday wear.
As the midsole at the heel needed replacing this time,¥17,850−
If you intend to replace only the outsole in future,¥10,500−That is the result.
(BENCH MARK Baba)