
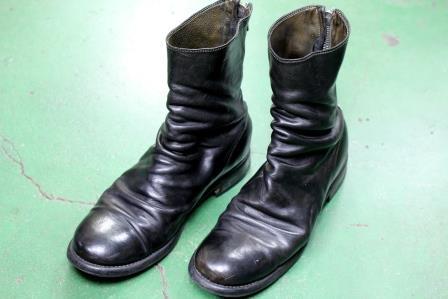
GUIDI’s classic back-zip boots☆
With their distinctive creases running from the instep to the ankle, these are the quintessential boots from an artisan brand, aren’t they? ☆
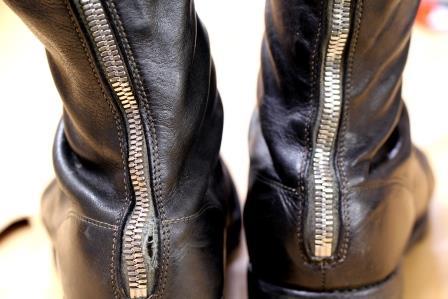
The zip on my left leg is torn, and the one on the right looks as though it’s about to tear as well.
As tears in the tape cannot be repaired, the entire zip will need to be replaced.
At this time of year, GUIDI products tend to be less durable and more prone to tearing, as the tape on the zips is made of cotton.
GUIDI uses a rather specialised dyeing method known as ‘tumbler dyeing’, in which finished shoes are dyed whole in a tumbler (dye vat).
A key feature is that the entire item, right down to the threads and the inside, is dyed; I imagine the zip tape is made of cotton rather than nylon because the latter doesn’t take the dye very well.
The cotton tape had a nice, distinctive look, but it seems that some of GUIDI’s recent models now feature zips with pre-coloured nylon tape.
It’s a tough choice between strength and atmosphere, isn’t it? ★★★
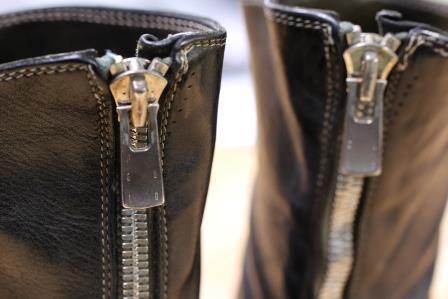
The zip pull is a GUIDI original – it looks brilliant!
The slider seems to be working fine, so I’ll just carry it over and use it as it is this time☆
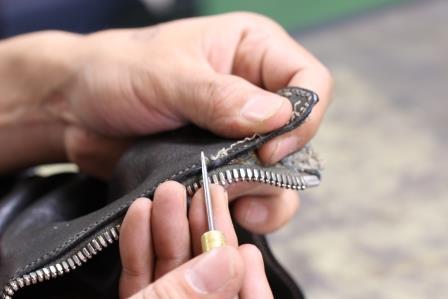
First, carefully unpick the stitches one by one to remove the zip, taking care not to damage the leather.
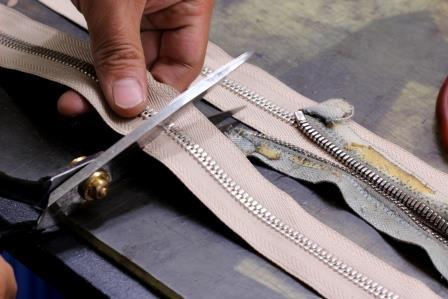
Once you’ve removed the original zip, get a new one ready; cut the zip you’ve bought by the metre to the right length.
YKK’s premium ‘Excela Zip’ range is identical to the original zip, apart from the fact that the tape is made of nylon☆
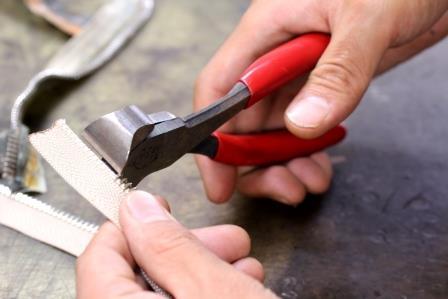
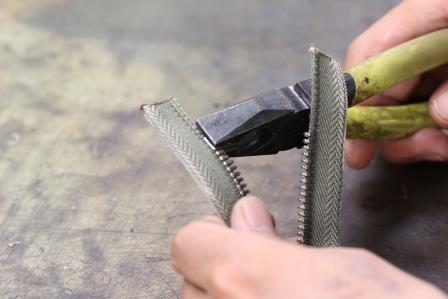
GUIDI zips are of the type with top and bottom stops; remove the elements (teeth) one by one by cutting through them.
This is where the length of the zip is finalised – be careful, as if you take out too many elements, it will end up being too short and you’ll have to start all over again!
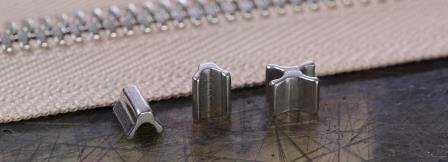
The two on the left are top fastenings and the X-shaped one on the right is a bottom fastening; these are the same parts as the GUIDI ones too☆
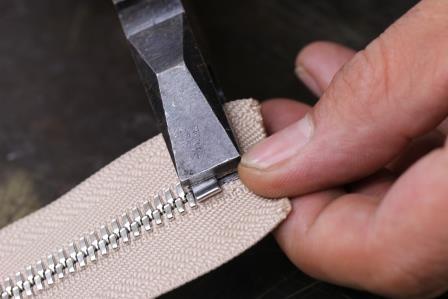
Once you have fitted all the elements, simply attach the bottom fastener.
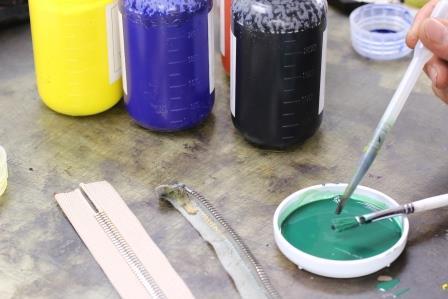
This is where the work that is unique to GUIDI begins: dyeing the tape.
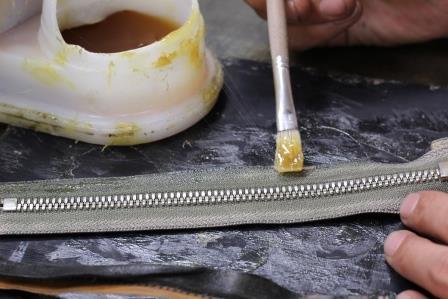
I mix the dyes to create a subtle, greenish shade.
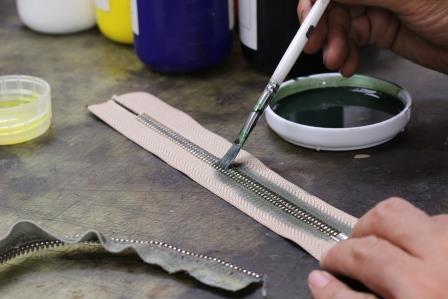
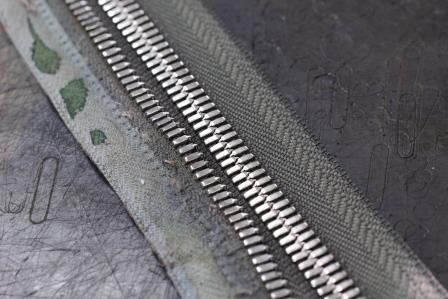
Once the dye is ready, apply it to the tape to colour it.
The one placed on top on the left (above) is the original zip – it’s now almost exactly the same colour☆
Once you’ve dyed it, thread the slider through and attach the top stopper – and there you have it, your new zip is complete! ☆
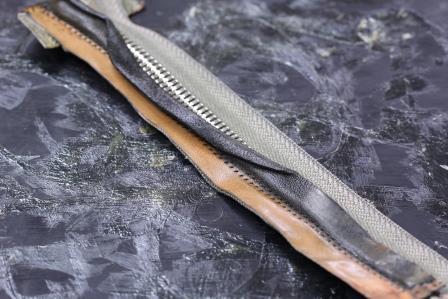
Stick the tab onto the tape section of the zip.
The pull tab is a leather piece attached so that the zip does not come into direct contact with your foot.
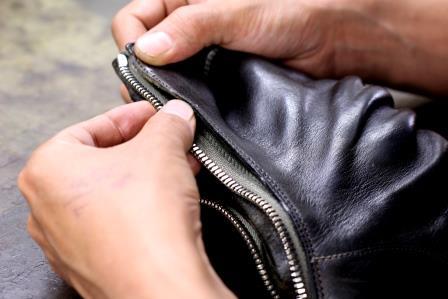
Temporarily secure the zip and upper with glue.
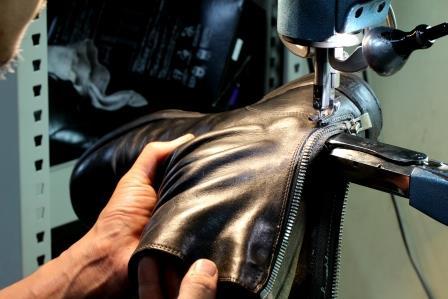
For the first pass on the sewing machine (the inner seam), sew the upper and the zip (including the pull tab) whilst leaving the lining unsewn.
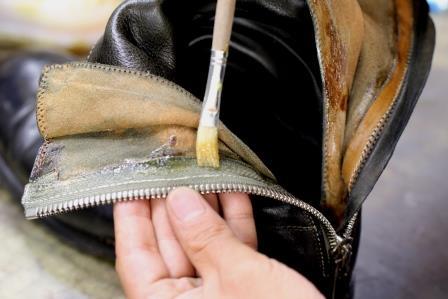
Once you have finished sewing, attach the lining.
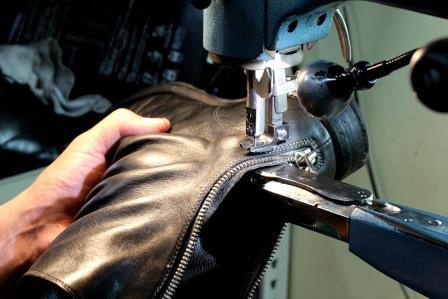
Sew through the lining as well on the second pass (the outer line), and it’s finished☆
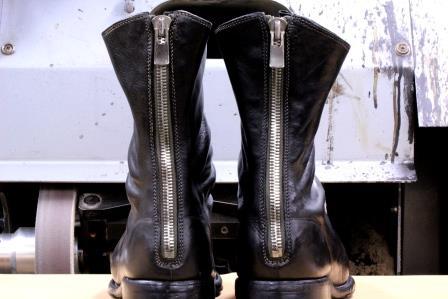
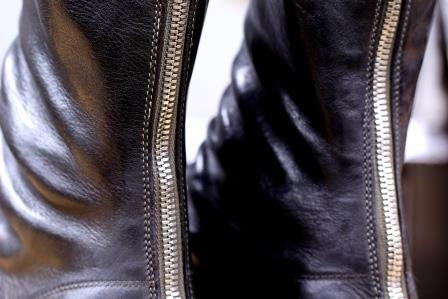
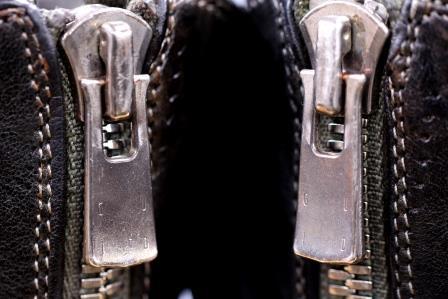
I’ve managed to reproduce the colour of the tape almost perfectly; it looks great without spoiling the overall feel☆
The nylon makes it considerably stronger, so it shouldn’t tear all that easily now☆
It’s lovely that you can use the original handles, isn’t it? ☆
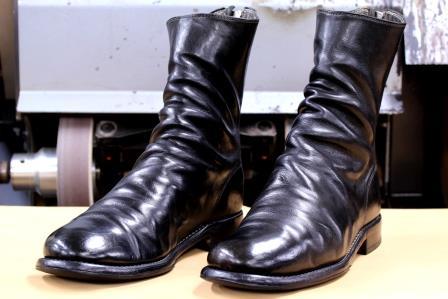
・Zip replacement: from ¥6,480 per leg
*The price varies depending on the length; for this particular length, it was ¥8,640 per leg.
・Esセラジップ included: +¥1,080
・Tape dyeing: +¥1,080
・Delivery time: 2–3 weeks
I imagine there are many of you who are too busy to visit our shop.
We are also more than happy to accept shoes sent directly to our factory for repair.
Repairs by post:https://www.union-works.co.jp/order/
Repair Menu:http://unionworksrepair.com/#!/
Online shopping:https://unionworks.stores.jp/#!/
Thank you very much☆
Morita Factory