
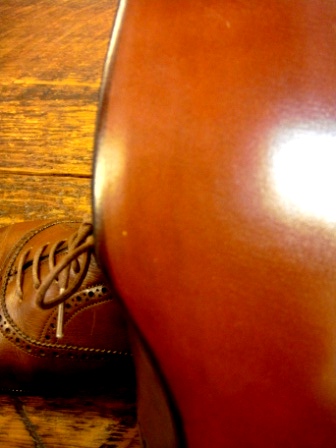
Continuing from last time: Edward Green’s full resole☆
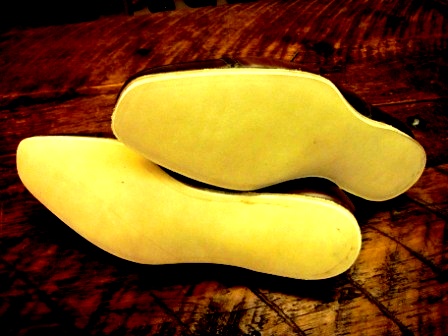
We carefully select the appropriate type of benz (outsole) from a wide range of options, temporarily bond it to the shoe as a new sole, and then trim the edges.
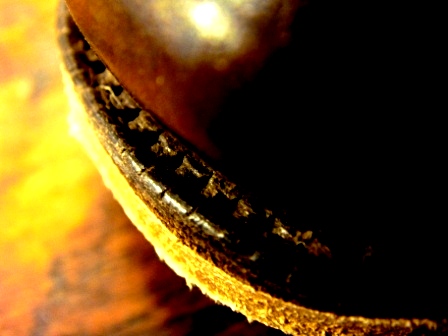
All the old outseams remaining on the welt have been removed. That goes without saying♪
Is it nothing short of a miracle to drop a new stitch into the same hole?
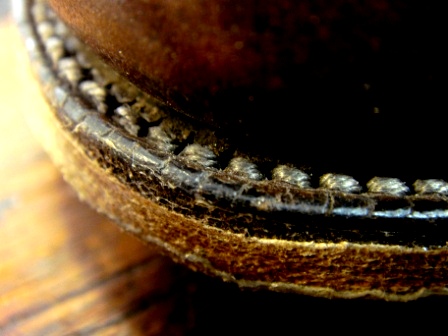
Well, as you can see (laughs)
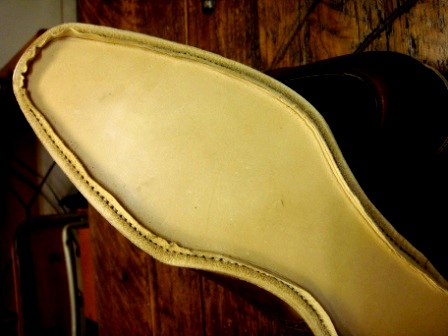
However, it’s not simply a matter of stitching over the old holes haphazardly. The soles feature a ‘hidden channel’ design to ensure no thread shows on the sole surface. If you’re having the soles on your Edward Green shoes replaced, this is only to be expected♪
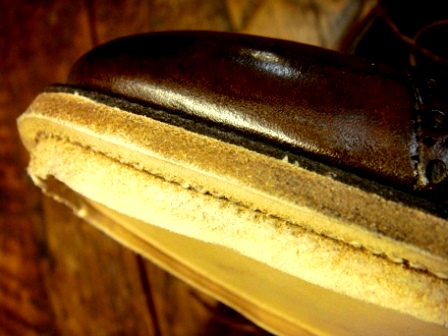
So, ‘Hidden Channel’
I really do wonder what the situation is like in reality???
Here’s a close-up view this time.
You slice off about 7 or 8 millimetres from the edge of the 5-millimetre-thick outsole, roll it up, and then sew along the underside.
(The reason there are so many ‘?’ marks is that I can’t quite find the right way to put it. It might sound a bit trite and simple when put into words, but it’s actually quite profound.)
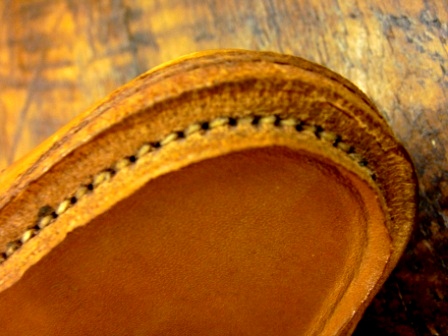
Incidentally, this illustration was produced by the original Edward Green factory. It is a sample showing the shoe-making process.
I just can’t manage it. It’s enough to make you sigh……….
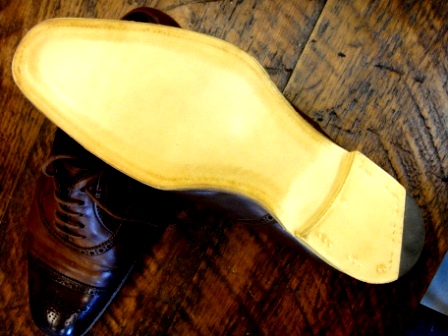
A picture showing the channel laid flat, with the heel in place.
This is where the art of trimming really comes into its own.
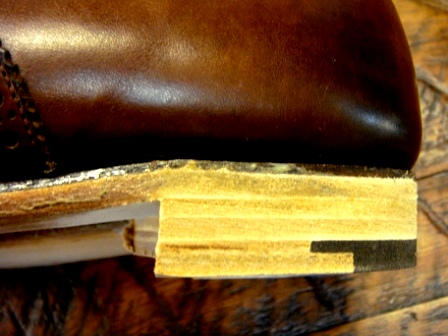
A rough finish on the heel.
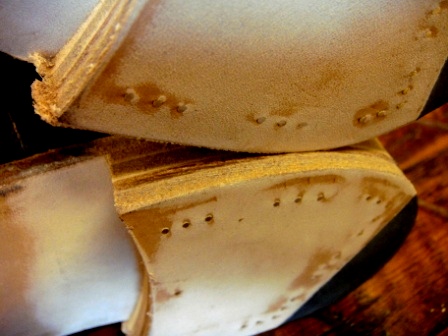
The decorative studs on the heels are made of solid brass.
I hammered one nail in, knocked the head off… and repeated the process; this time, I managed 46 in total between both feet.
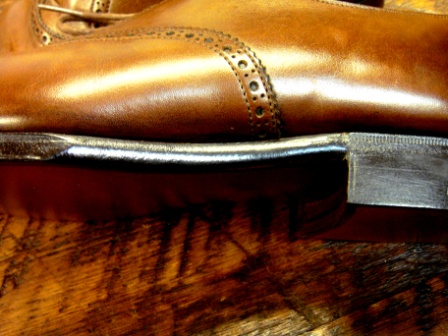
Reproducing the rounded edges of the waist. This, too, is common knowledge.
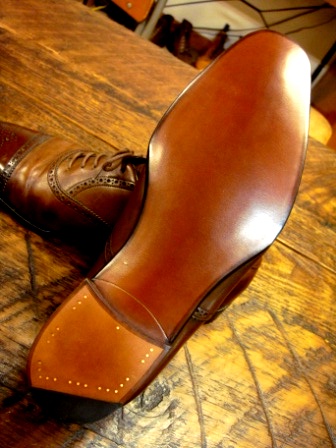
After finishing with Saul Stein, add ironwork and decorative elements to the designated areas to complete the piece☆
We’ll gently polish the uppers, even if they’re looking a bit worn.
This means I’ll be able to wear them for a long time to come☆