
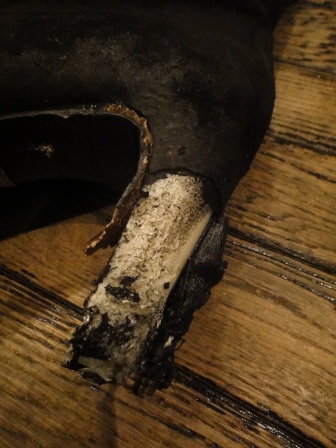
It’s a truly terrifying situation.
Was it a scream or a sigh?
I noticed the noise my dog was making in the hall,
I wonder what’s gone on?
So I went to have a look, and...
Just imagining that sort of situation makes my knees go weak.
But I managed to pull through this time too!!
Let me start by presenting the results.
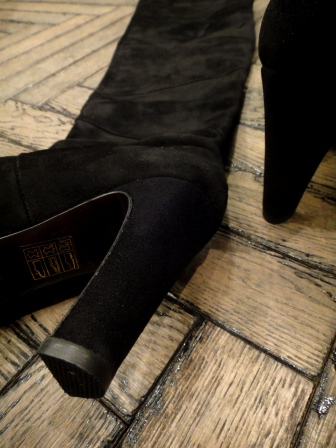
A splendid comeback. That’s a relief, isn’t it?
Right, let’s take a look at the process from here.
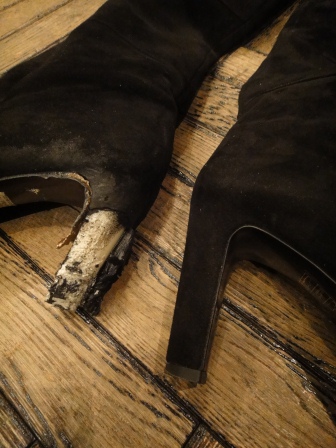
So that’s what it used to look like.
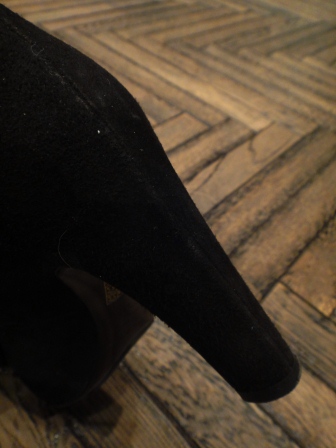
This is my other leg, which was unharmed.
It features an unusual design, with the heel connected to the heel counter by a single piece of leather.
It is often the case that when a thin heel breaks, you remove the heel and replace it, but
This was the first time I’d worked on a design like this, where everything flows seamlessly, so I found it quite challenging.
On top of that, there’s the added hurdle of the boots not having zips…
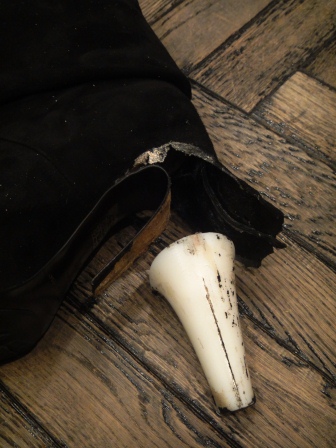
After giving it some thought… I began by carefully separating the sole and the heel leather around the heel, and
Remove the inner heel.
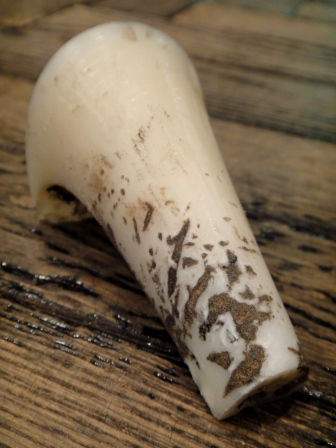
The heels, which were badly scuffed, were filled with putty and the surrounding area sanded down to a smooth finish.
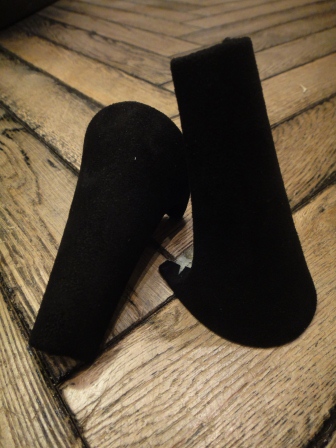
Have it re-wrapped with new suede.
Simply fit it back into its original position, and you’re done.
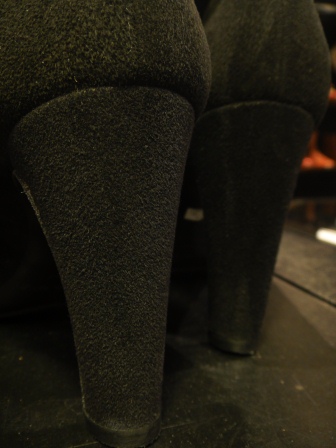
To be honest, when I first saw the damage, I was on the verge of giving up, but
It was fortunate that, on this occasion, it was black suede, which is easy to wear.
Perhaps she was hoping that her master, wearing these shoes, would take her out for a walk or something♪
( Ginza Branch (Chokai)