
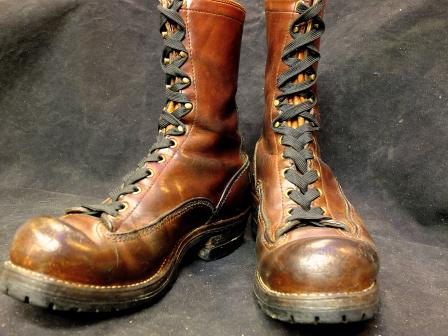
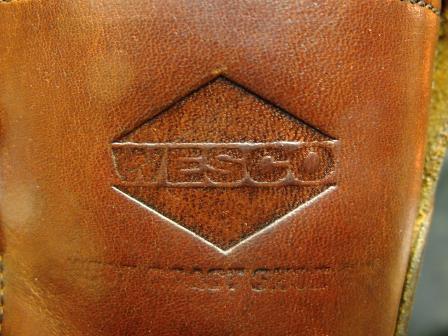
Wesco’s old logo is becoming increasingly rare with each passing year. This time, we’re showcasing this pair of re-soled boots☆
That said, taking apart the sole of these sturdy, robust boots is a real struggle!
Let’s take a look, bit by bit!
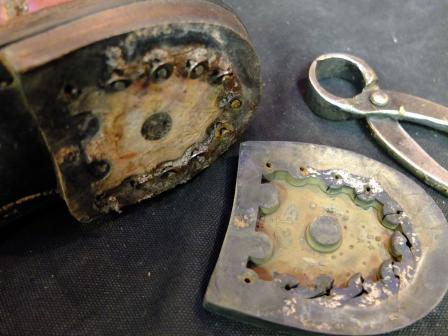
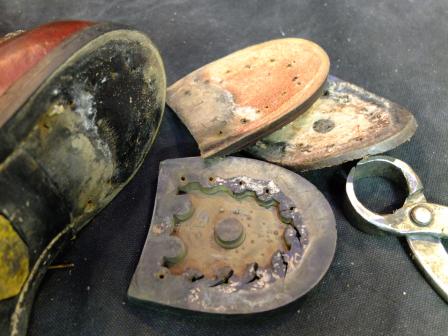
Let’s start with the heel. We’ll peel off the top piece and the layers one by one.
It’s easy to put into words, but it’s actually quite a labour-intensive task, and
I’ll keep peeling it off patiently.
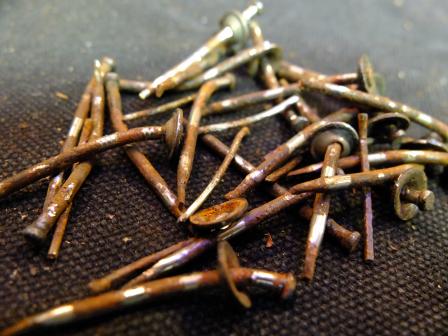
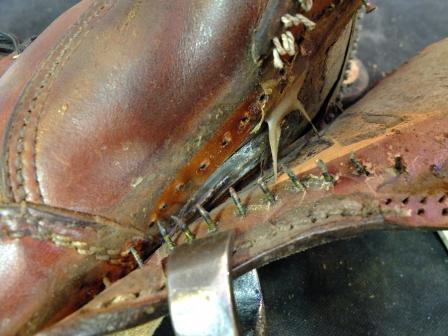
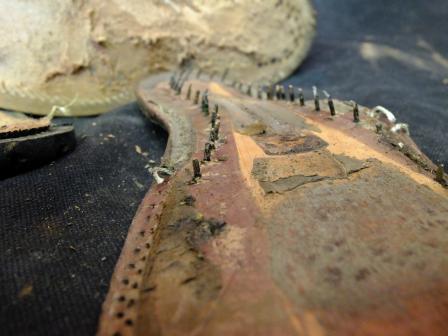
This many nails are used in just a single heel.
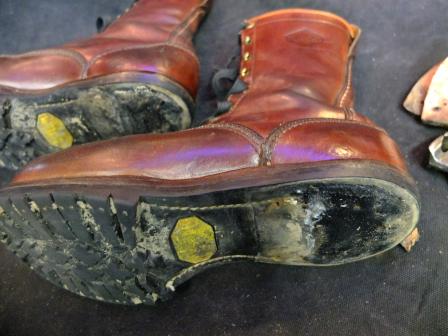
When I was a rookie, I could barely manage to peel off this heel, let alone anything else...
As I peeled off my heels, I occasionally caught sight of my seniors crossing in front of me
A 45° upward glance. ‘Help meee!’ I remember taking it apart whilst stealing glances with that look in my eyes.
(Fond memories... tears)
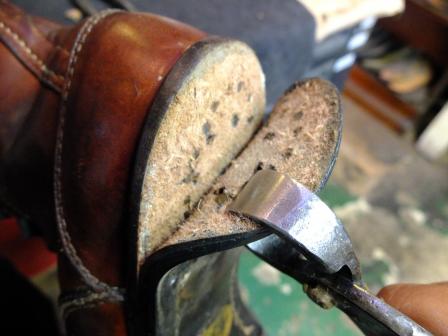
Once you’ve finished removing the heel, let’s move on to removing the outsole!
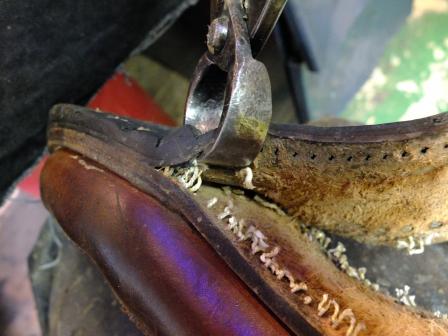
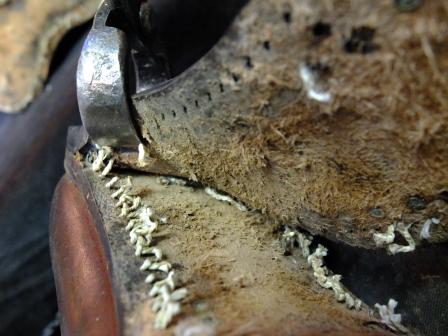
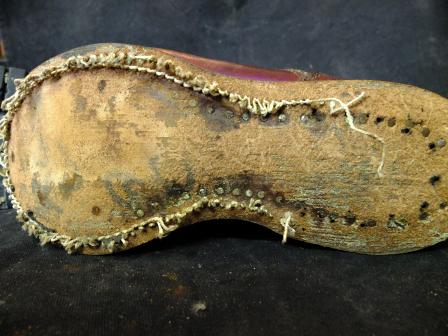
With the outsole removed
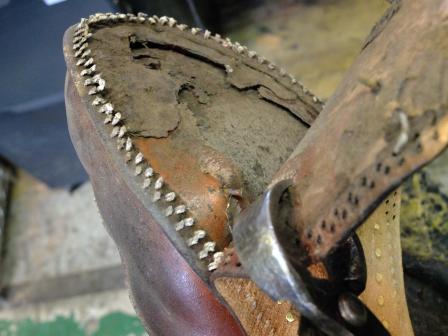
Finally, the midsole.
I’ll take great care when taking it apart so as not to tear the upper, which serves as a substitute for the welt in this particular style!
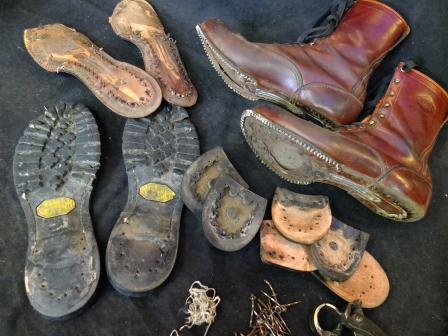
General view.
To assemble all these parts using hardly any glue
Given that it’s held together with nothing but nails and thread, it actually makes one appreciate it all the more.
So, this Wesco. I wonder what sort of customisation it will undergo to transform it.
To be continued in a few days’ time...
Stay tuned!
(BENCH MARK Baba)