
Repairing the top edge (top line)
Repairing the top edge (top line)
10 January 2023
- CATEGORY
- MEN'S REPAIR
- Other Shoes & Boots
Happy New Year.
We would also like to express our sincere gratitude for your continued patronage.
Whilst I’ve already posted New Year’s greetings on social media and elsewhere, this is a slightly belated greeting on the blog.
A week has now passed since the start of the new year.
I imagine many of you are starting to get back to your normal daily routines.
Union Works has also resumed normal trading at all its branches from 1 January.
This year, too, we intend to remain true to our commitment to our customers and to our craft of shoe repair, whilst never forgetting our gratitude.
We would be most grateful for your continued support.
Here is an overview of our standard repair services.
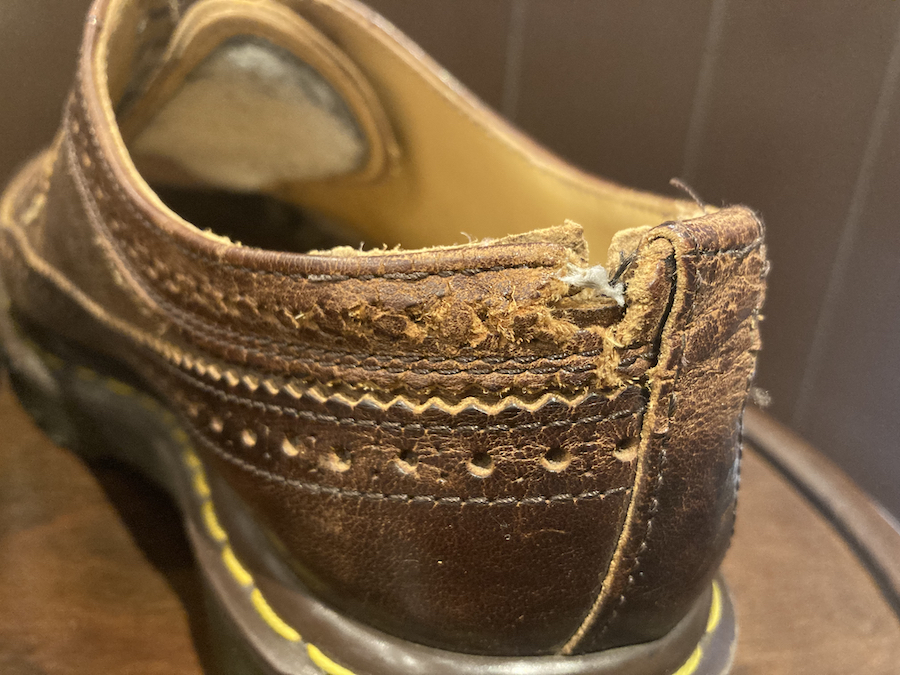
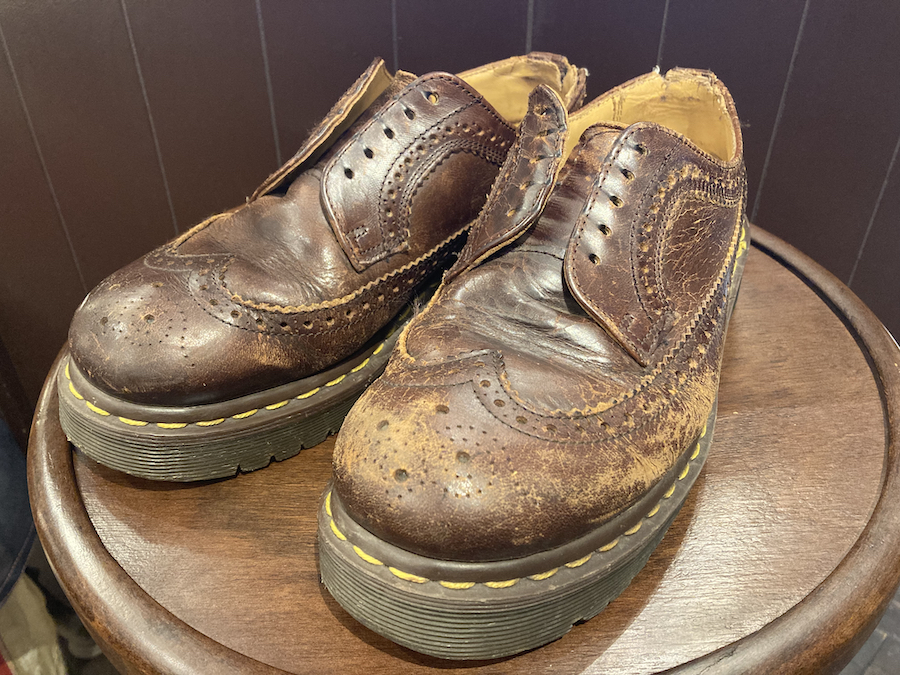
Today, I’m going to repair a pair of Dr Martens.
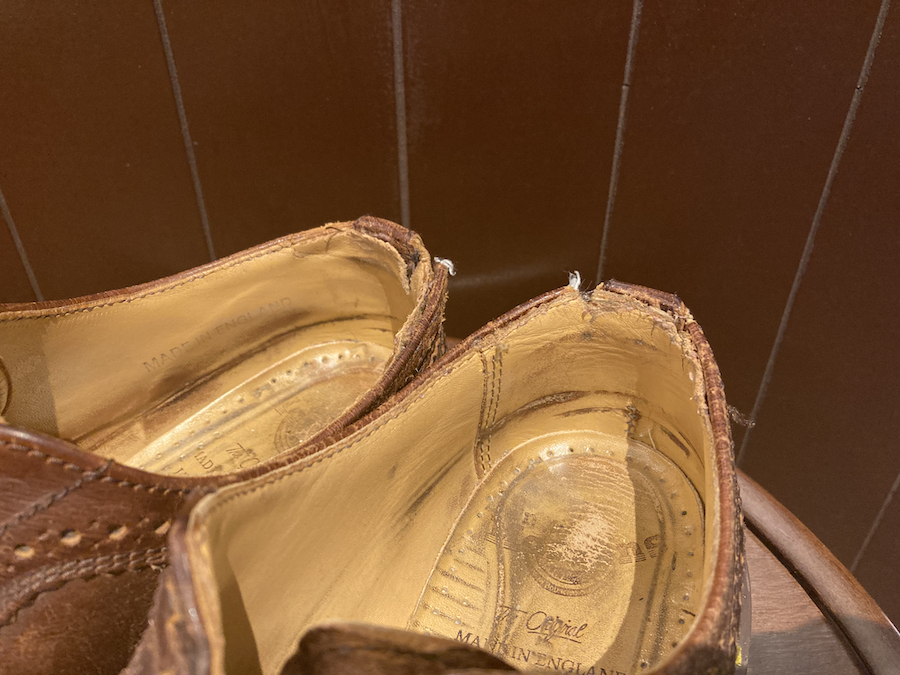
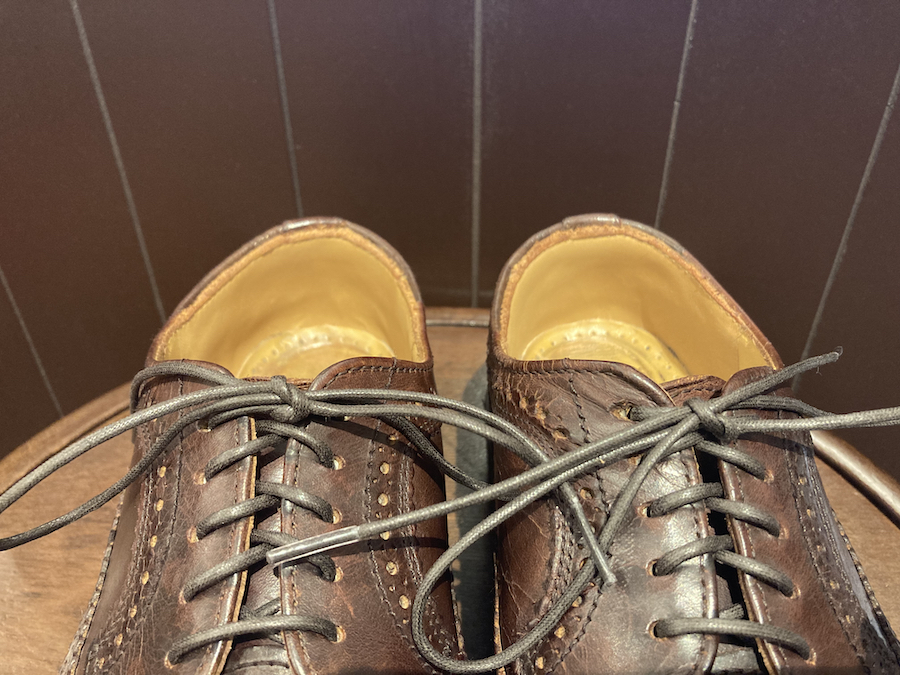
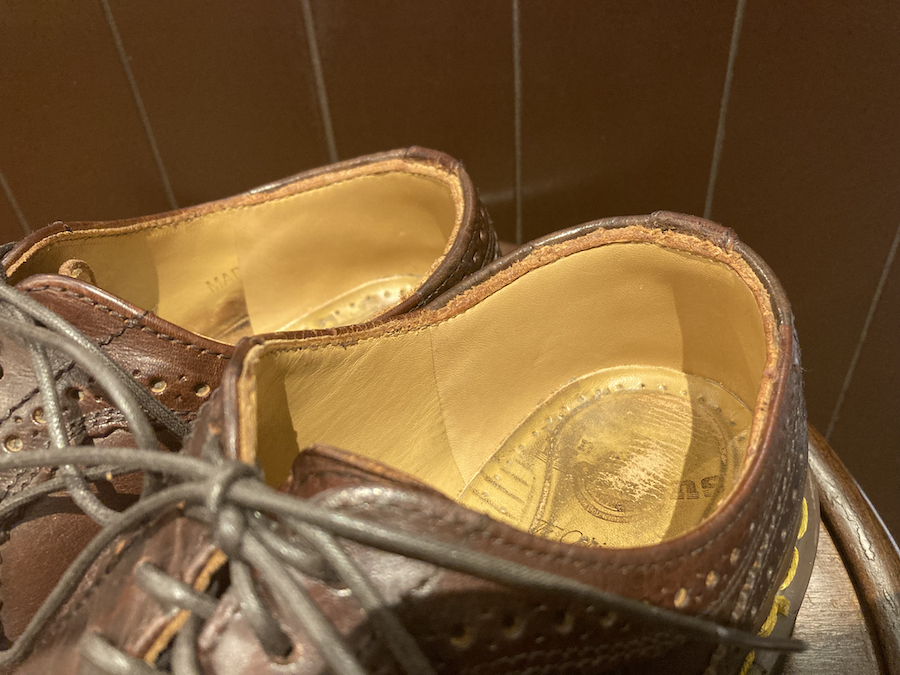
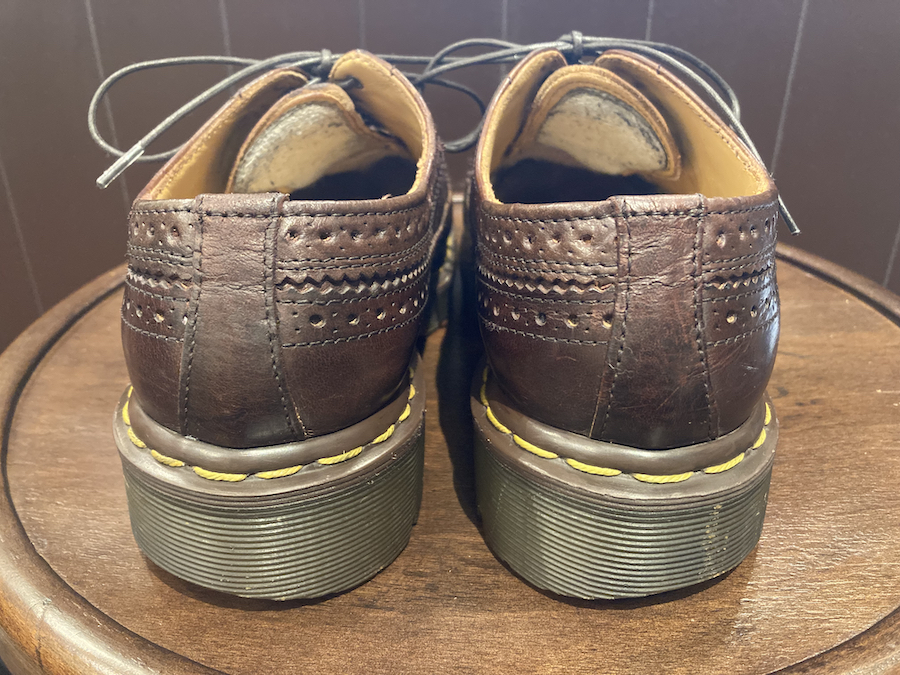
There is a tear in the counter lining.
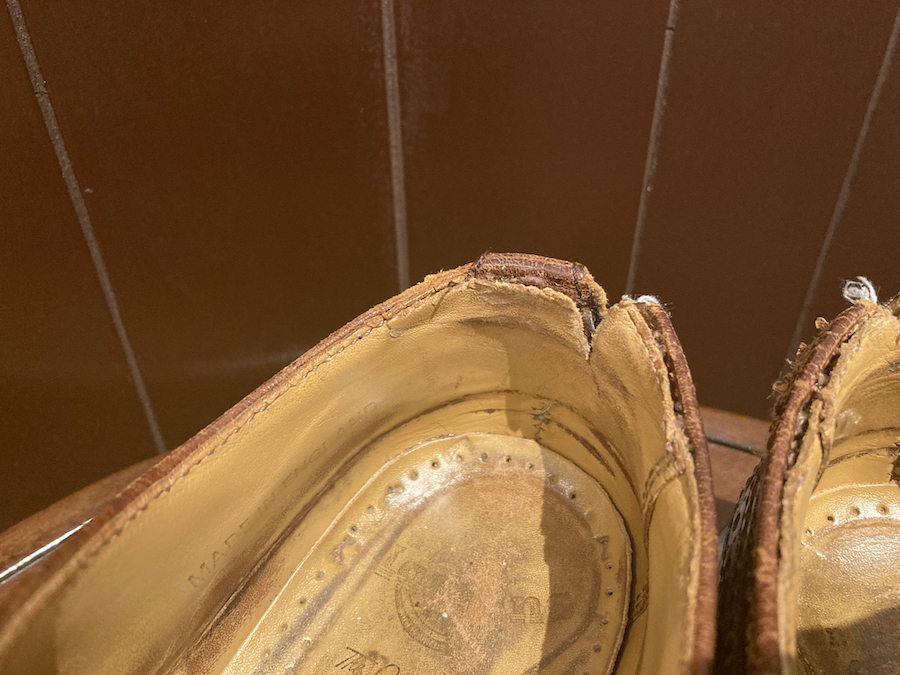
Furthermore, there are quite large tears at the top of both the left and right uppers.
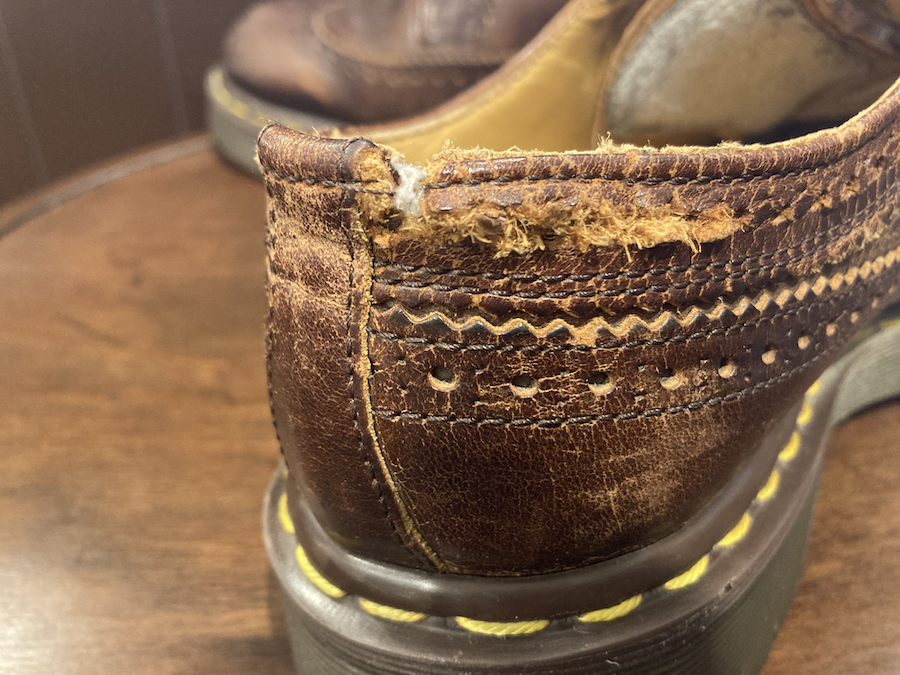
In this instance, we’ll be carrying out repairs to the area around the top of the shoe, including the upper and lining.
First, I’ll start by repairing the upper.
Unpick the topstitching and separate the upper from the lining.
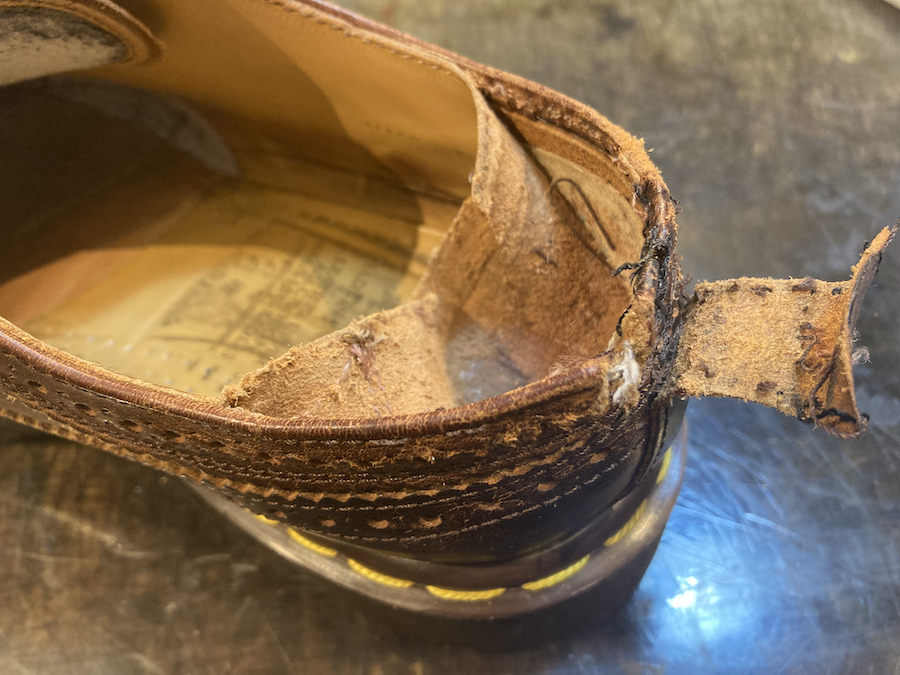
Seeing it taken apart might make you worry whether it will actually be repaired properly, but,
Please rest assured.
Scrap and rebuild is the basis of repairs.
After reinforcing the tear in the upper, we wrap leather around it and stitch it in place.
First of all, the two arrows.
Take care to ensure that the new stitching blends seamlessly with the original.
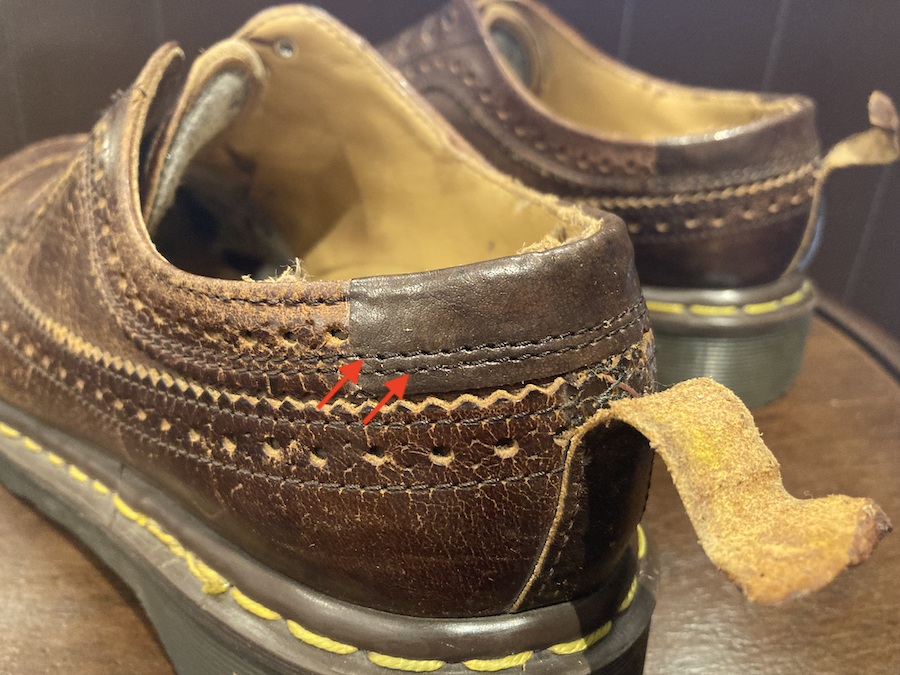
Once you have finished sewing the two stitches, recreate the gimping (zigzag pattern).
It may seem like a minor detail, but whether you do it or not makes a huge difference to the end result.
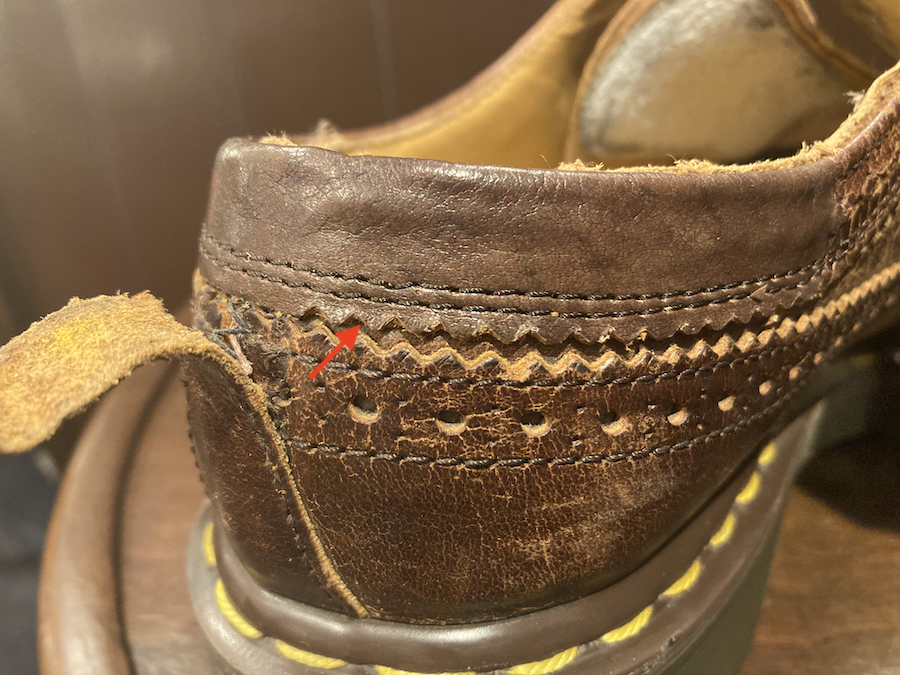
We’ll also sew down the loosened backstay.
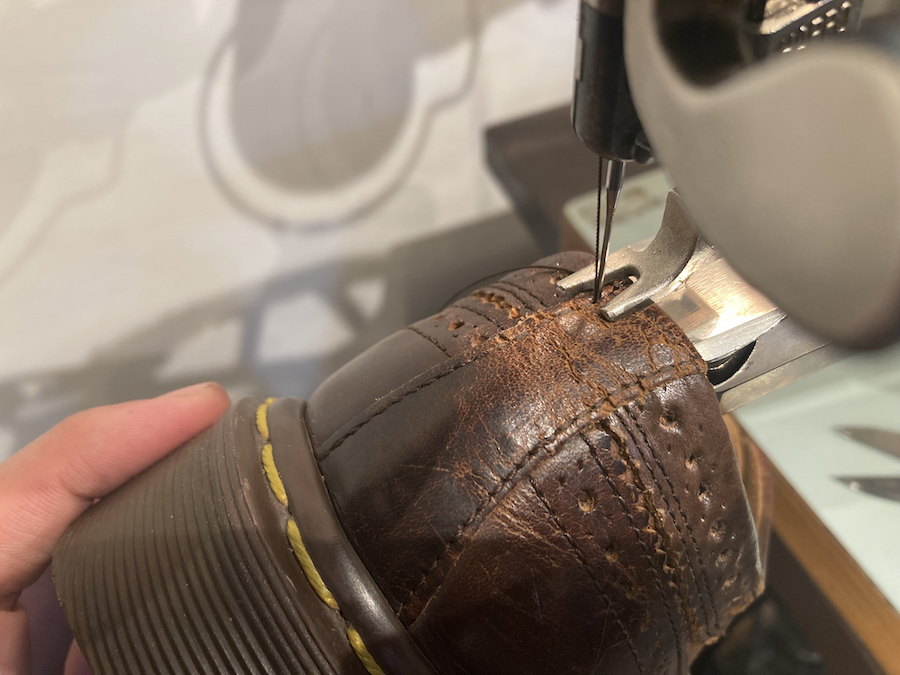
I’ve got the order a bit mixed up, but,
Before sewing the backstay in place, make some perforations (decorative holes).
This allows the leather lining to mould to the shape of the original upper.
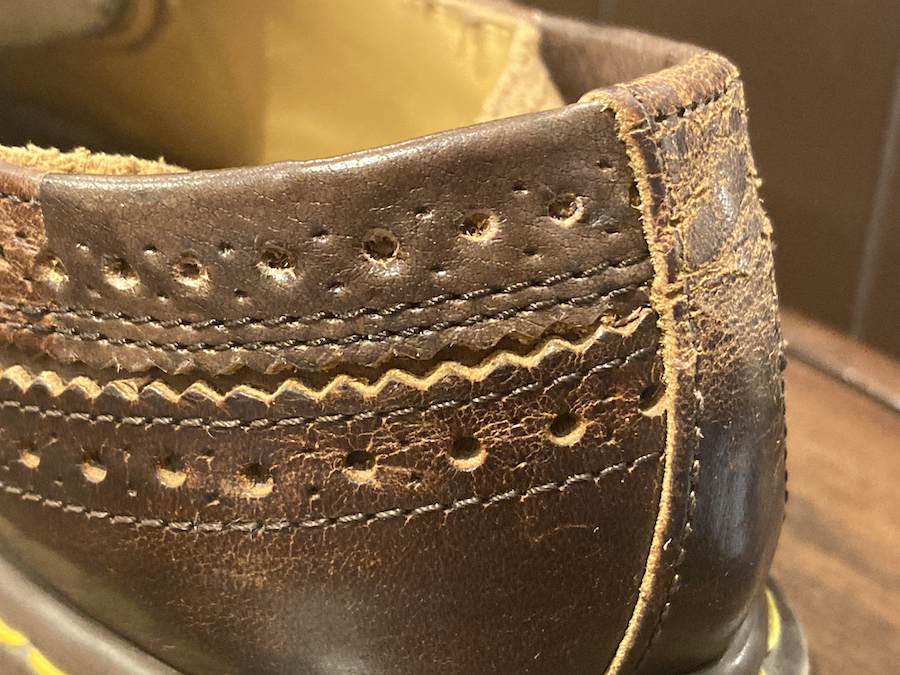
It’s starting to take shape, isn’t it?
After attaching a piece of leather in a colour similar to the lining,
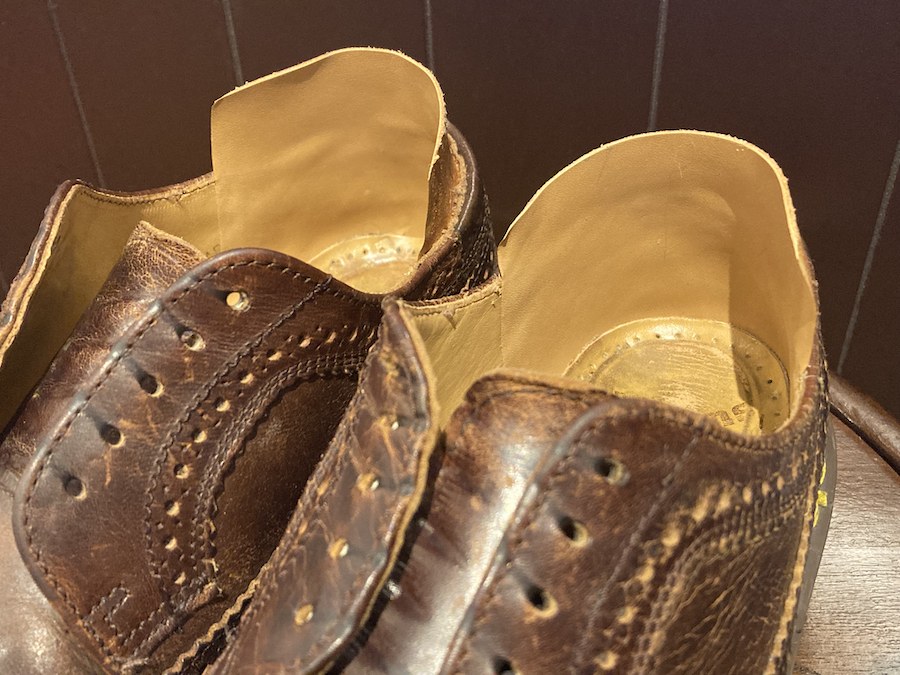
Sew it in place with a top-line stitch, adjust the colour of the leather strap, and it’s finished.
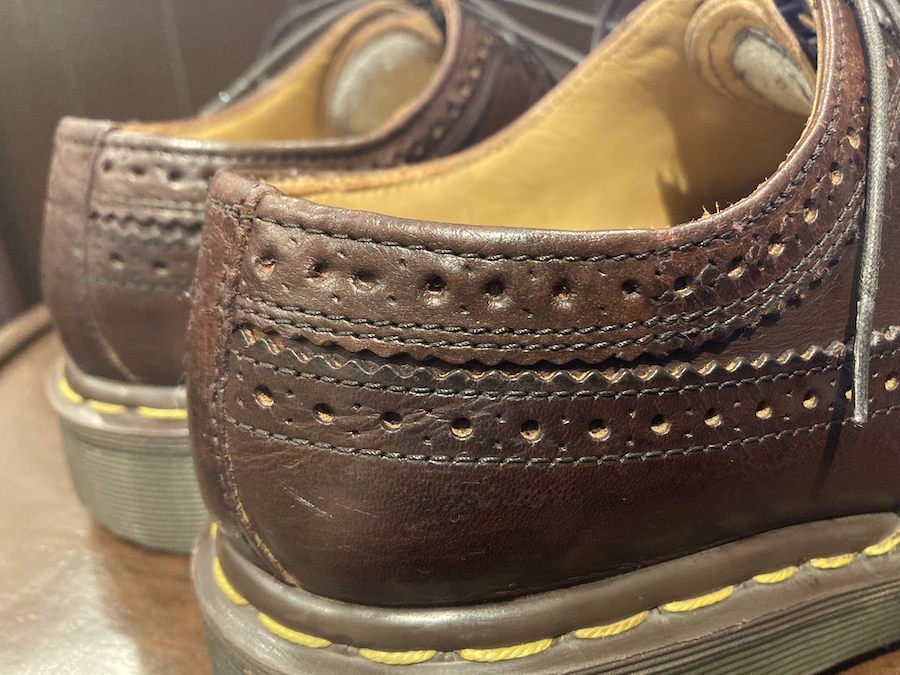
As the upper appeared to be dry, I’ll give it a polish as well.
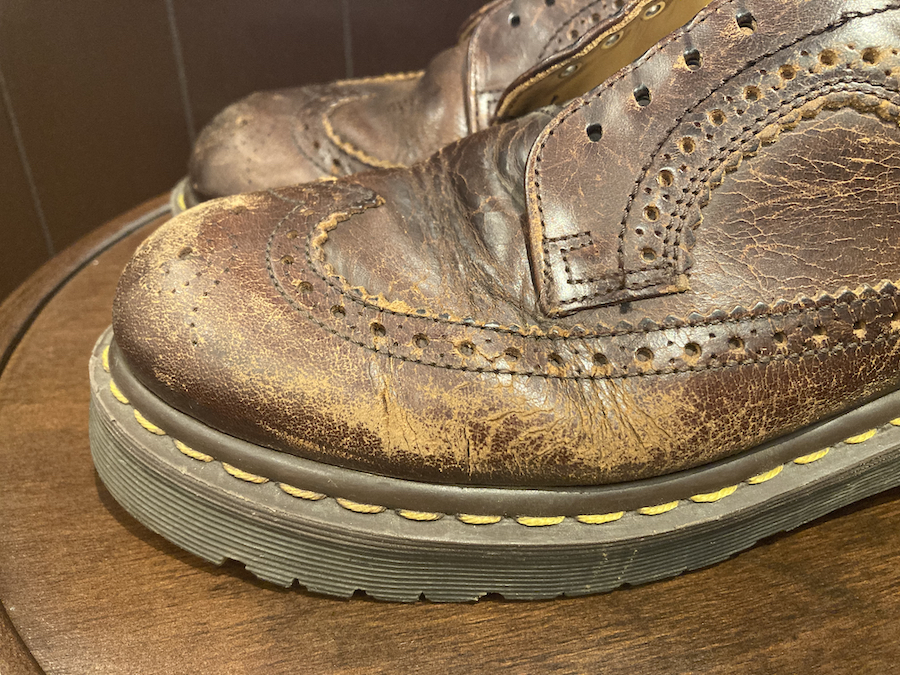
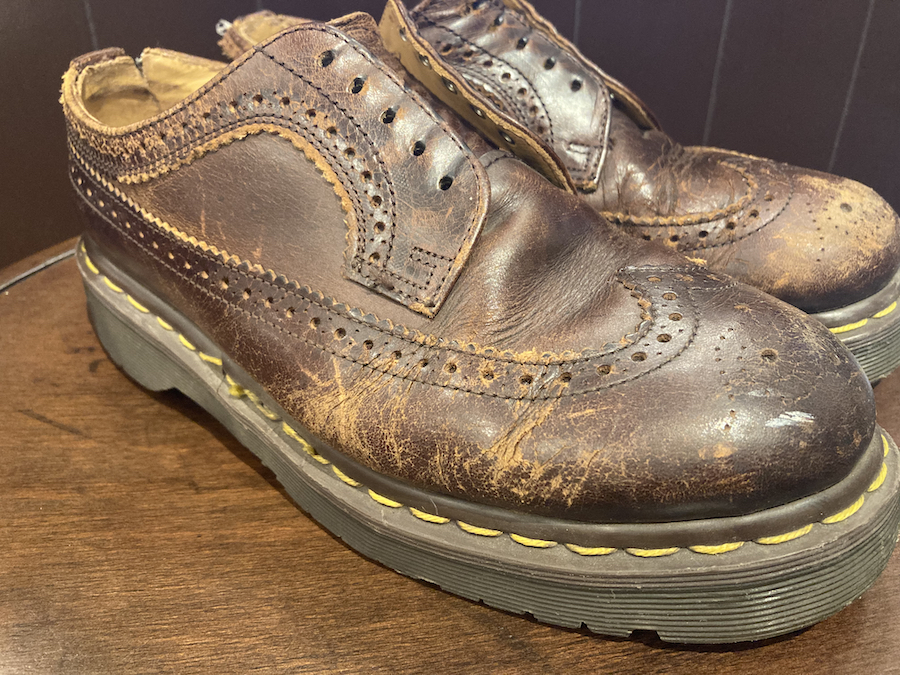
Here is the finished result
Before
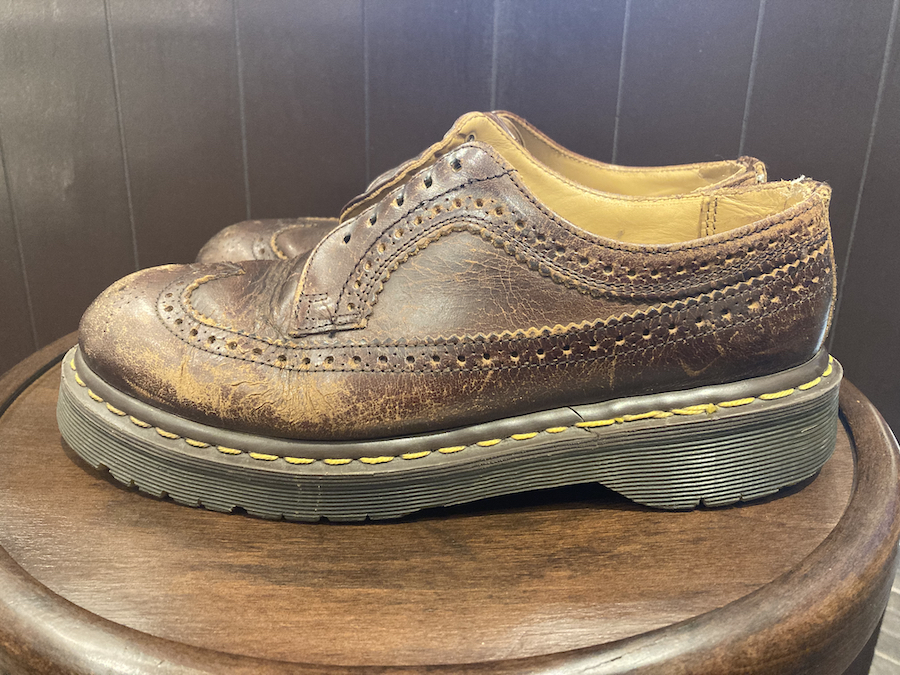
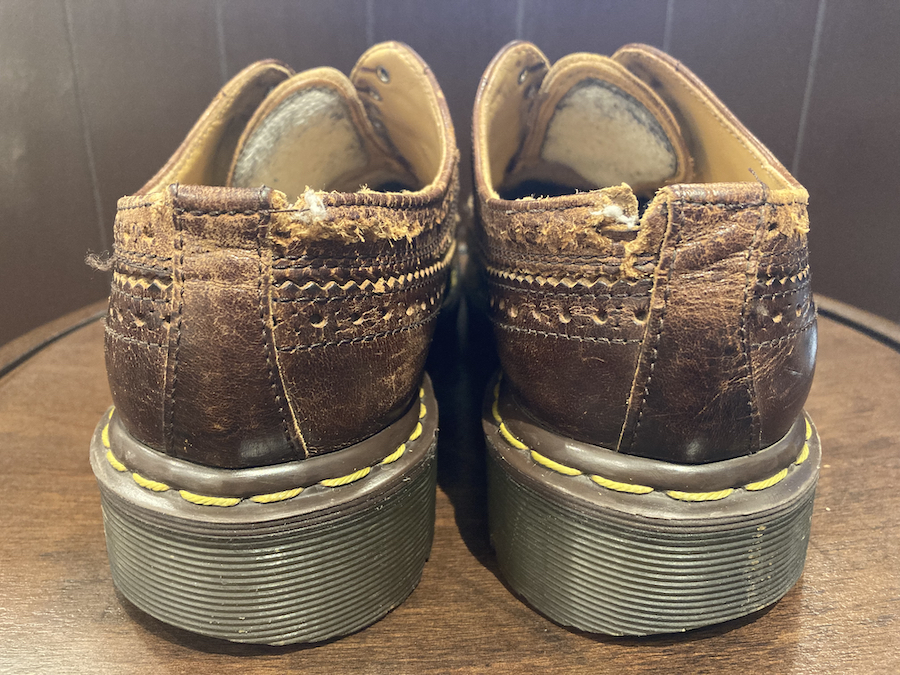
After
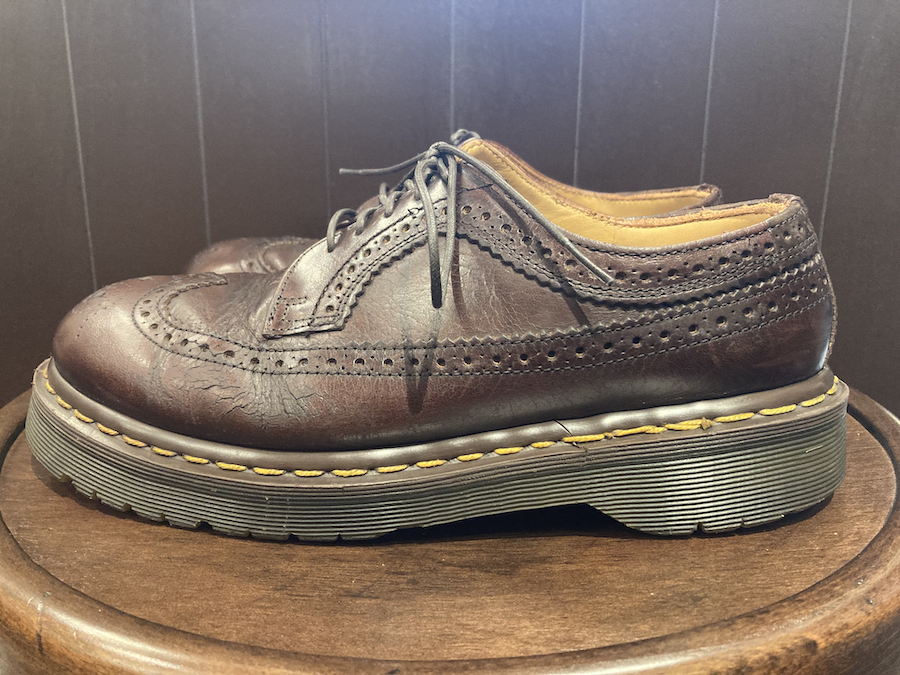
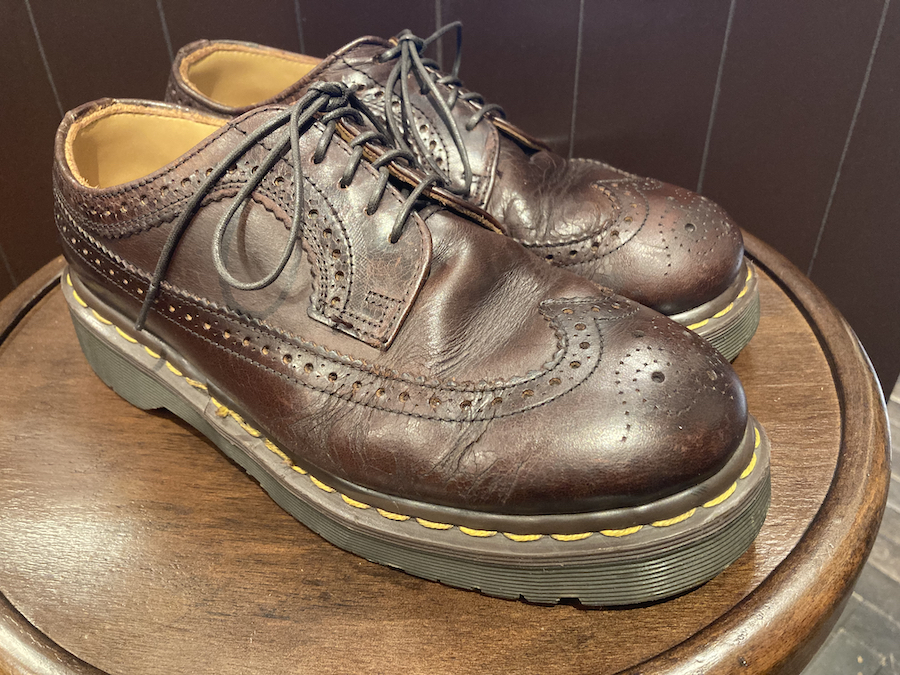
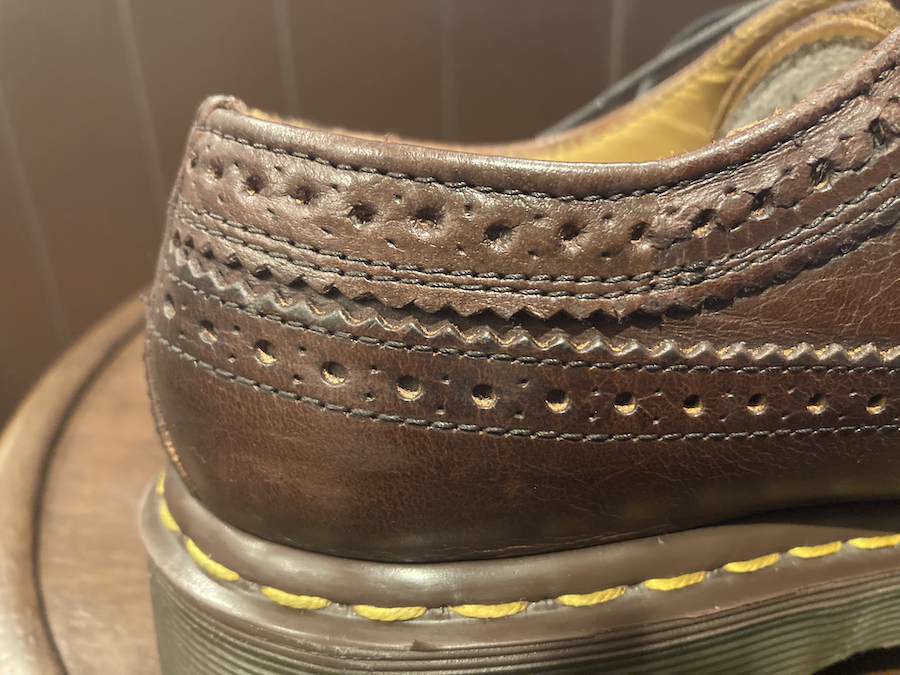
I think you’ve settled in quite well, haven’t you?
We’ve reinforced them, so you can wear them with confidence.
We look forward to welcoming you.
Thank you very much for staying with us until the end.
Aoyama Branch, Yokohama Branch, Yamada