
Repairing Jutta Neumann shoes: Attaching the heel
Repairing Jutta Neumann shoes: Attaching the heel
17 July 2009
- CATEGORY
- MEN'S REPAIR
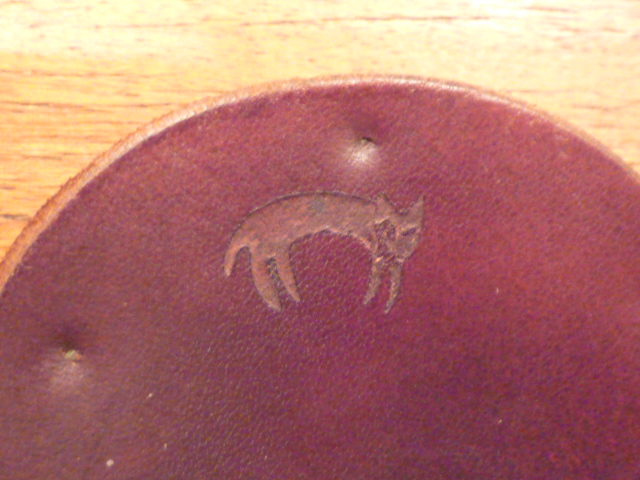
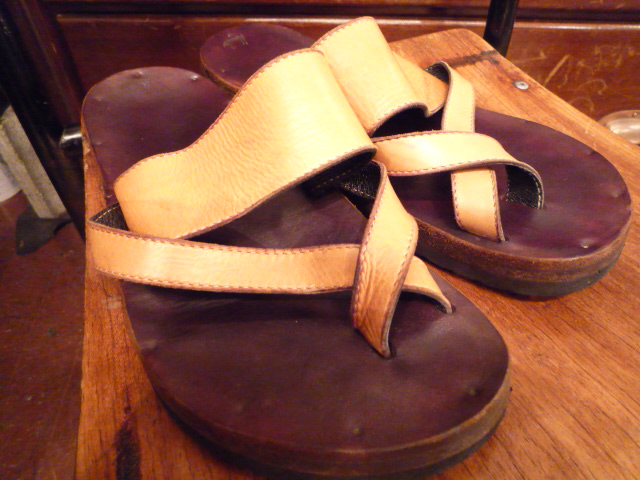
Jutta Neumann—apparently known as the ‘Rolls-Royce of sandals’.
It’s true – you never get tired, no matter how far you walk!! Once you’ve worn them, you’ll be hooked.
This year, I’ve finally got my third pair. On my days off, I wear nothing but Jutta or Birkenstocks. I highly recommend them!
Last month,Birkenstock RepairsI have introduced these, but,
Jutta Neumann’s sandals have the same soles as Birkenstocks
As there are many models in use, the repair methods are generally the same.
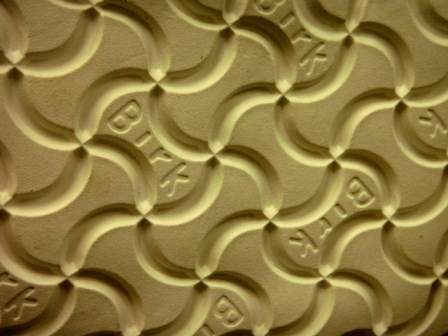
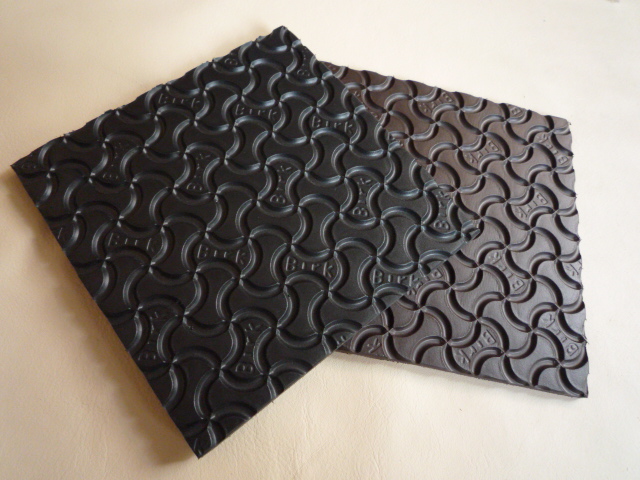
The materials are the same as usual. Full sole replacement from 10,500 yen~
The colour is,黒、dark brown、白の3 colours。
They are available in two different thicknesses.
Today, we’re looking at a repair that precedes a full sole replacement: heel reattachment. Let me show you how it’s done.
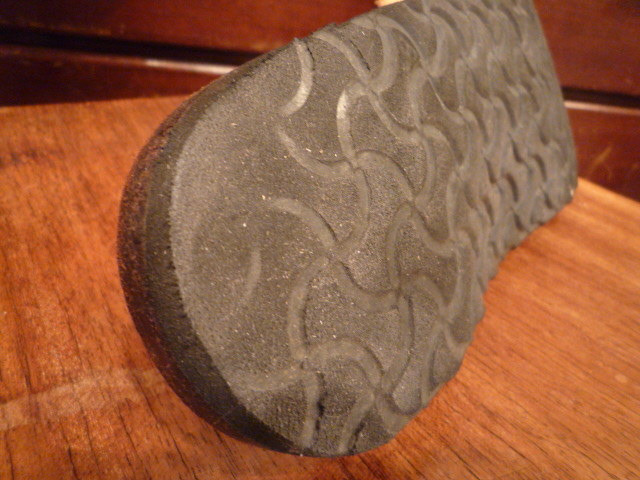
After wearing them for a while, the outer side of the heel starts to wear down and the pattern disappears.
If there’s too little, it looks rather awkward even from behind.
Make sure you top up your heels at the right time!
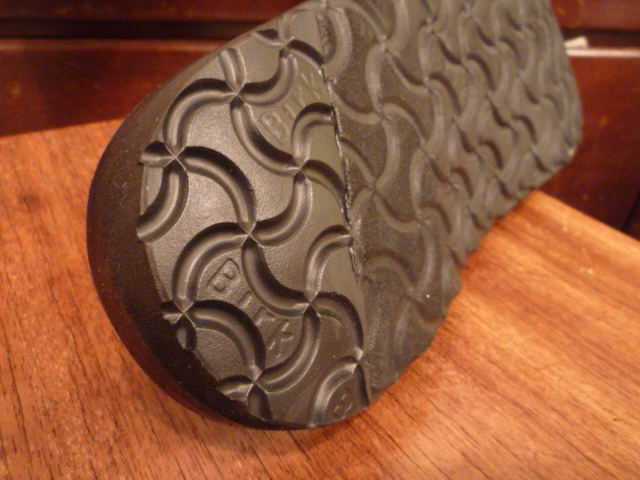
Here’s the finished result.
This is a top-up using the same genuine parts.
The colour is exactly the same. The cushioning is exactly the same. HereFrom ¥2,100 to ¥3,150.
Add a little at a time to keep it looking crisp and neat.
(Aoyama Branch, Toriumi)