

[WILD SWNS] Tote Bag – Piping Repair
[WILD SWNS] Tote Bag – Piping Repair
9 November 2025
- CATEGORY
- BAG & OTHER ITEMS REPAIR
Today’s post is about bag repairs.
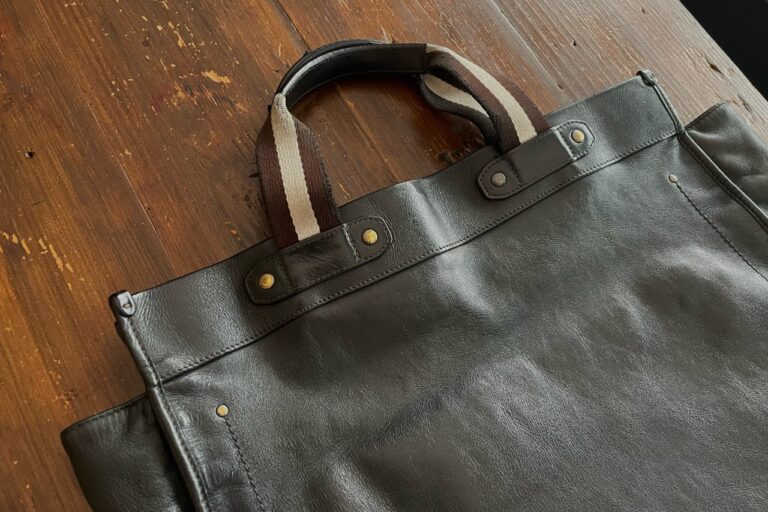
Here is the item we have received: [WILD SWANS]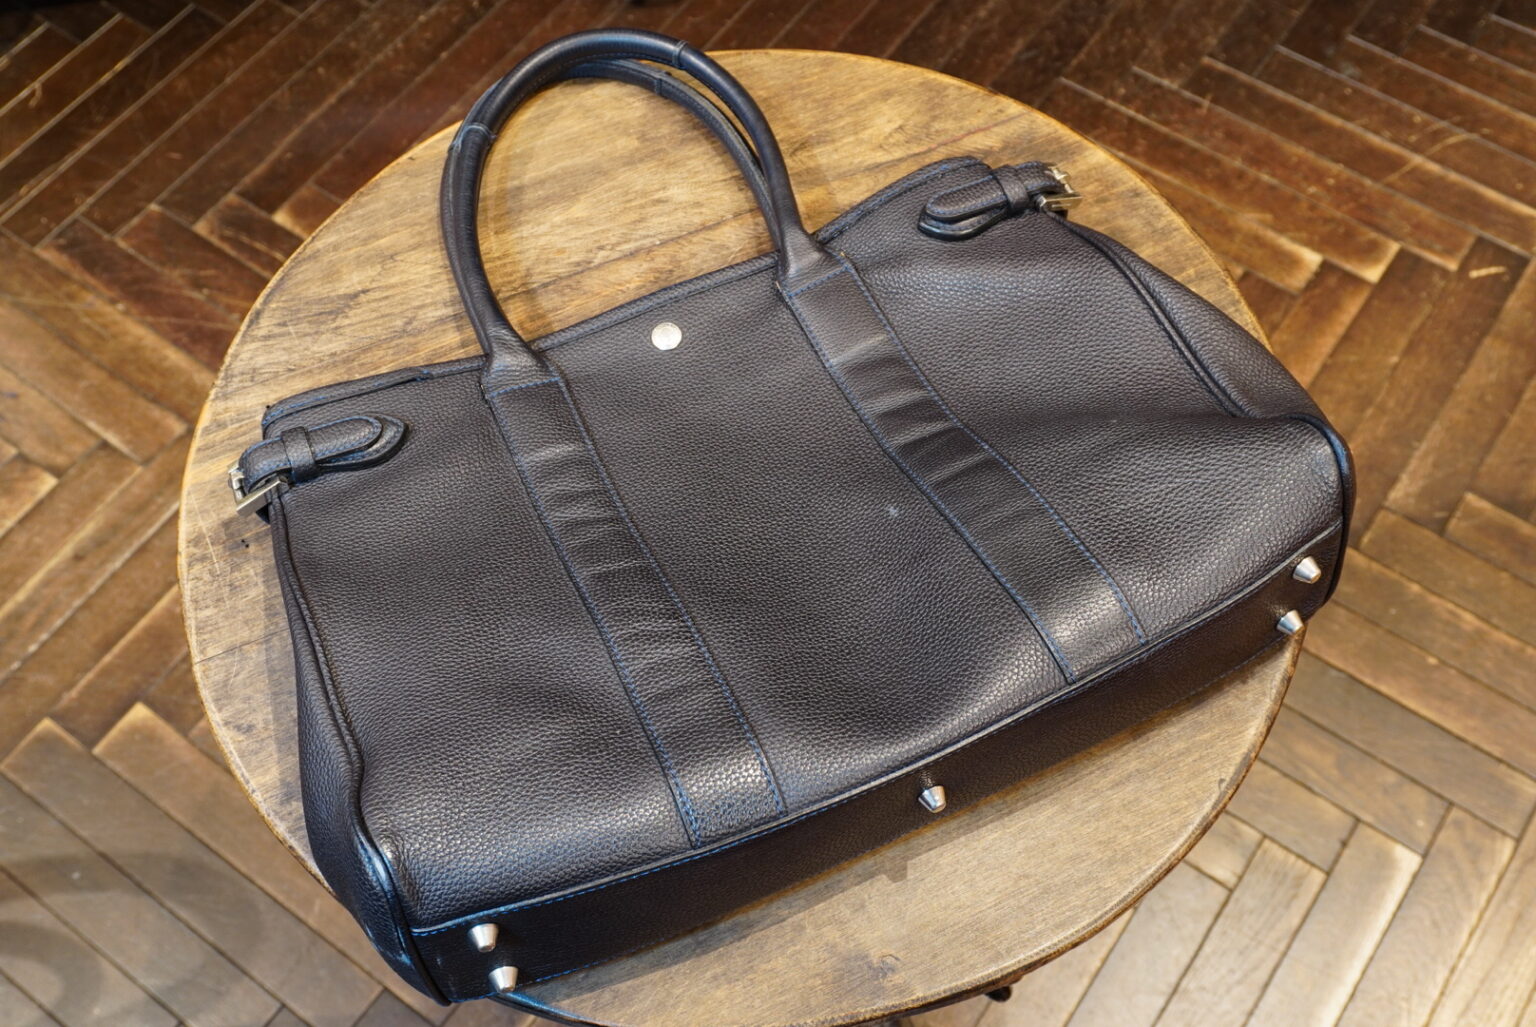
It has not been in use for very long and is still in relatively good condition.
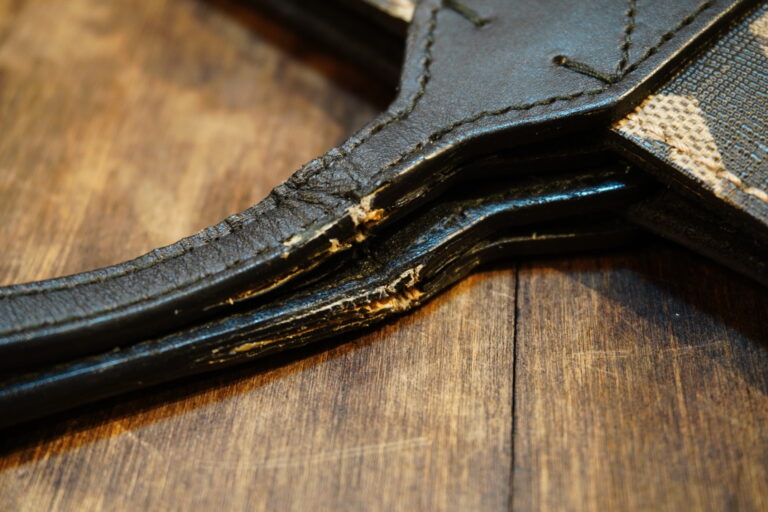
However, on closer inspection, the corners of the piping along the sides have been rubbed and are frayed.
There are similar tears in three other places, and,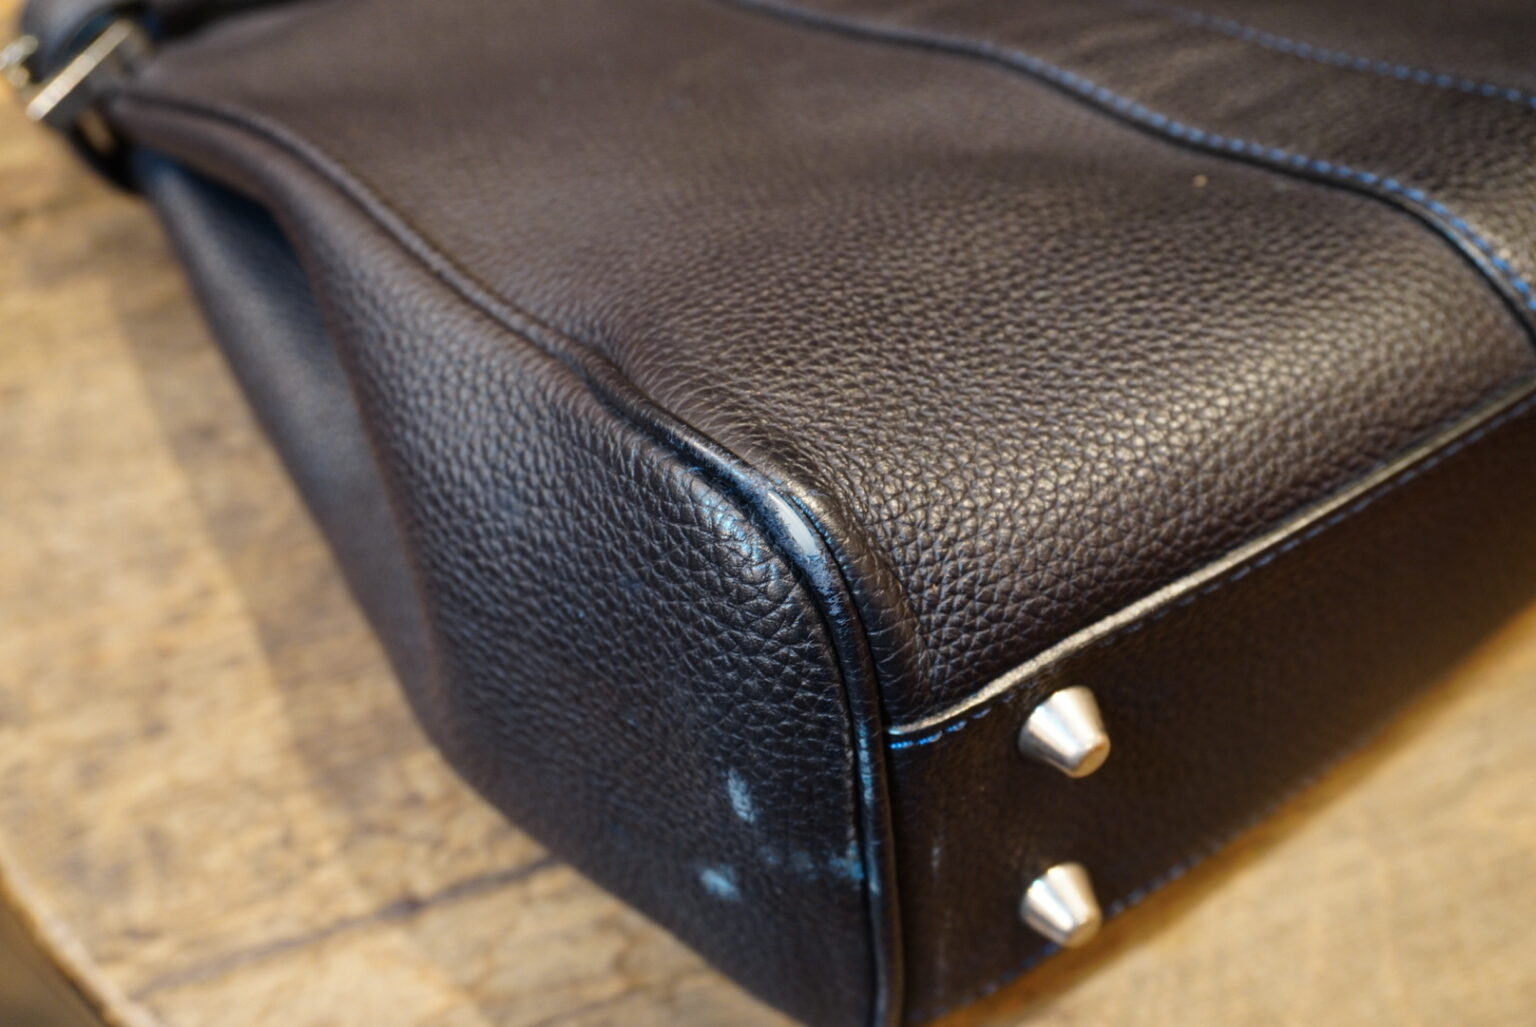
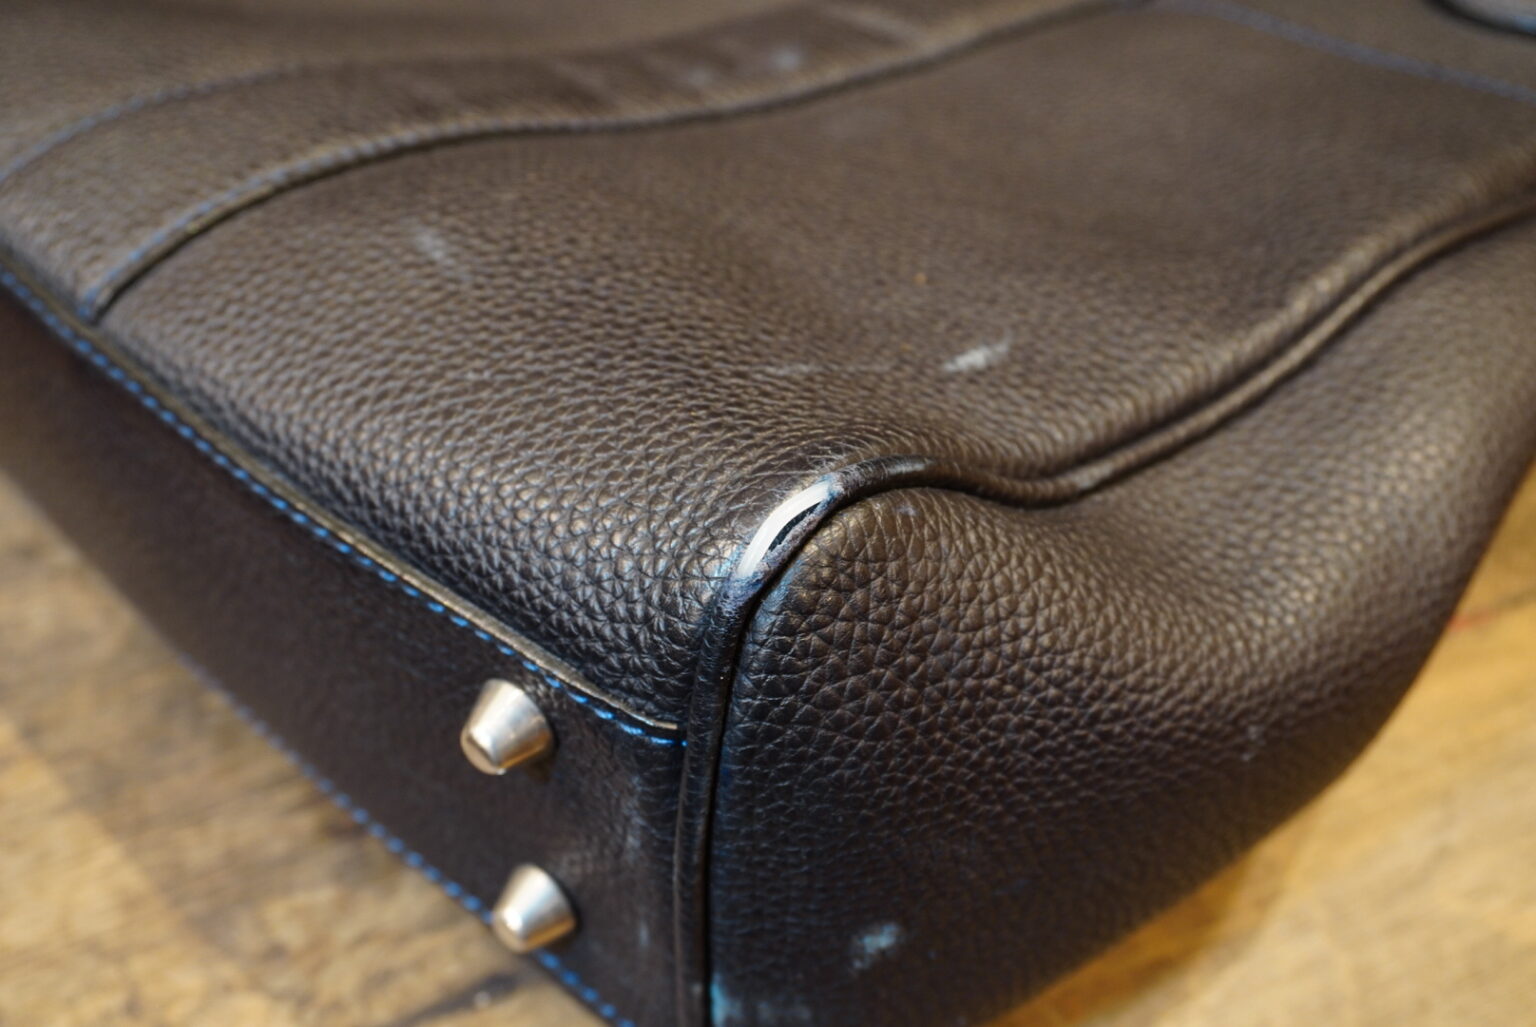
Although they are not yet torn, there are some areas where it seems only a matter of time before they do.
It seems the corners do wear out quickly after all.
We will carry out repairs on all four corners.
It is possible to replace the entire piping system, but as there are no issues apart from the corners, and I’d like to keep as much of the original as possible,
We decided to carry out partial repairs.
First, I’ll remove the piping from the top edge.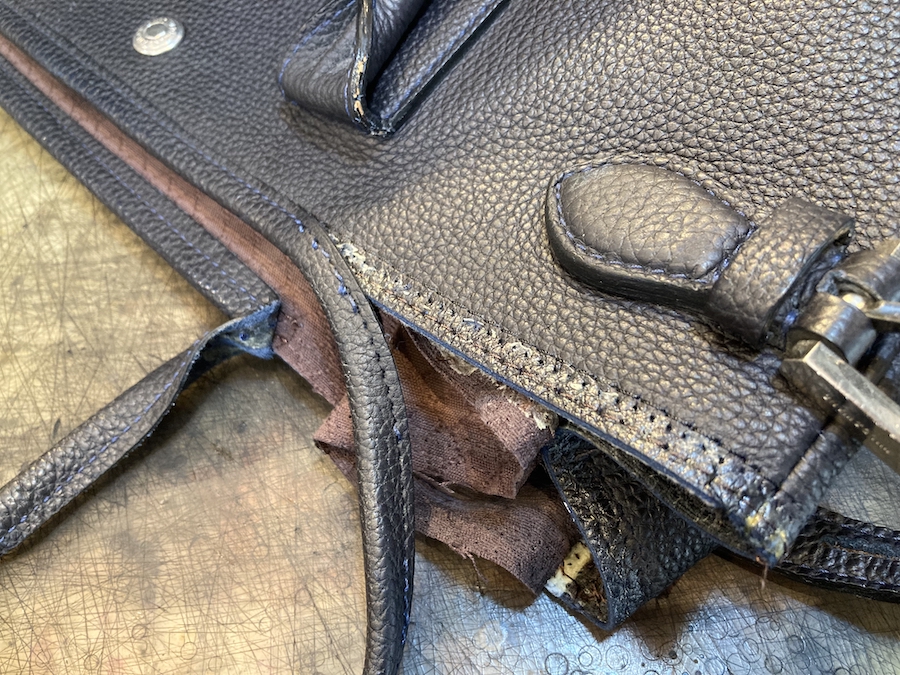
That’s what you’d expect from ‘Made in Japan’.
Rather than securing the top edge with just the piping stitching, they first sewed the outer leather and lining together twice before covering it with piping.
Three full laps, just on the top line.
It’s quite labour-intensive.
Once you have removed the piping and unpicked all the other stitches,
At last, we’re starting work on the area that needs repairing.
Remove the torn section from the main body and cover it with a thin sheet of leather.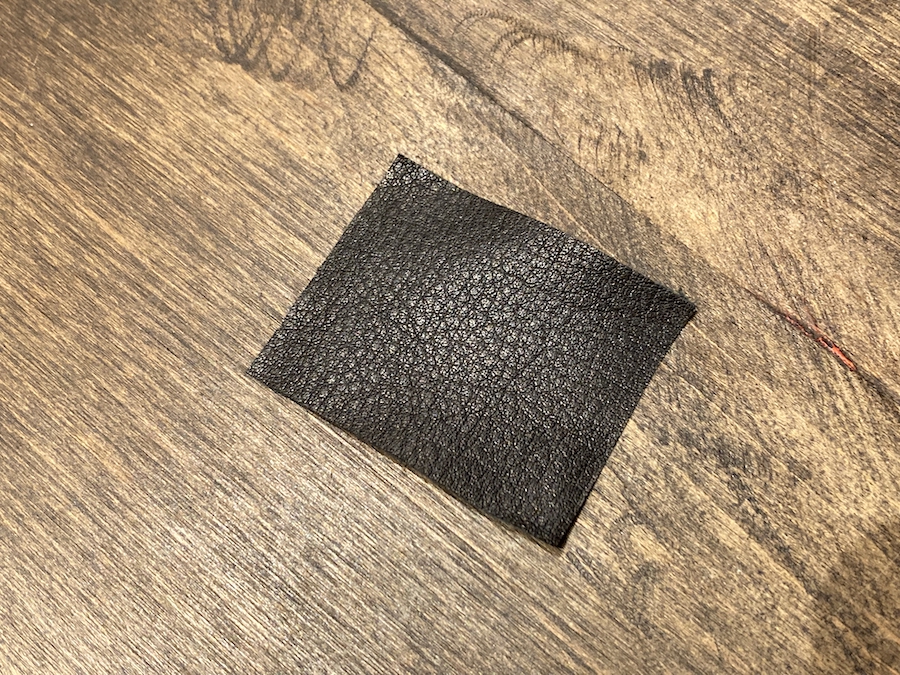
Take a running start so that the sides taper off gently, and thin the hair out, aiming for a 0 mm length at the tips.
Whether or not you do this makes a world of difference to how it looks once it’s finished.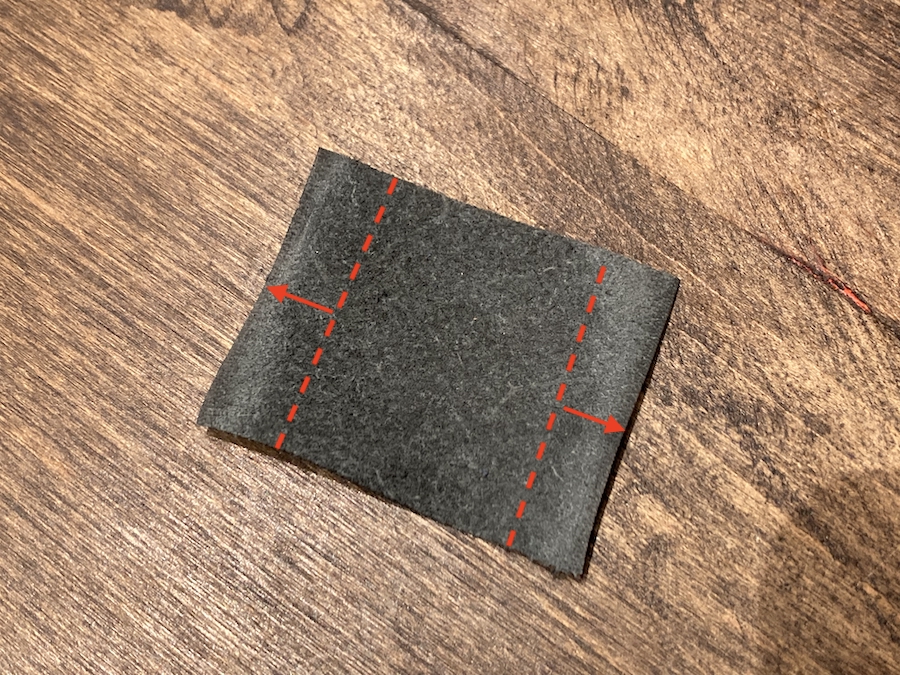
There’s a little trick to applying thinly tanned leather, too.
As the original leather has a grained finish, we take care not to stretch the new leather too much when applying it, so as to preserve its grained texture.
Ideally, it would be easier to carry out the other steps if I stretched the material whilst applying it, but I’ll do my best here, prioritising the appearance.
Once you have finished applying the leather, use the existing holes to stitch it to the main body.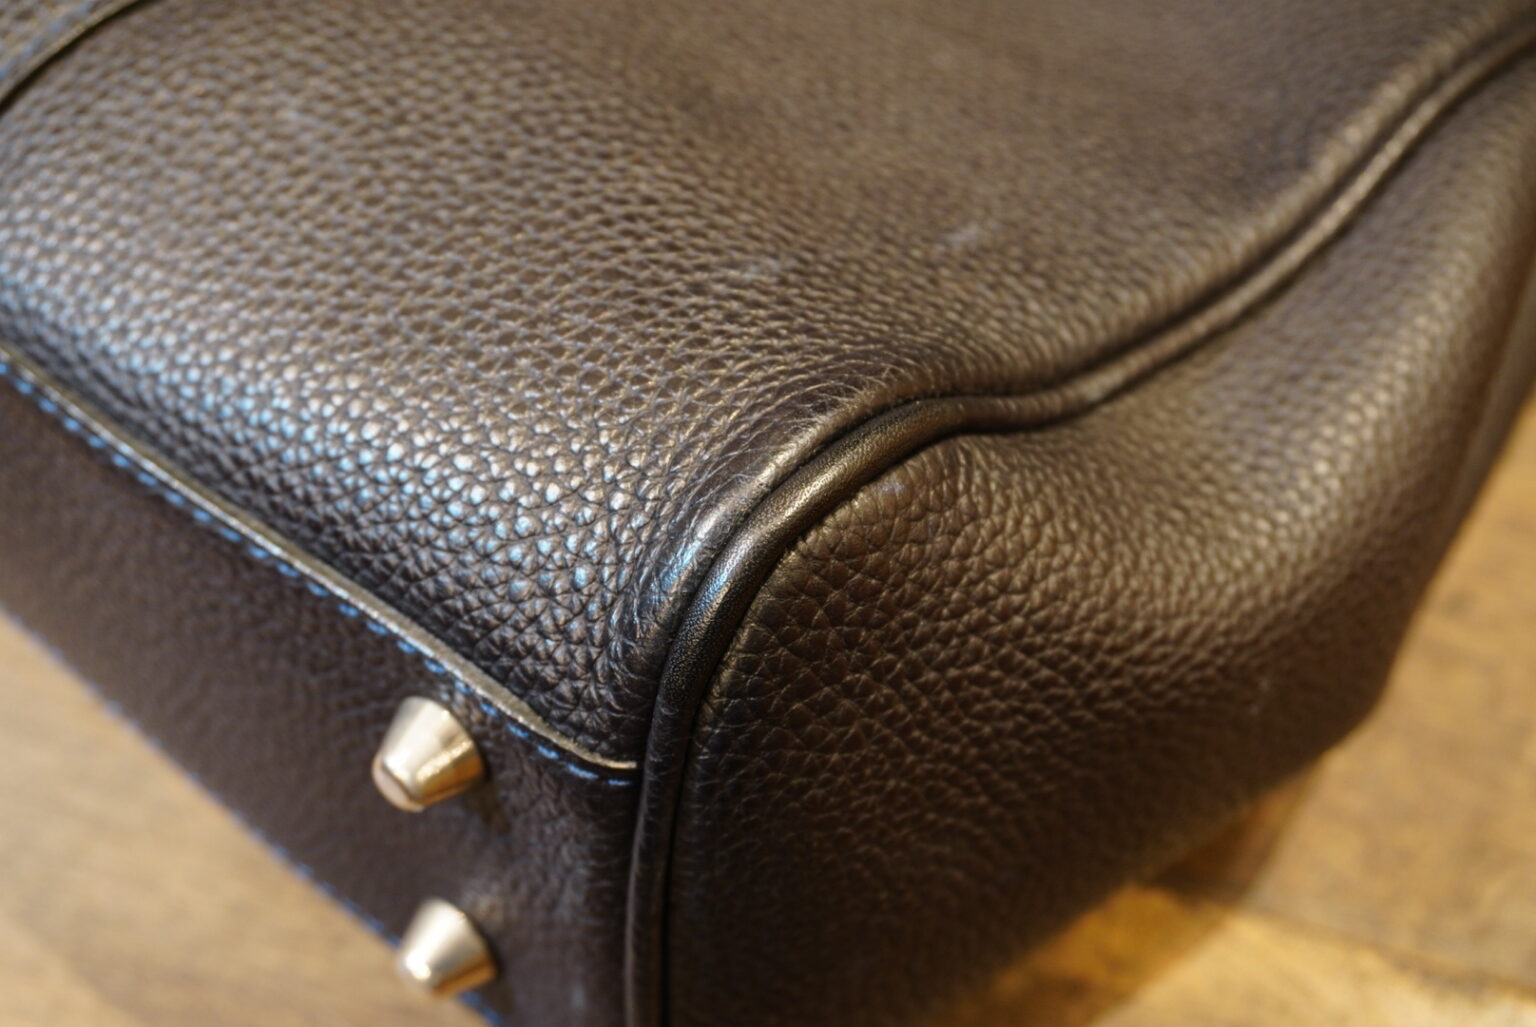
Apply leather to the other three areas in the same way and stitch it to the main body.
Once you’ve re-sewn the top-edge stitching and re-sewn the piping, it’s finished.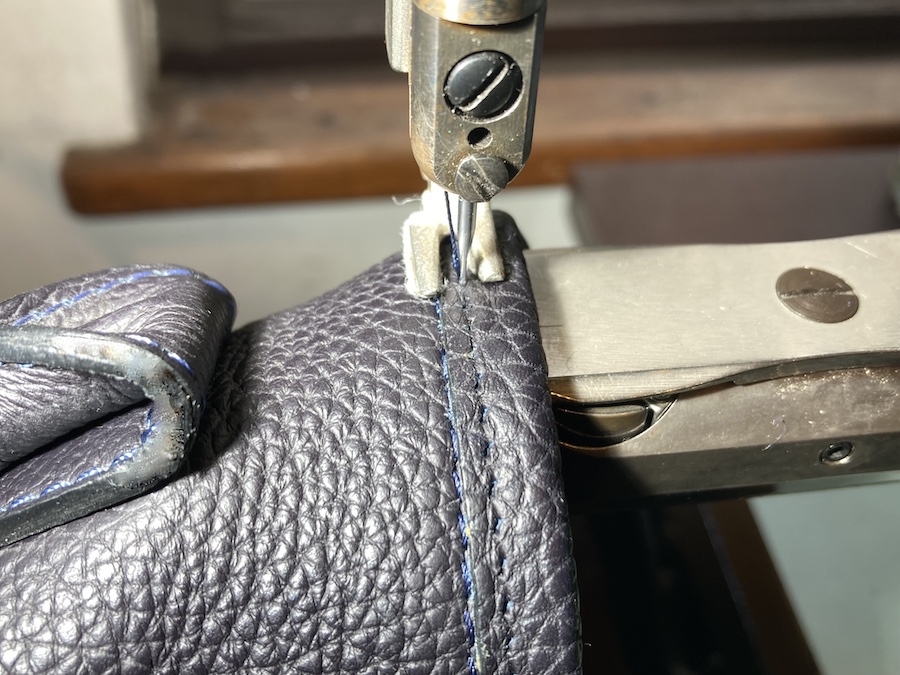
Here is the finished result.
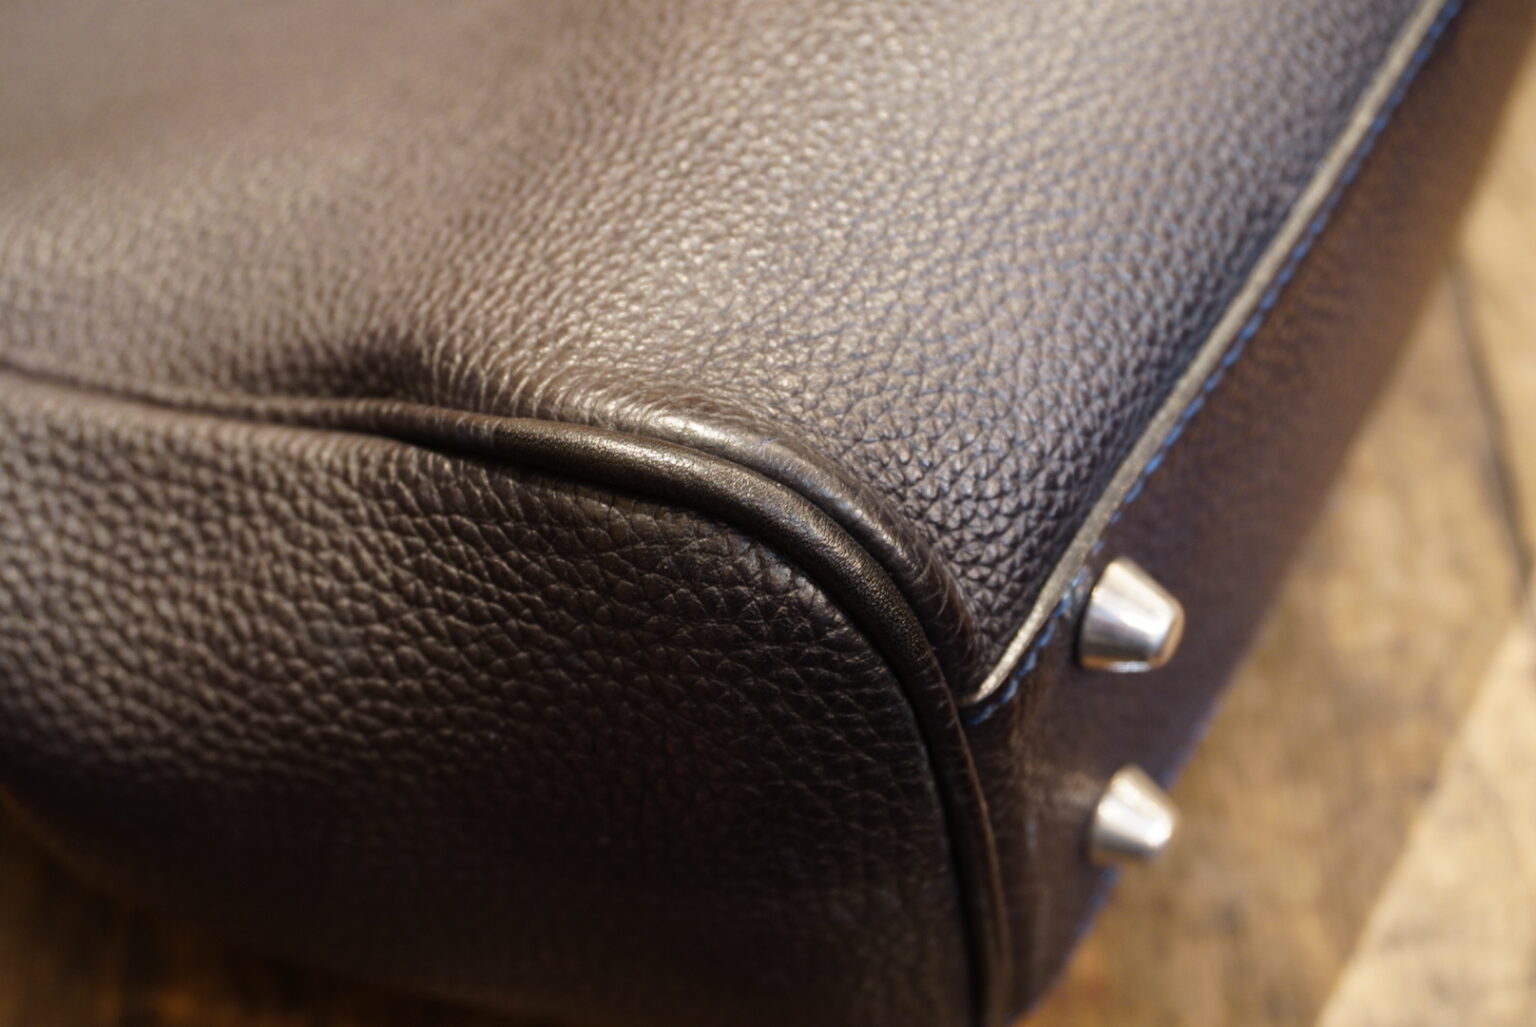
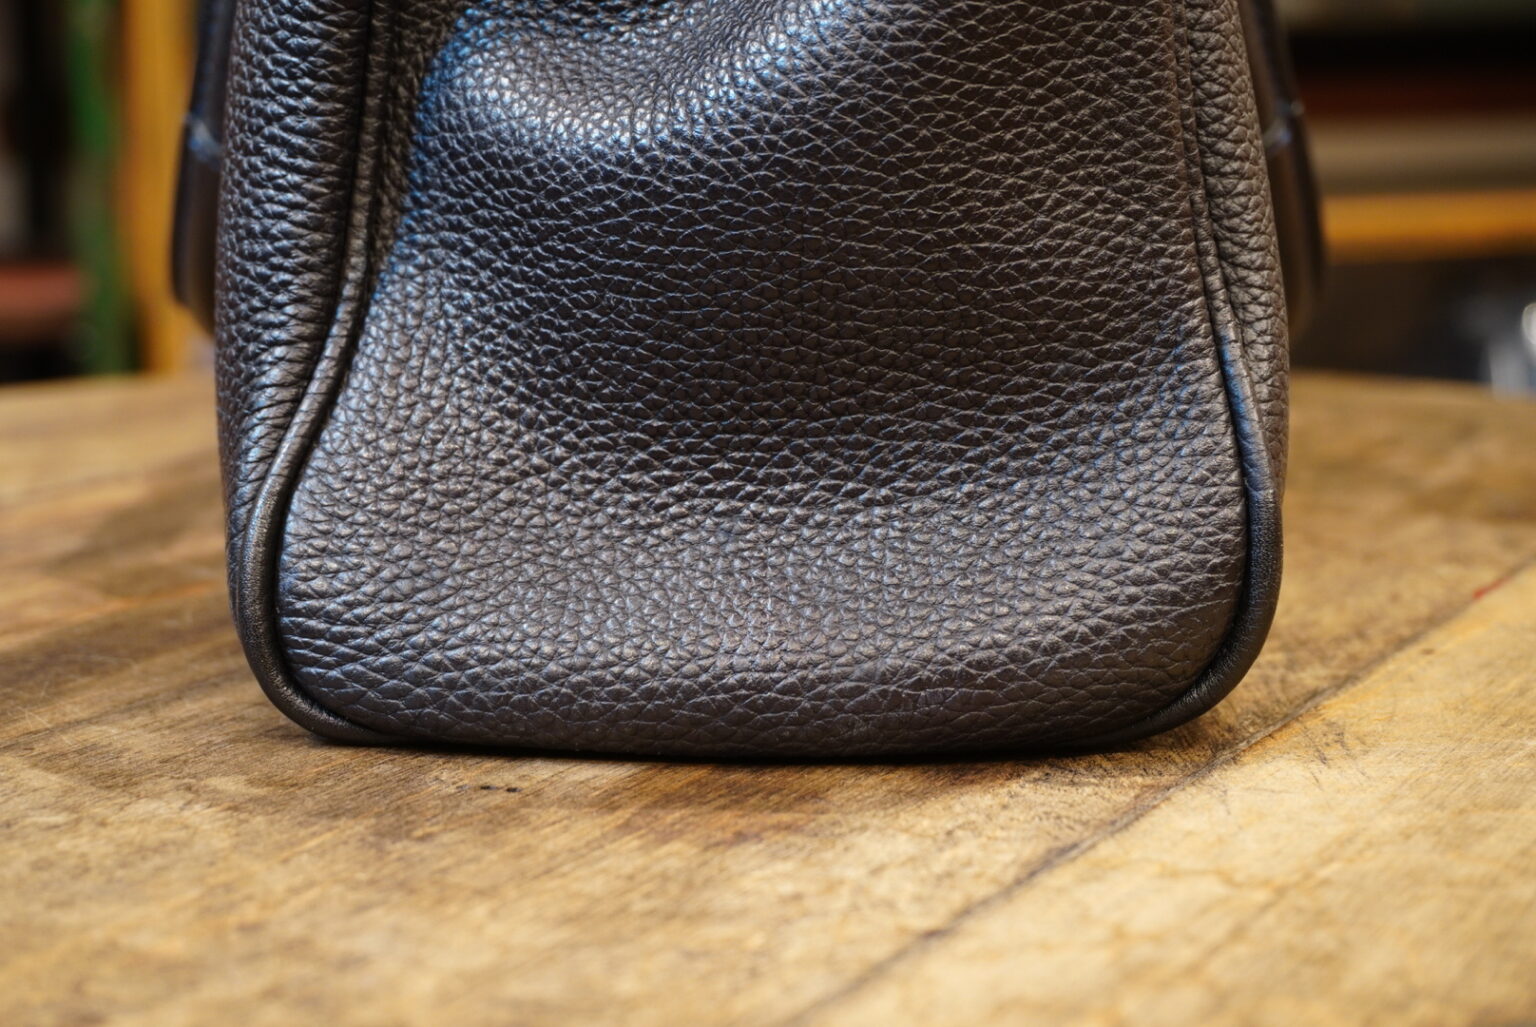
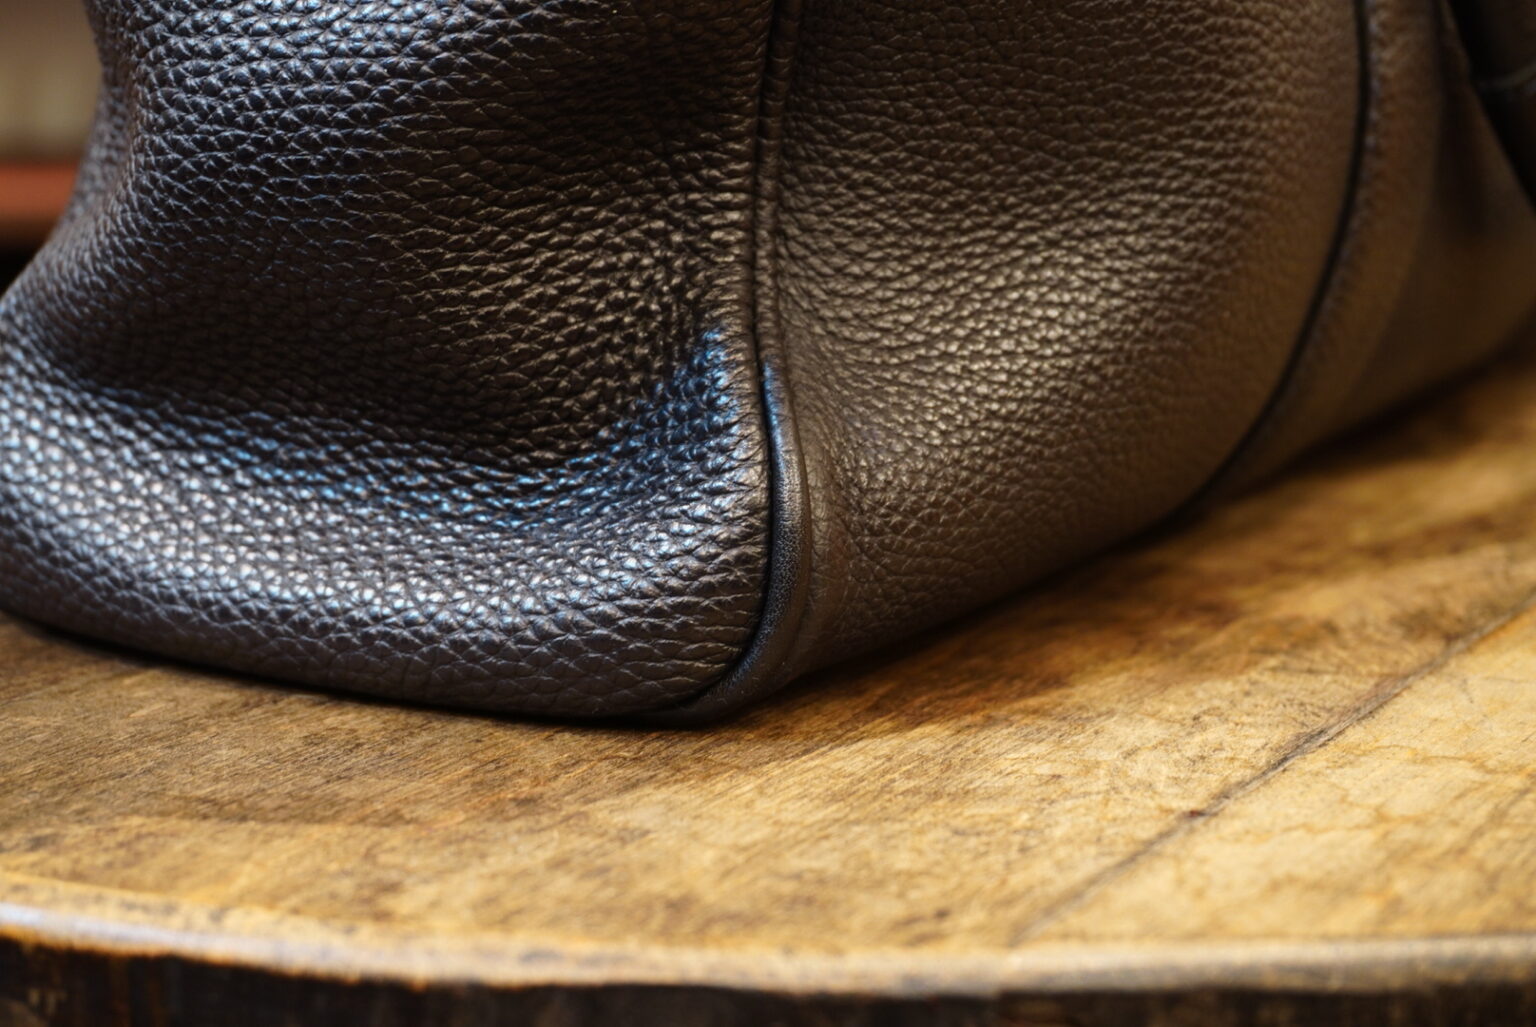
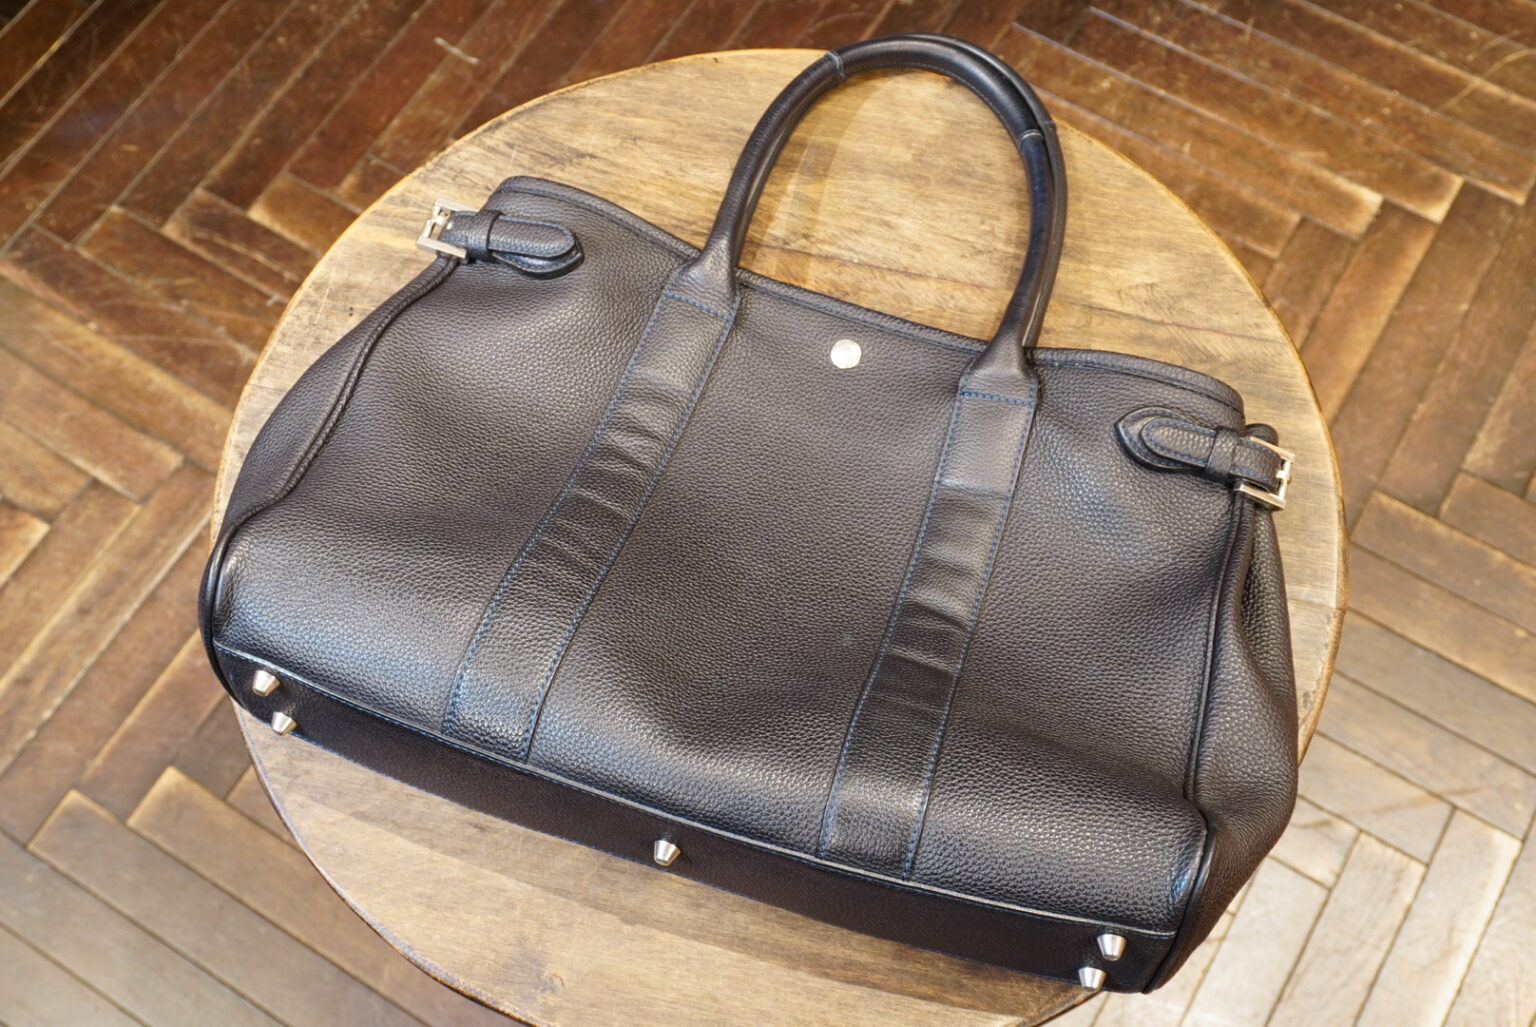
We’ve taken great care to ensure it looks just right.
I think you’ve settled in quite well, haven’t you?
At Union Works, we offer repair services not only for shoes but also for bags and leather accessories.
Please do feel free to get in touch.
Thank you for reading to the end.
Union Works Yokohama, Yamada