
[PARABOOT] PACIFIC Resole: Ghurka Sandals – Sole Replacement
[PARABOOT] PACIFIC Resole: Ghurka Sandals – Sole Replacement
16 June 2025
- CATEGORY
- Repair materials
- Paraboot
Once the rainy season is over, summer will be in full swing.
It’s the time of year when we’ll be wearing sandals more and more.
In recent years, ‘Gurkha sandals’ have become increasingly popular as sandals for adults.
They have a history of originally being used as military boots, and
It is characterised by a design that snugly wraps around the foot, making it comfortable to walk in.
Furthermore, the elegant design, which ensures that not too much of the bare foot is exposed, may well be one of the reasons why it is so popular with adults.
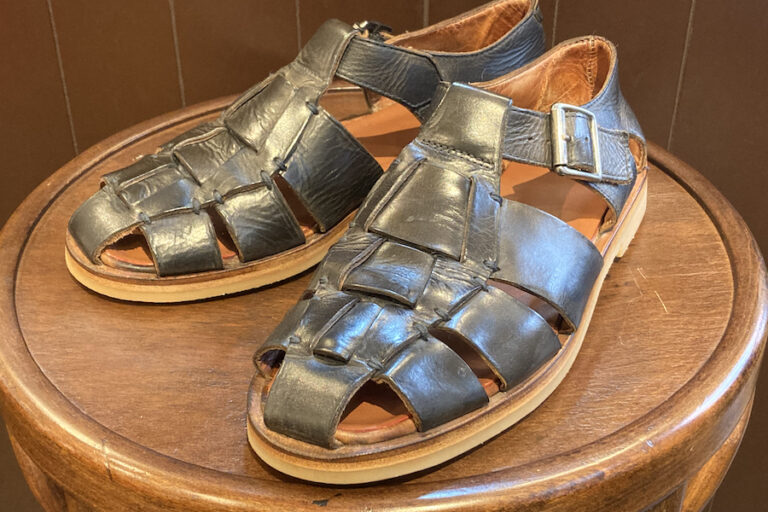
Today, we’d like to share an example of a repair we carried out on a pair of Ghurka sandals.
PARABOOT PACIFIC 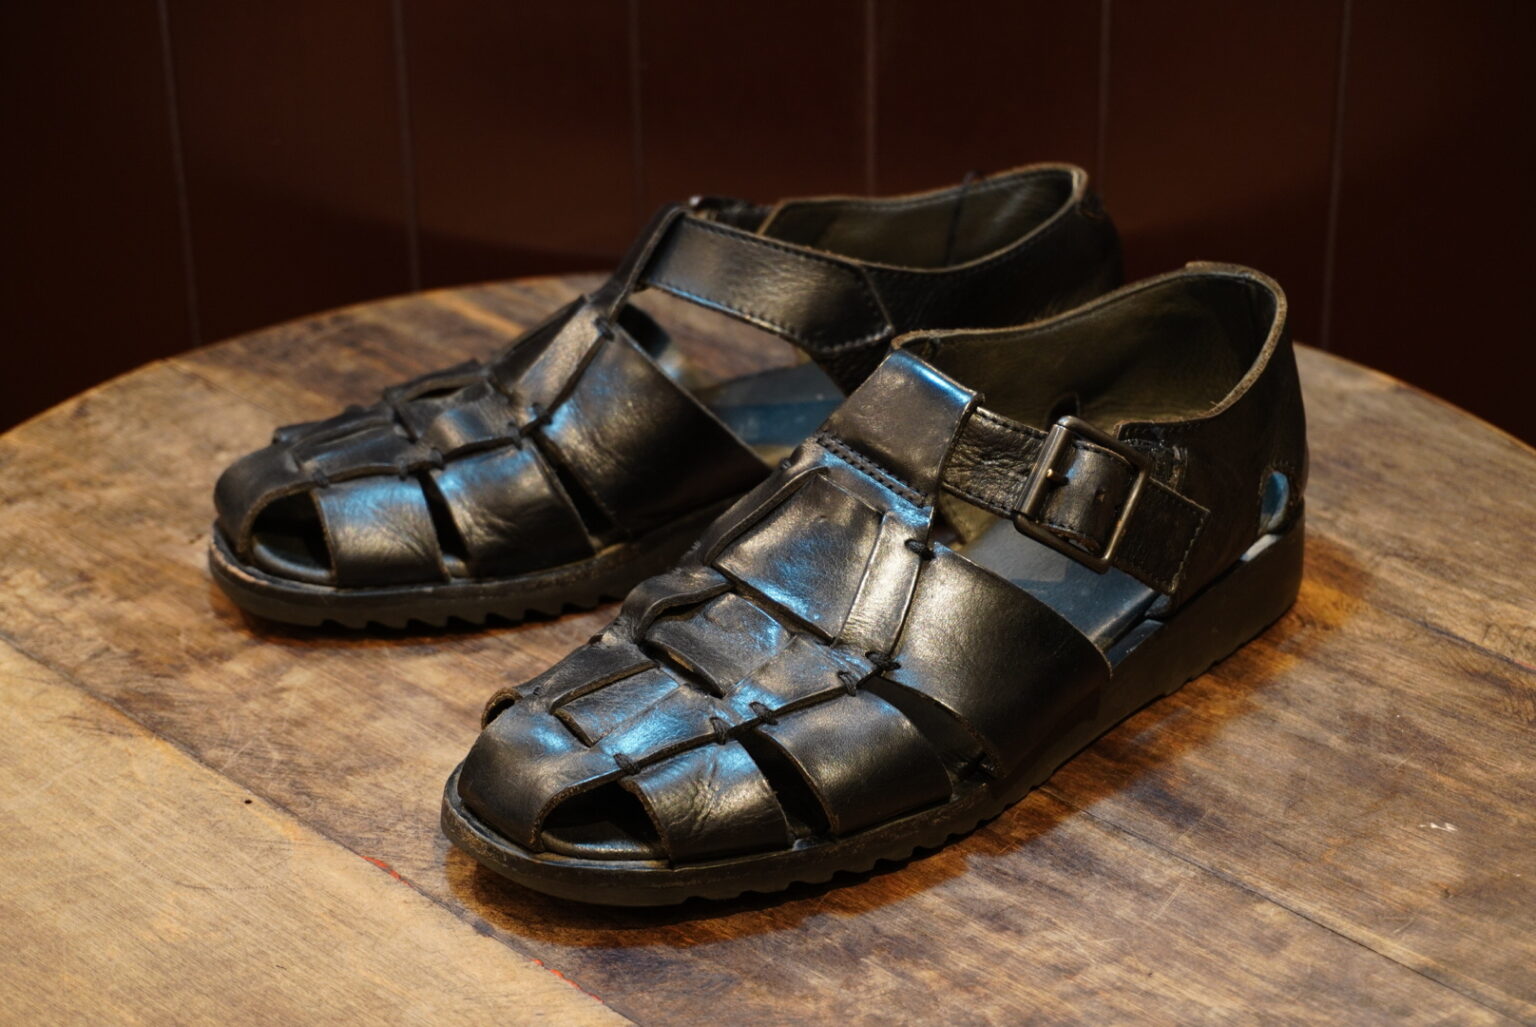
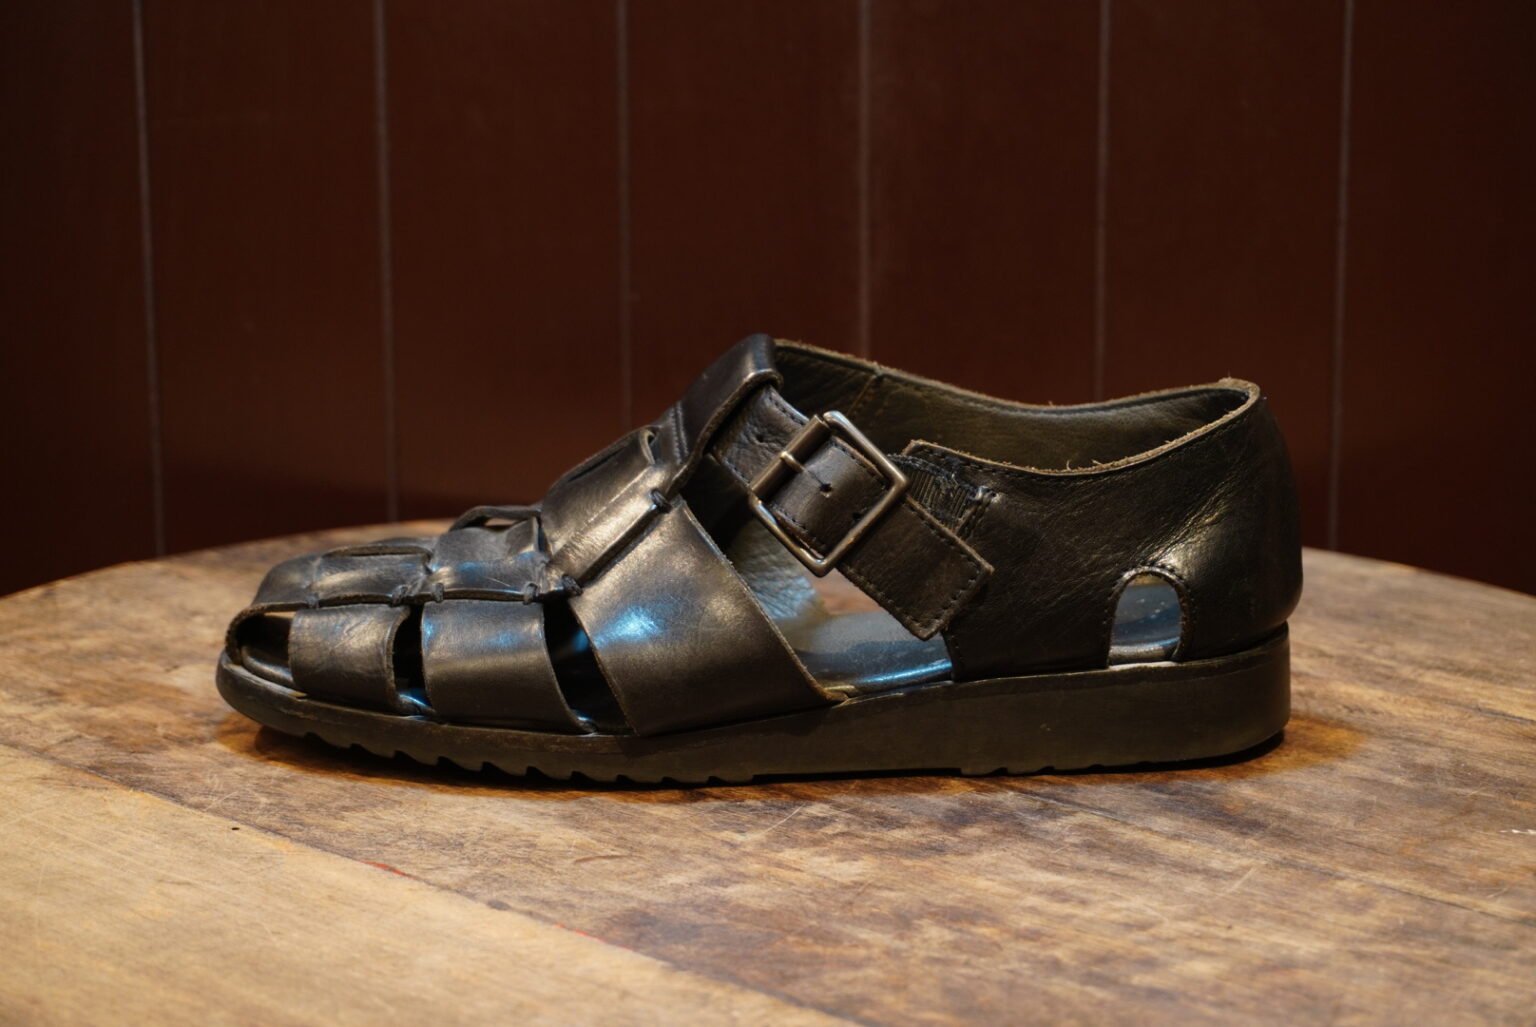
The upper has been well looked after and shows no noticeable damage.
However, signs of deterioration were evident in the rubber part holding the buckle in place.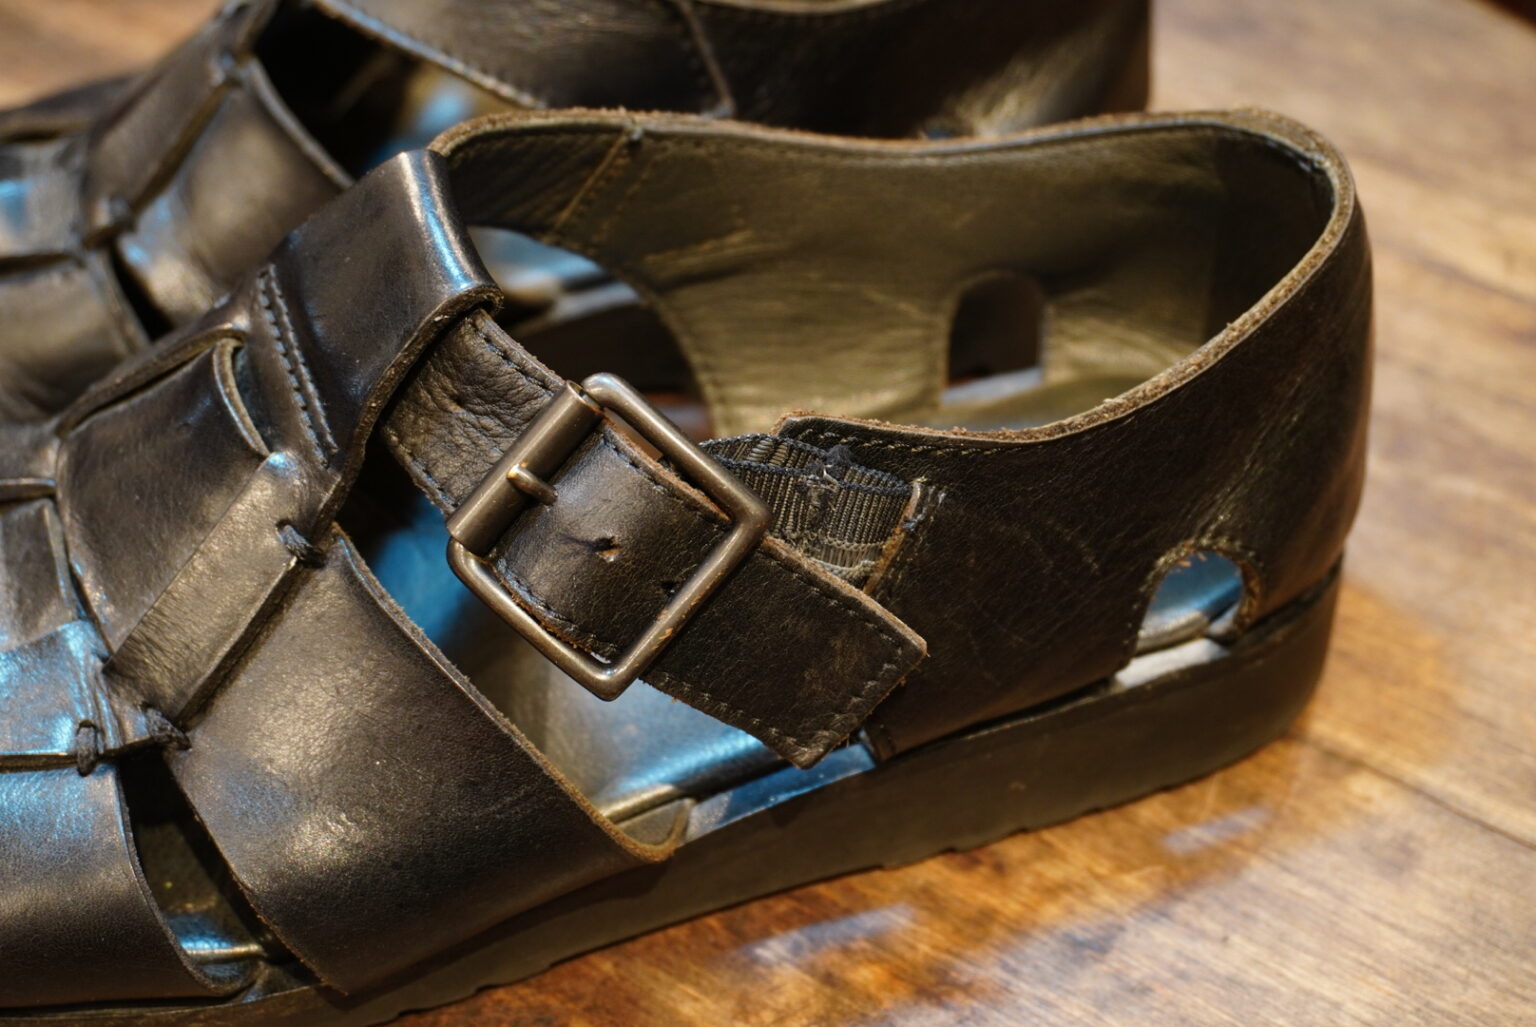
As this part is constantly stretching and contracting, it is inevitably prone to wear and tear, and in this instance, the rubber needs replacing.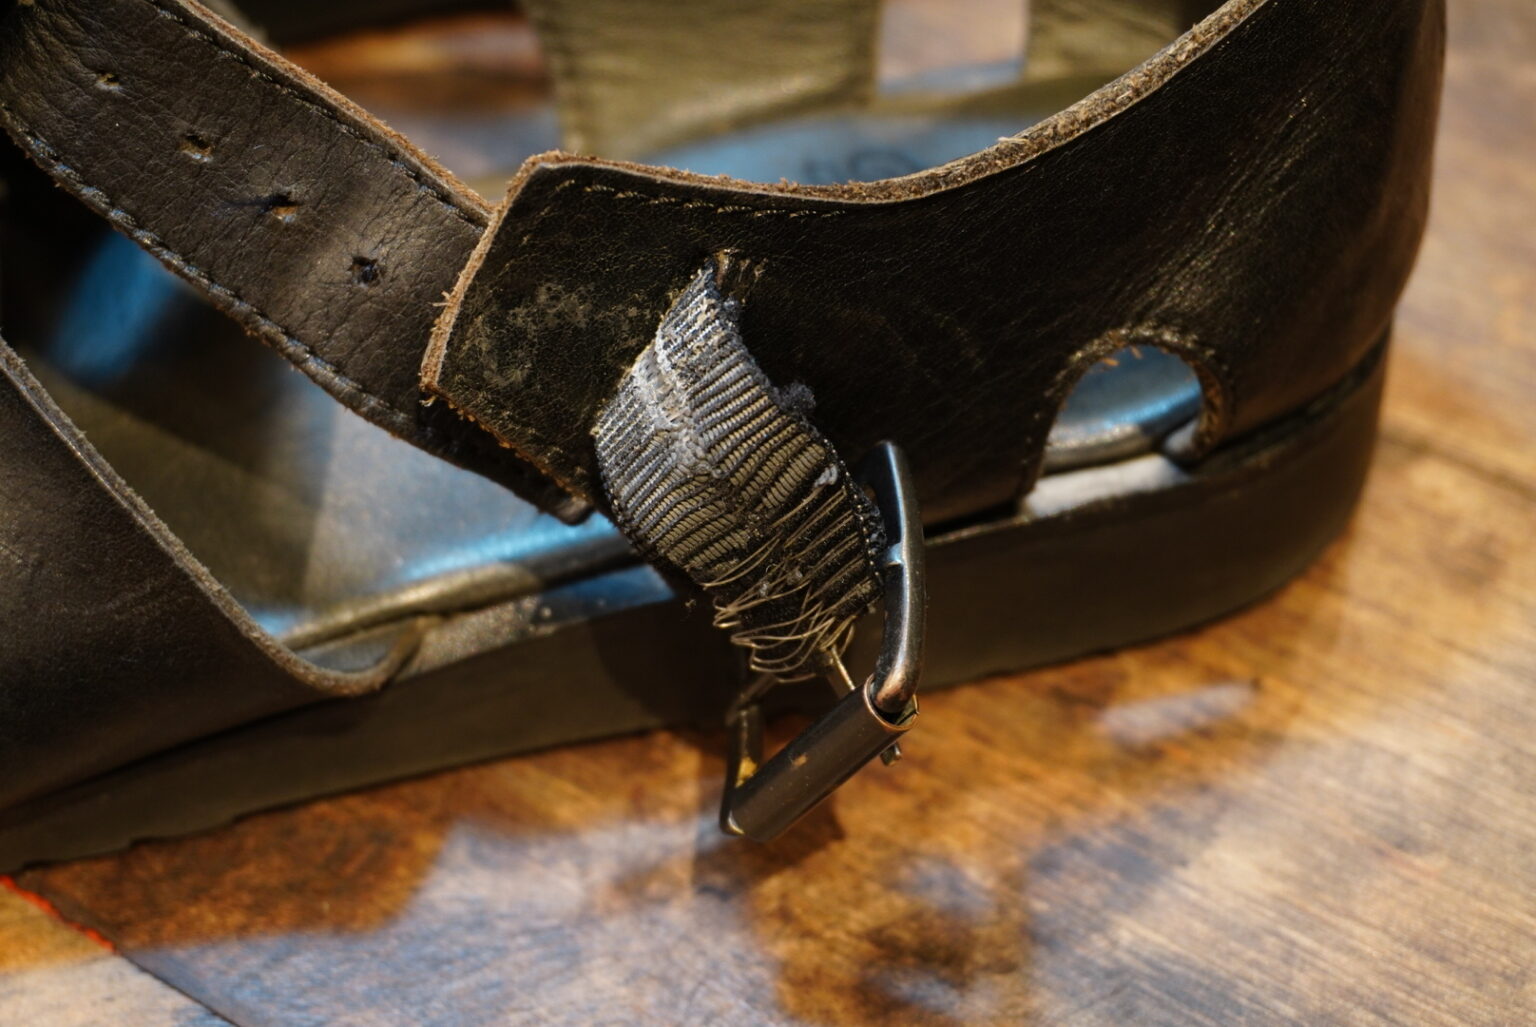
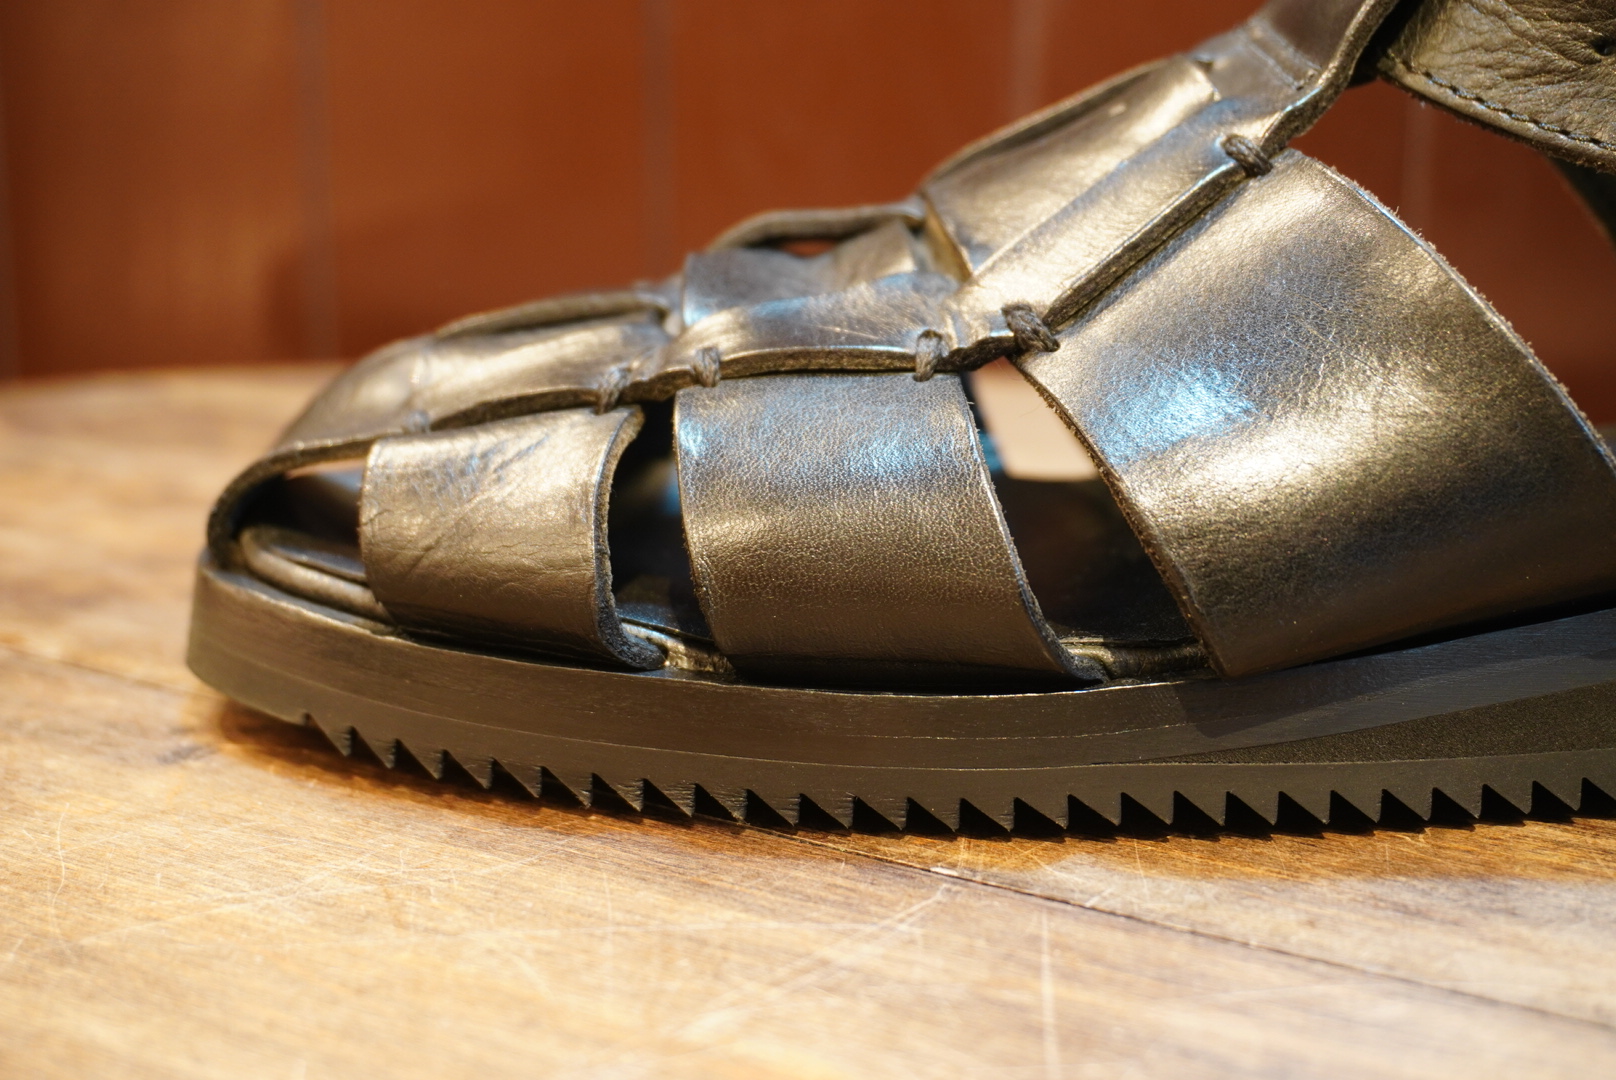
Next, upon checking the sole, I could see that there was still some tread left, so it didn’t need replacing straight away.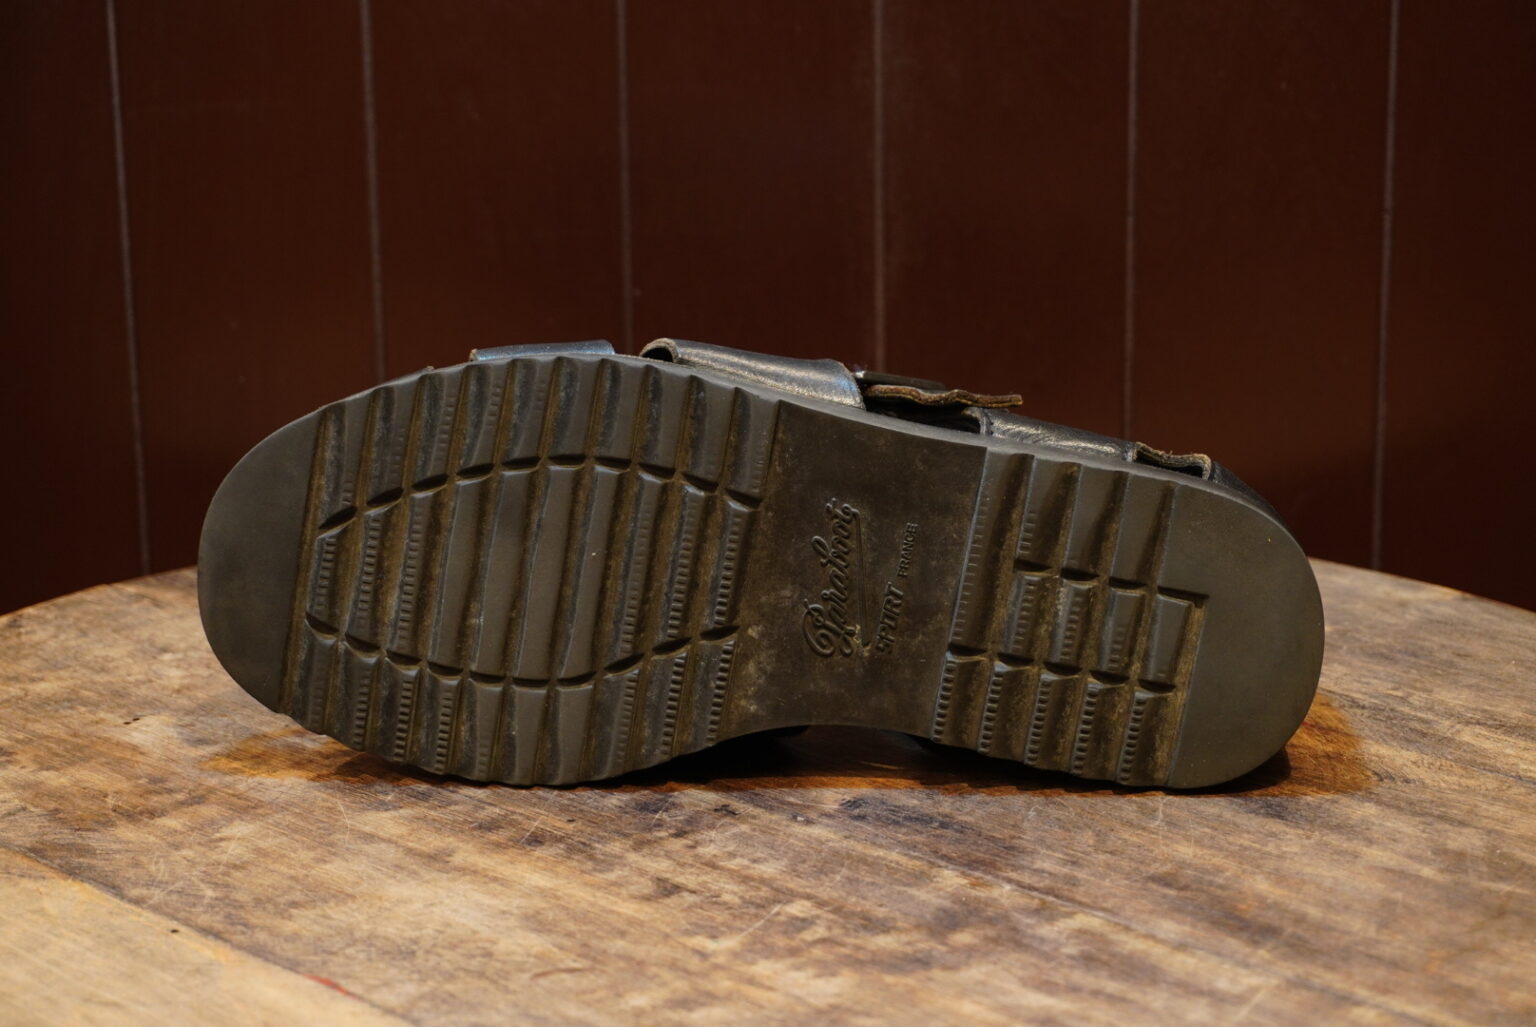
…However, on closer inspection, there is some peeling at the toe.
This is a problem that is bound to occur with shoes made using the cement construction method.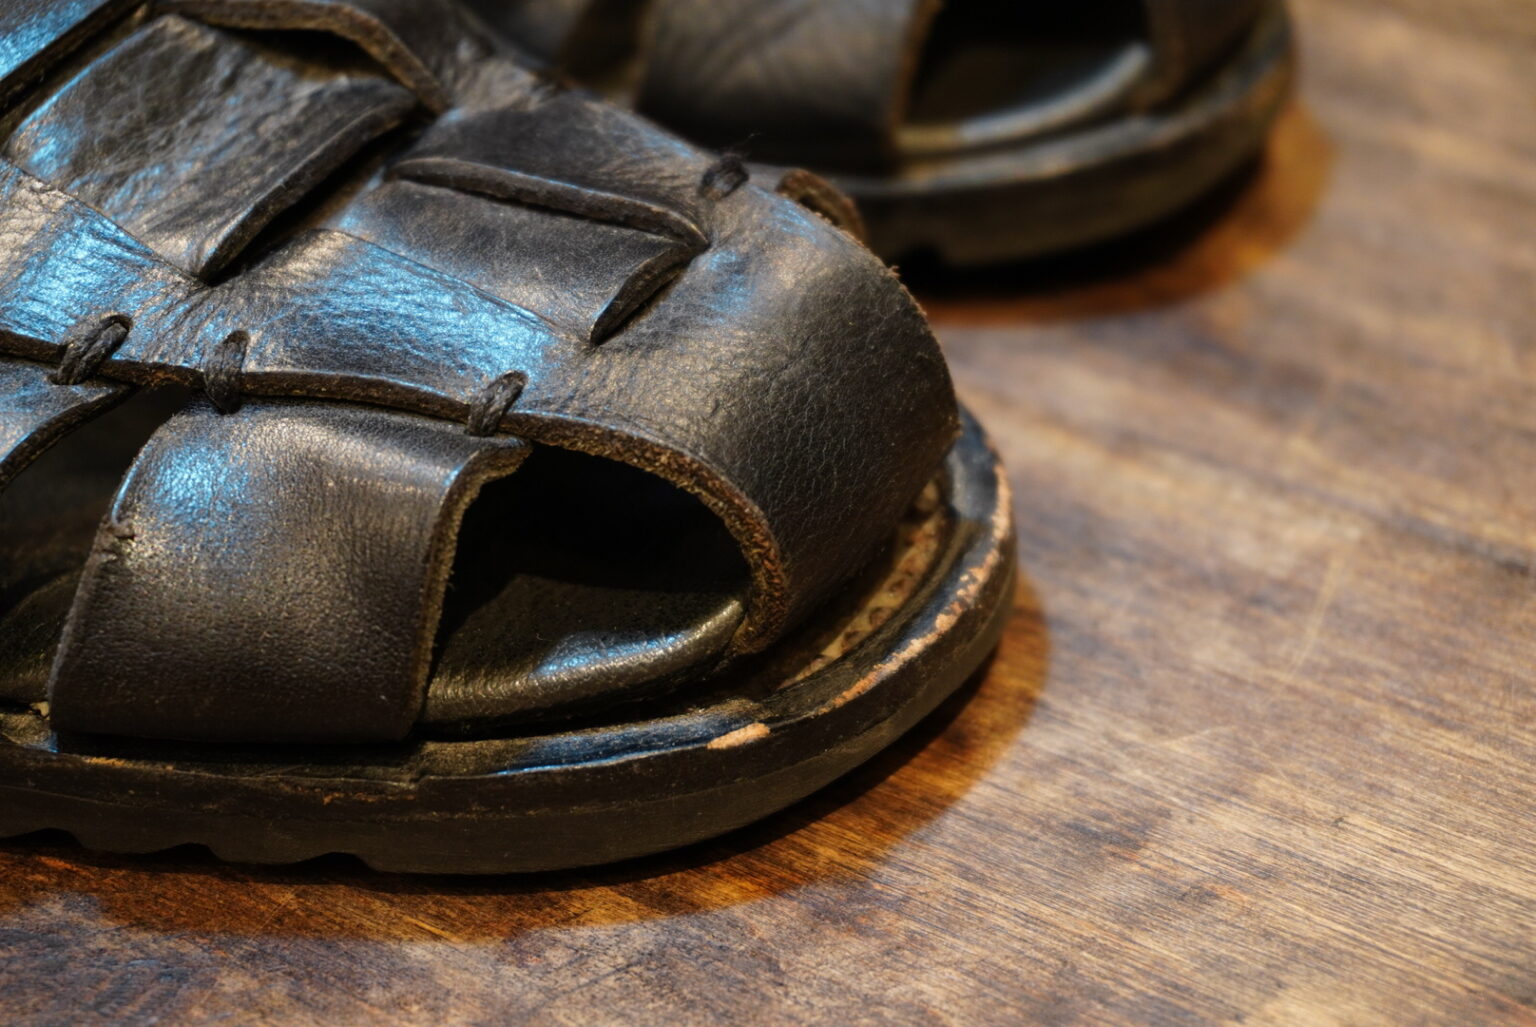
Although it’s unavoidable given the manufacturing process, it’s a bit of a nuisance having to send it in for repairs so often because it keeps coming unstuck.
In that case, there is also the option of changing the manufacturing process itself.
Fortunately, it was a type where the manufacturing process could be altered, so,
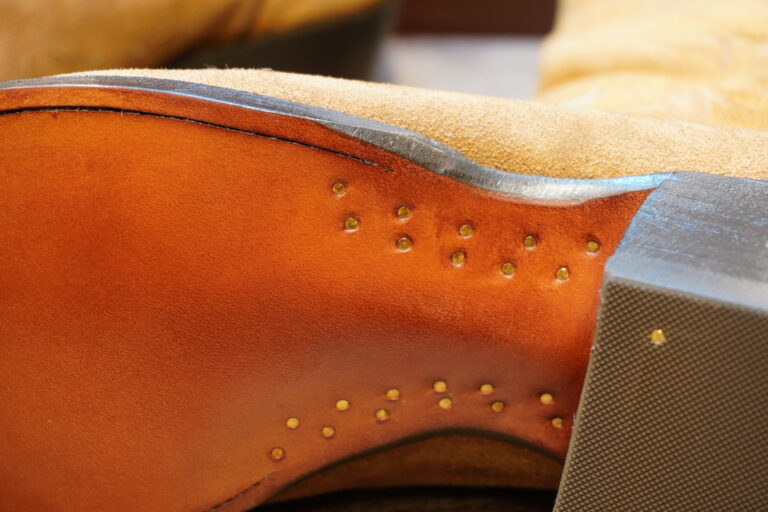
We switched from the ‘cemented construction’ to the ‘break construction (McKay construction)’ and replaced the sole.
Right then, let’s take a look at how it turned out after the repairs.
First up, replacing the elastic on the buckle.
As we replaced it with a material similar to the original, there is no visual discrepancy and the finish looks completely natural.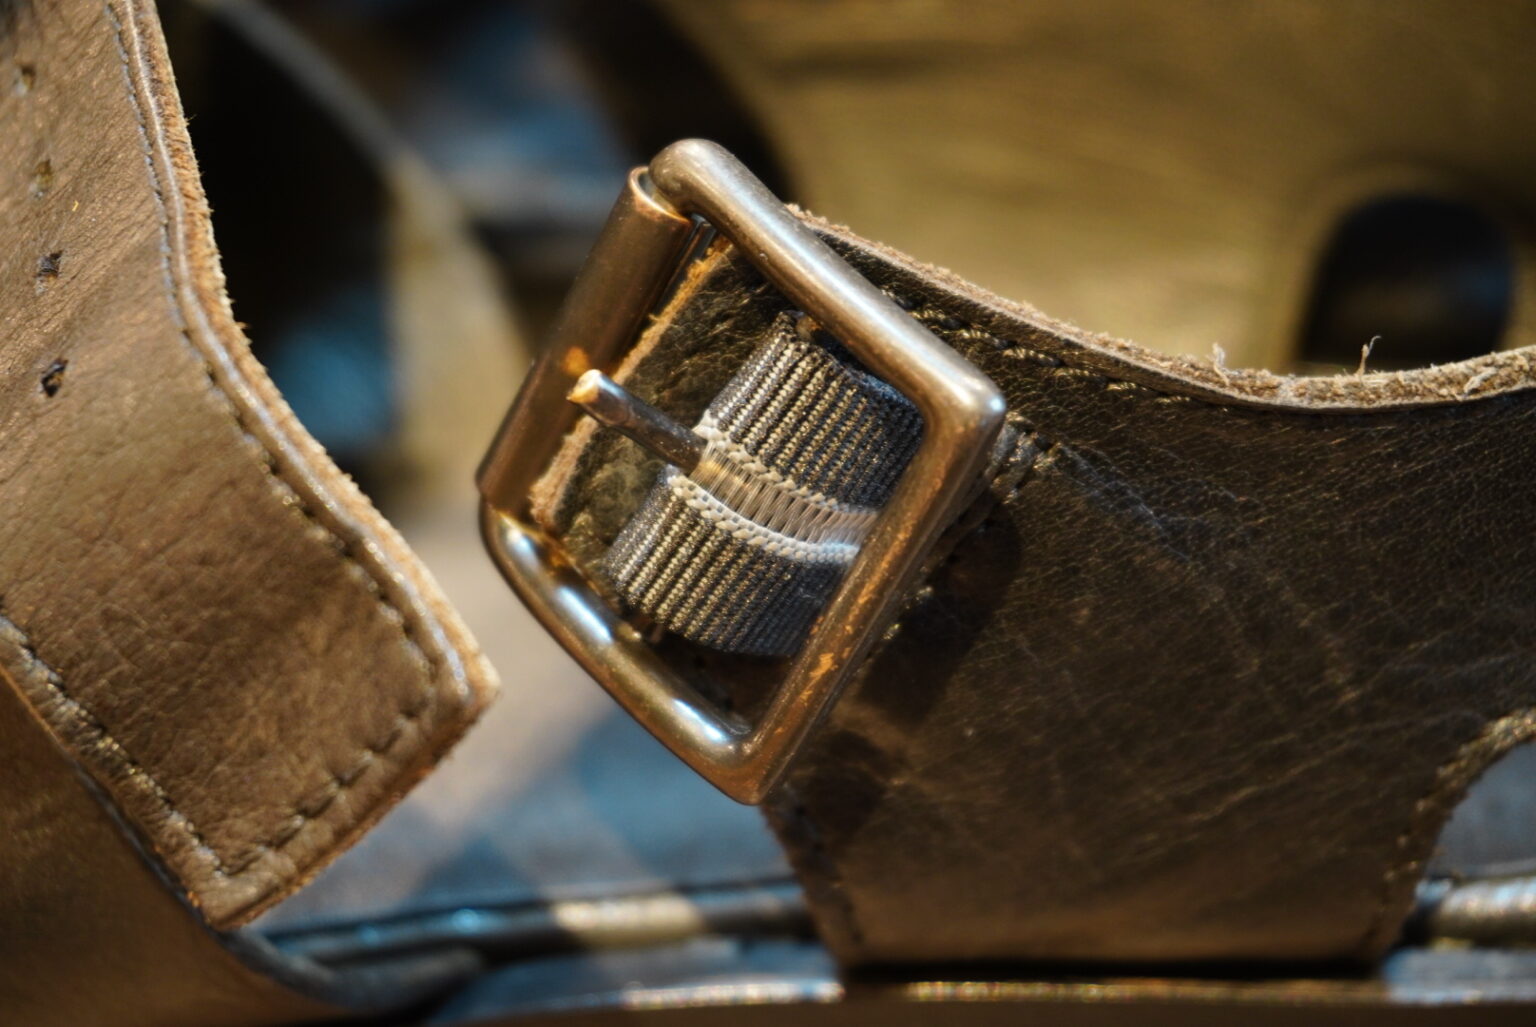
The grip has also been fully restored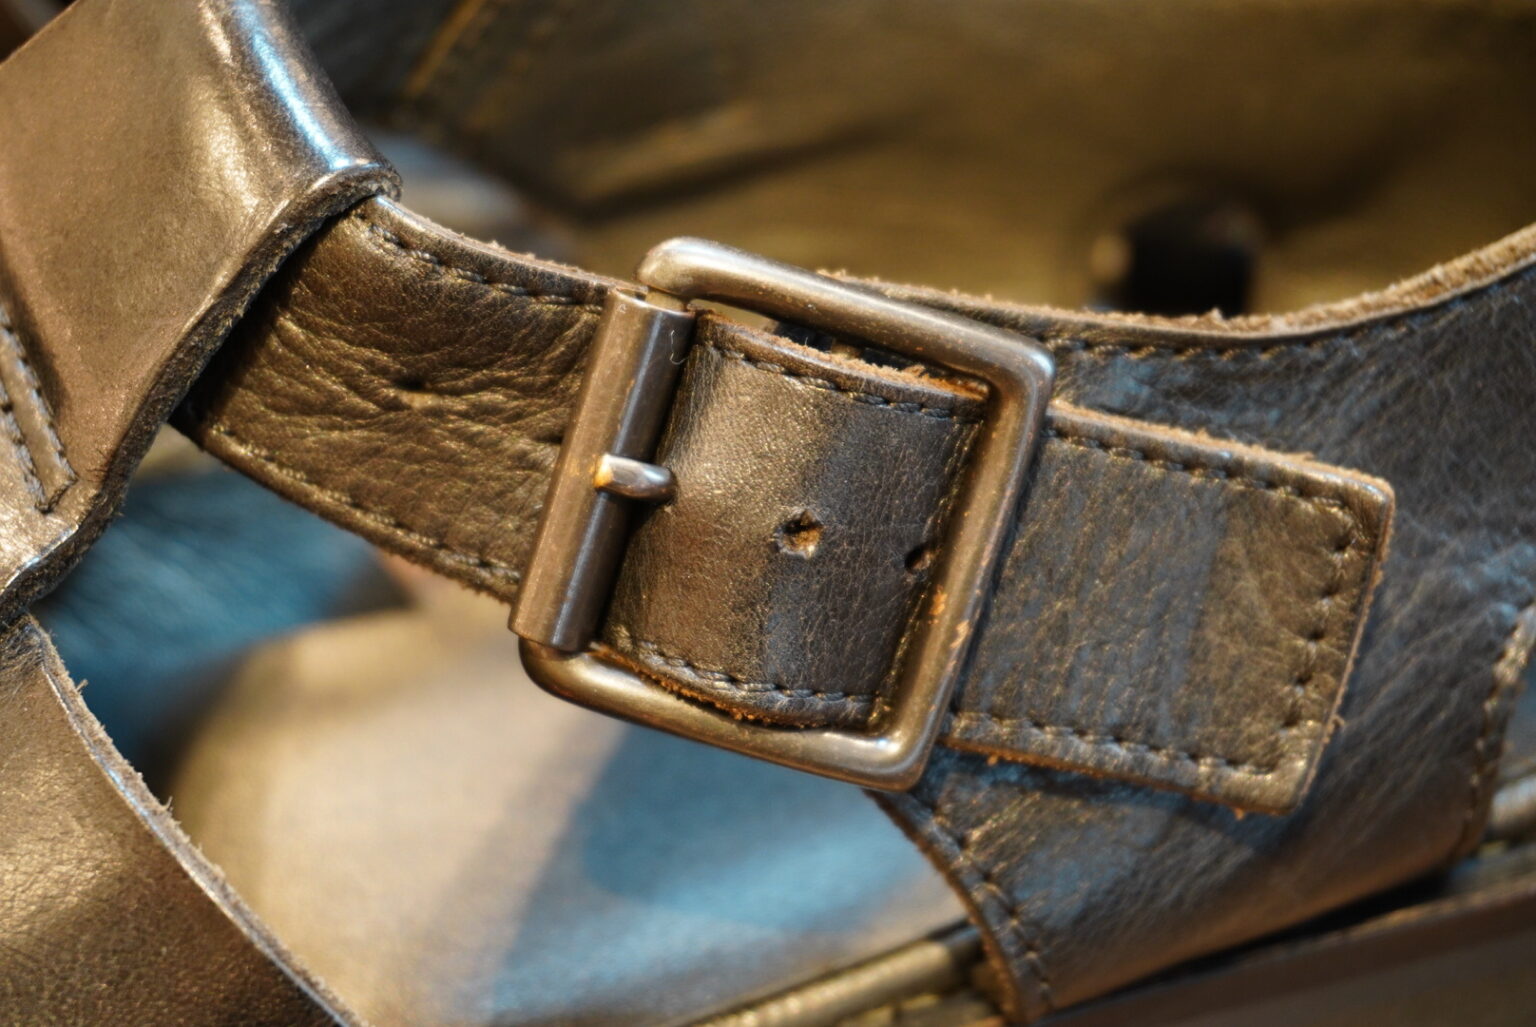
Next, the sole.
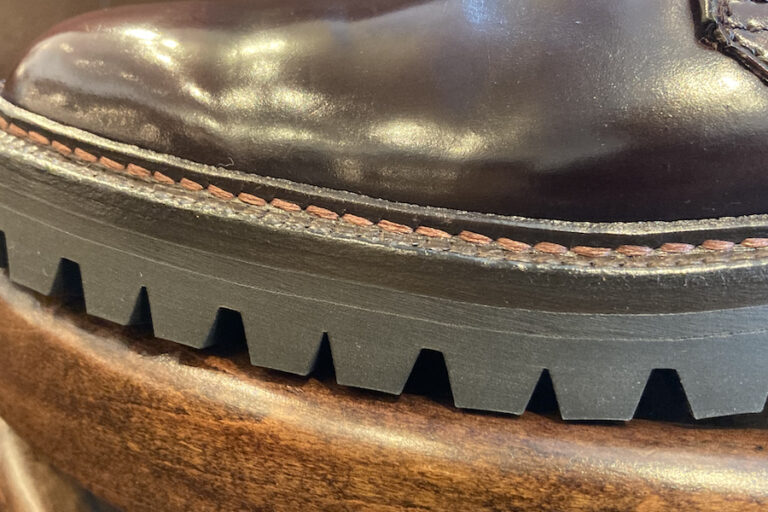
This time, I used the newly arrived ‘Mini Ripple Sole’.
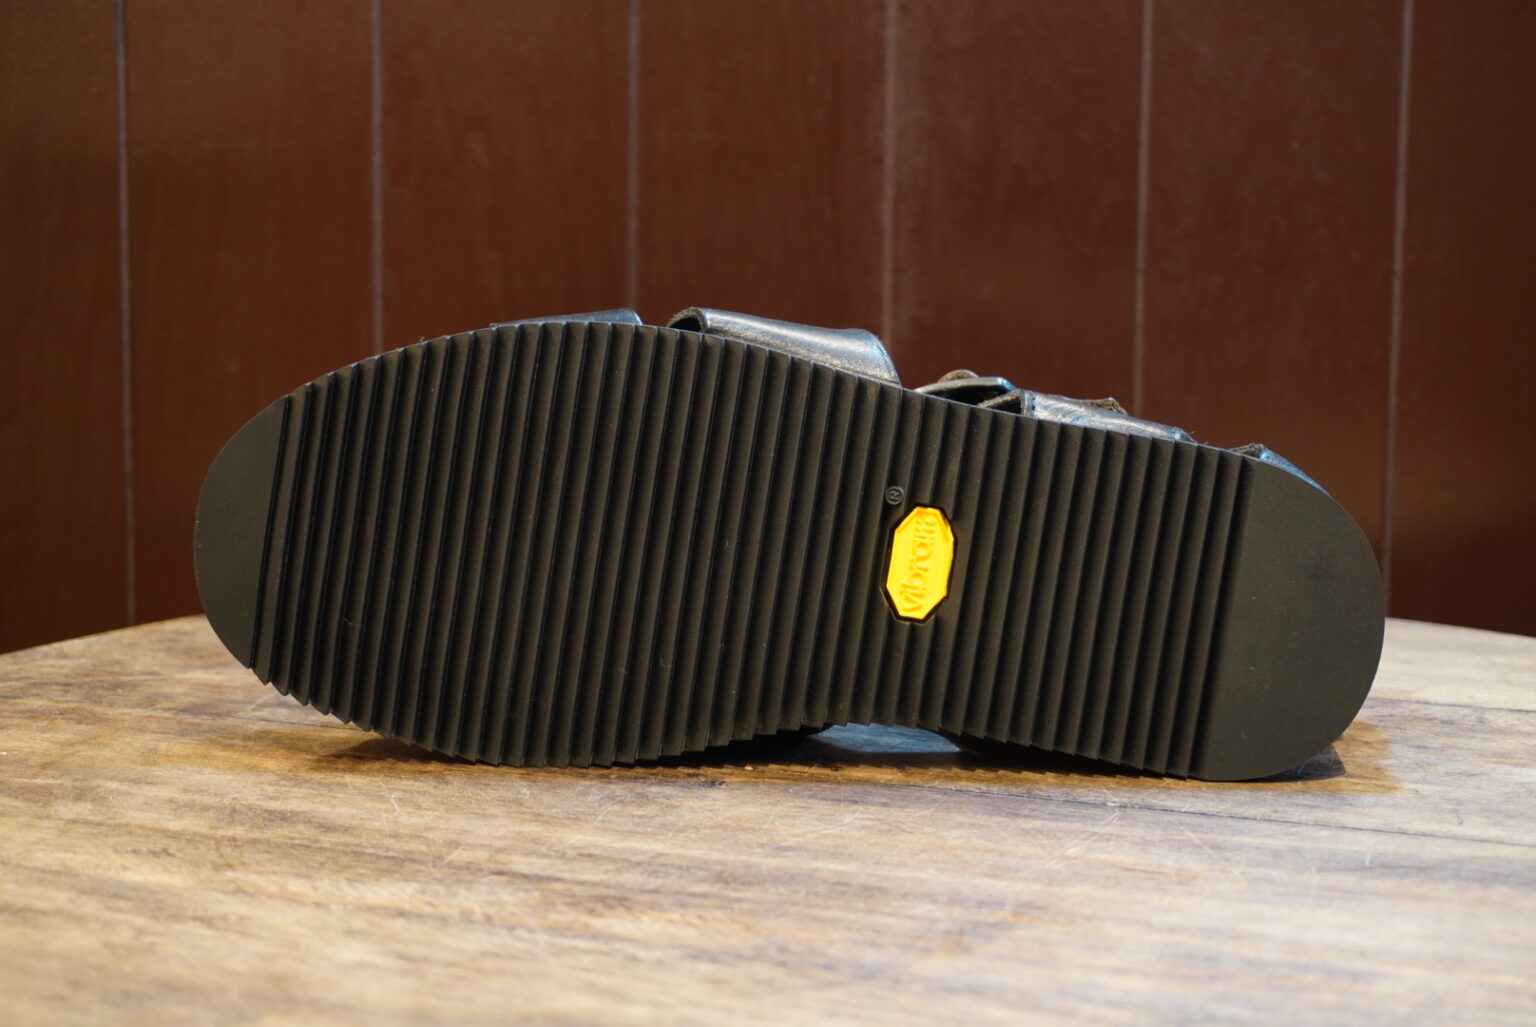
Don’t you think it’s turned out rather well?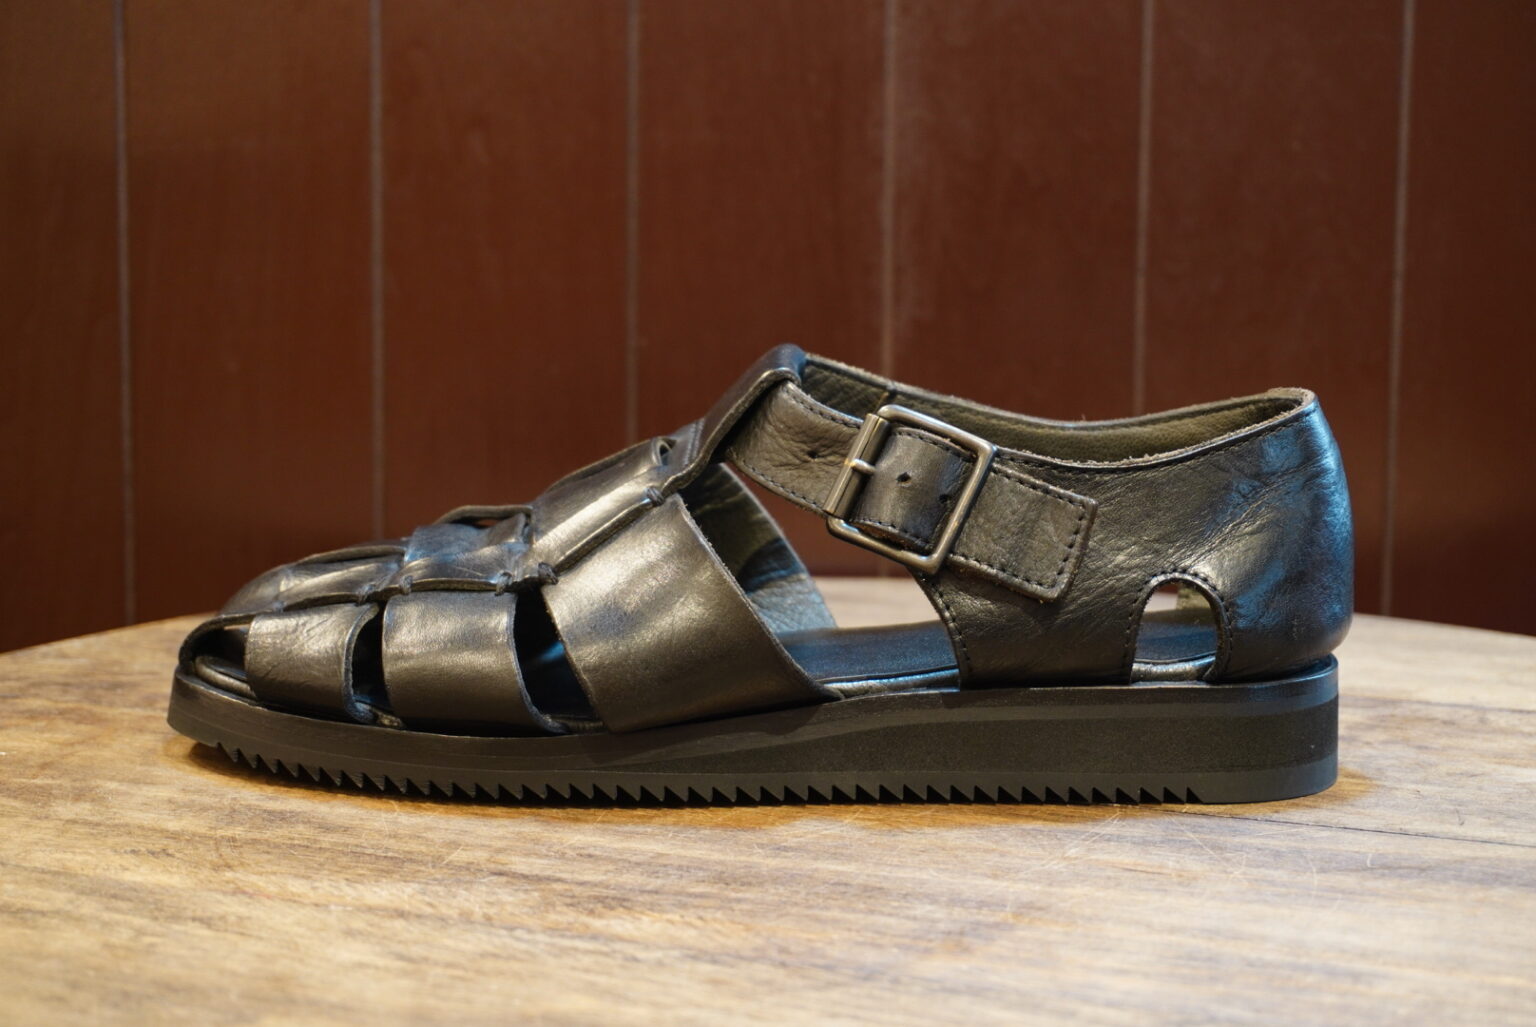
The front section consists, from top to bottom, of the insole → base (leather) → rubber midsole → mini ripple sole
That is the structure.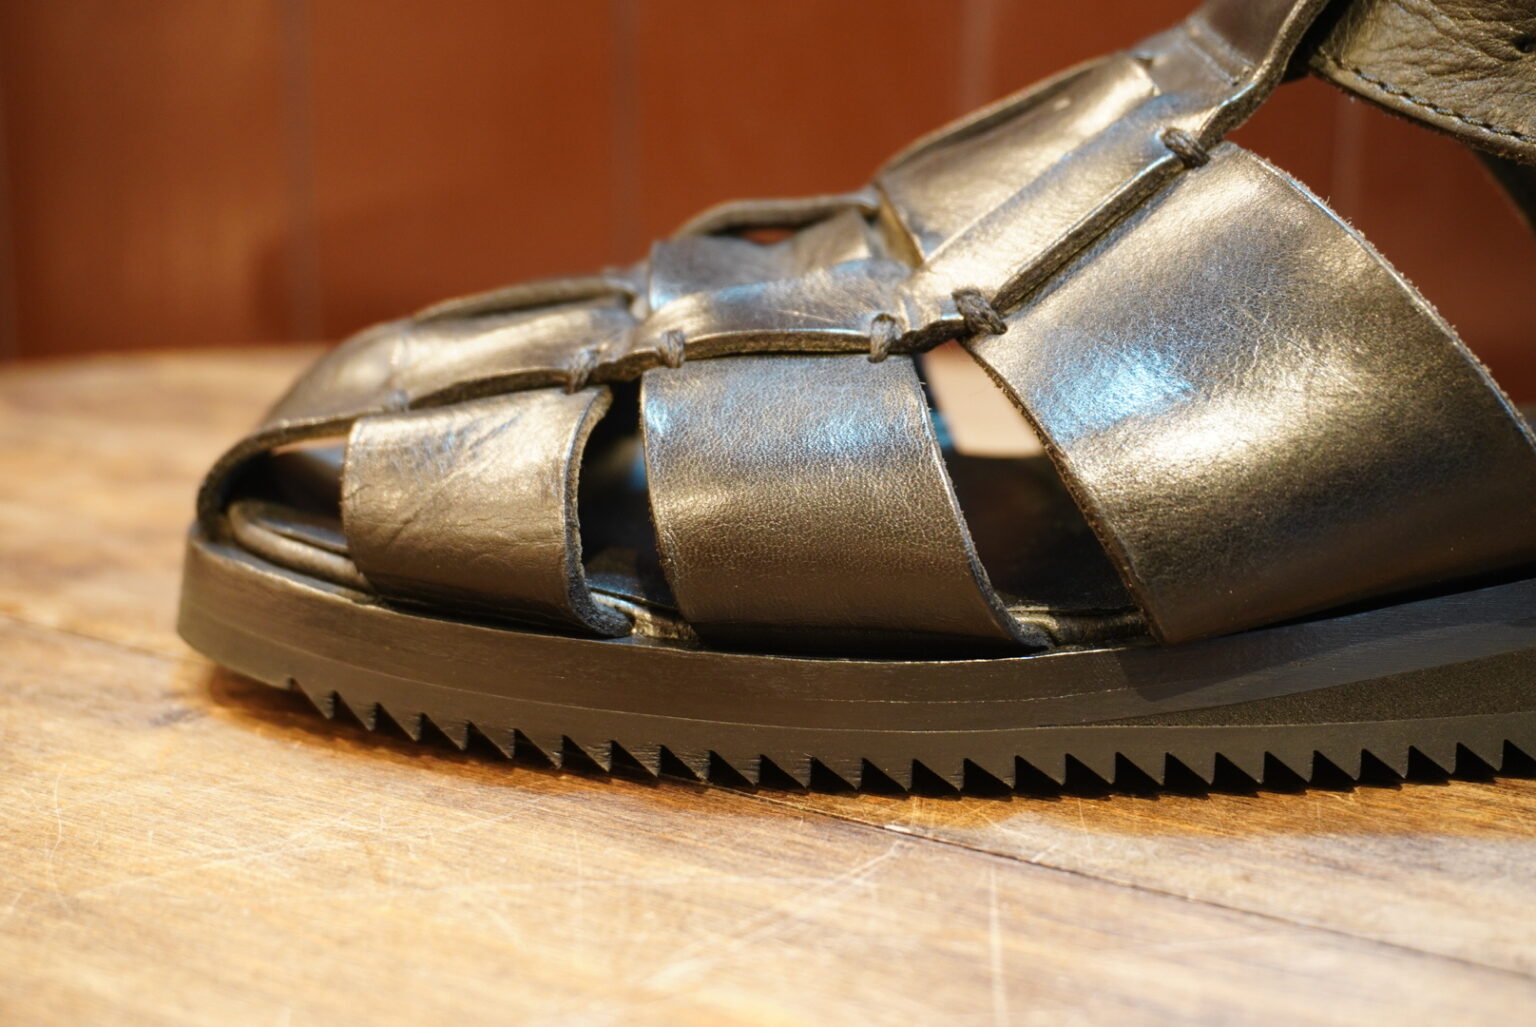
From the waist down to the heel, insert a sponge half-slip between the rubber middle section and the mini-ripple, and
I’ve adjusted the height of the heel.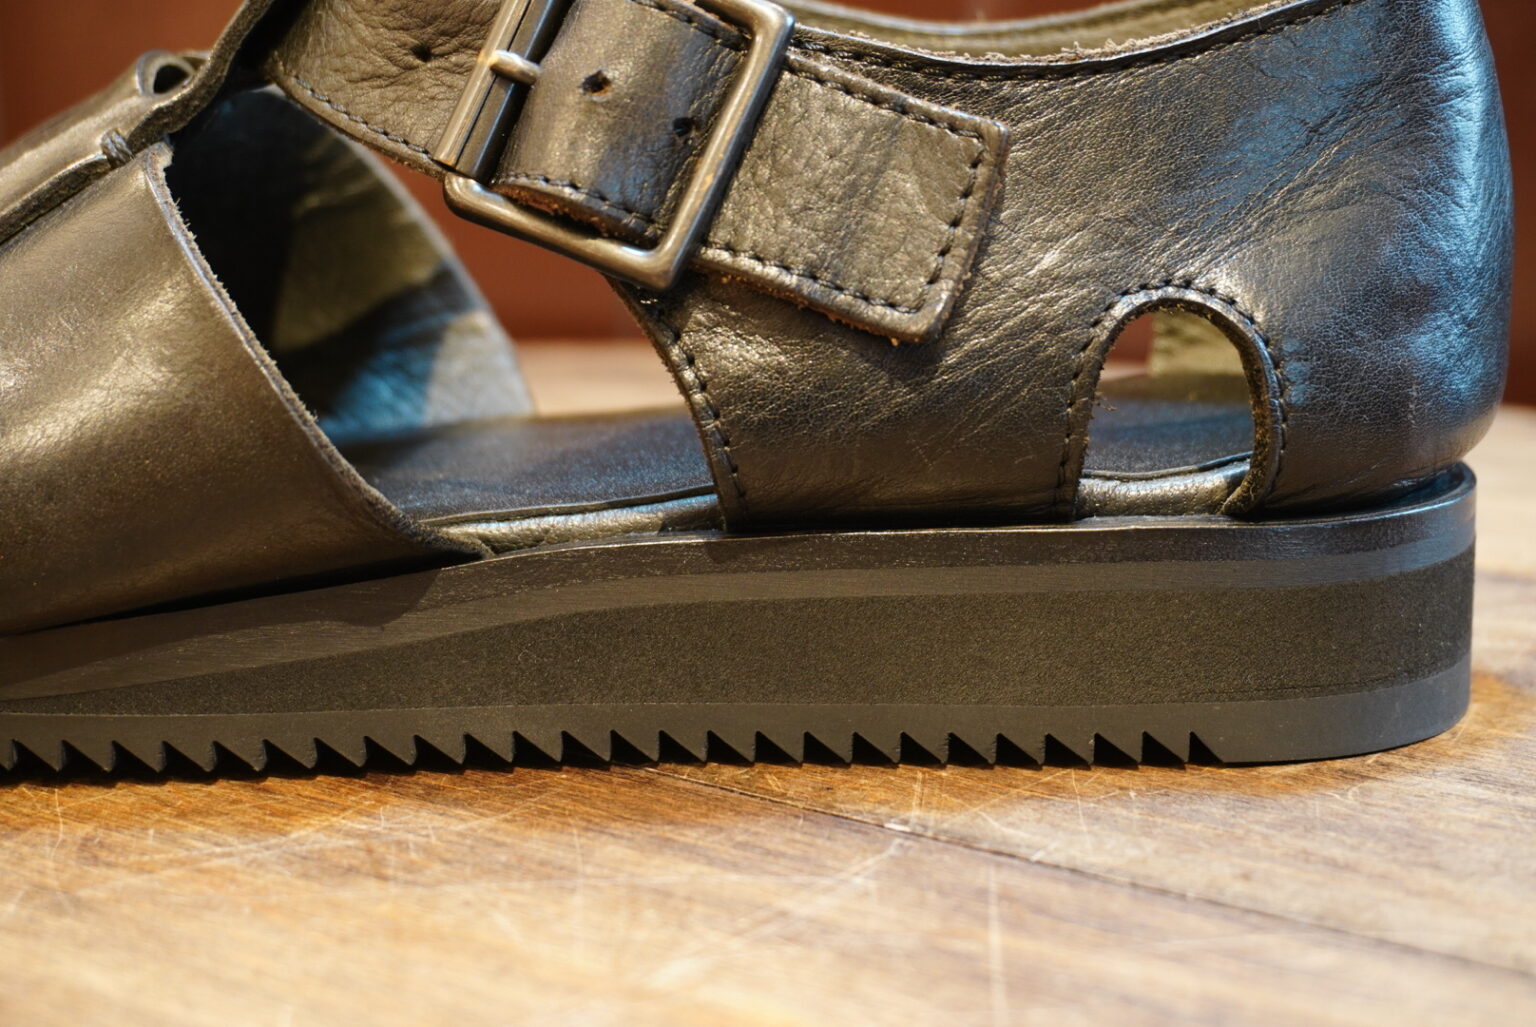
As the insole and the leather base had already come unstuck,
This time, I’ve stitched the insole, base and rubber midsole in place,
Arrange them so that the mini ripples are stuck underneath.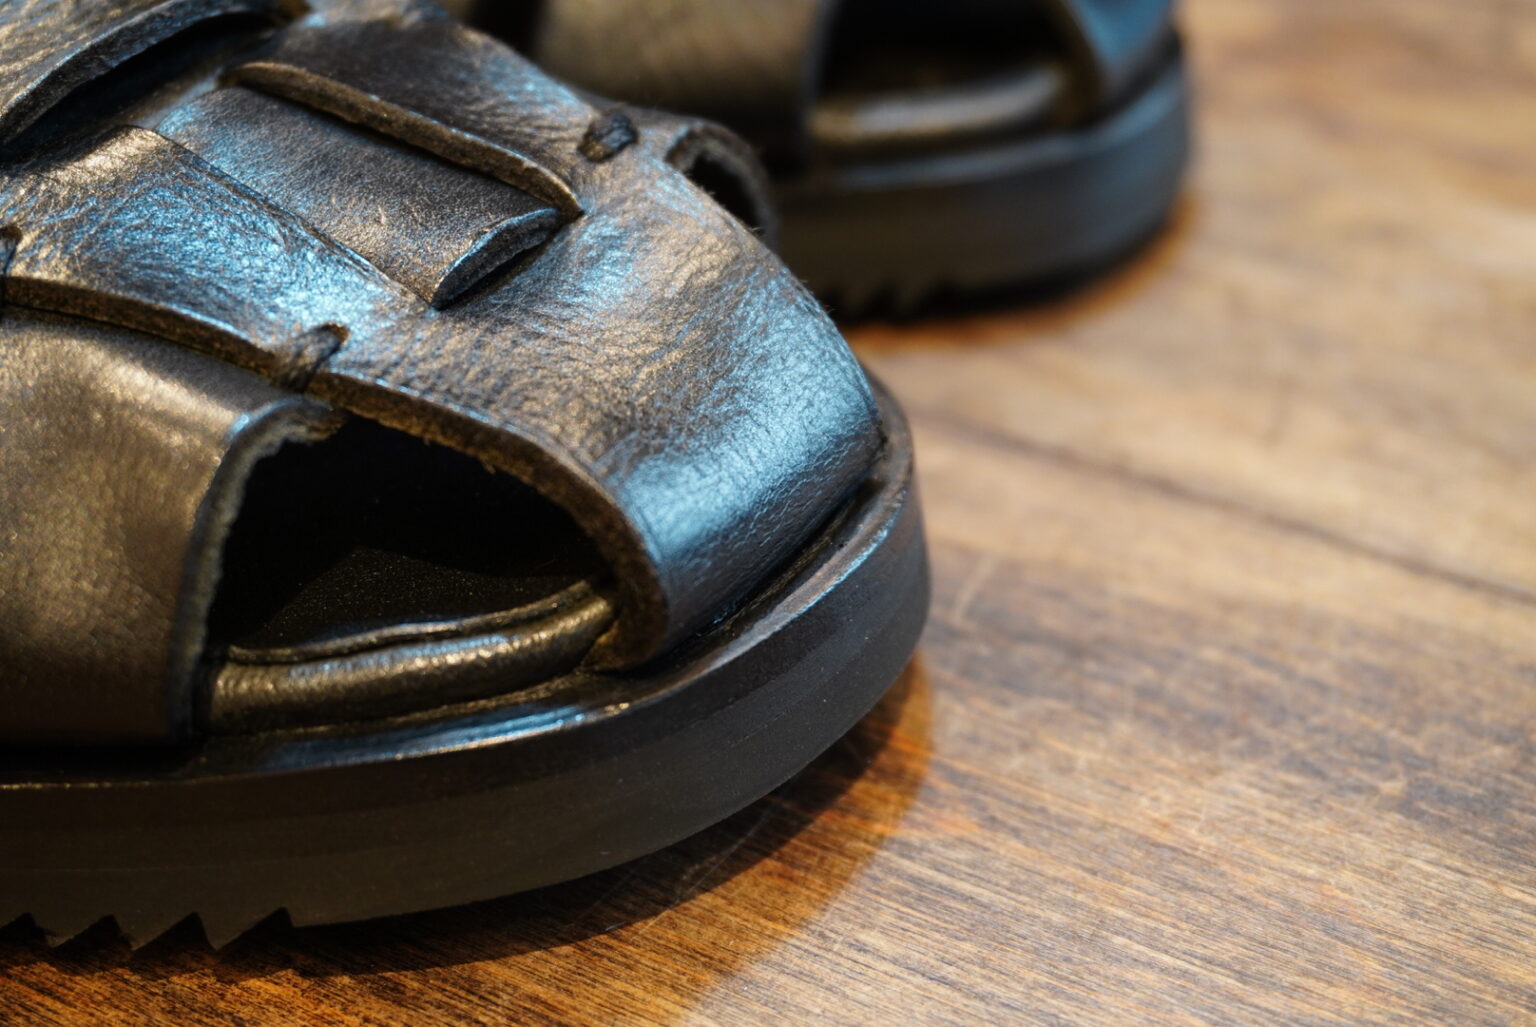 The stitching has also eliminated any gaps and improved durability.
However, as the insole needs to be sewn in place, there is a seam running all the way round the part where the foot rests.
For this reason, we produce a new insole and place it on top of the midsole to complete the shoe.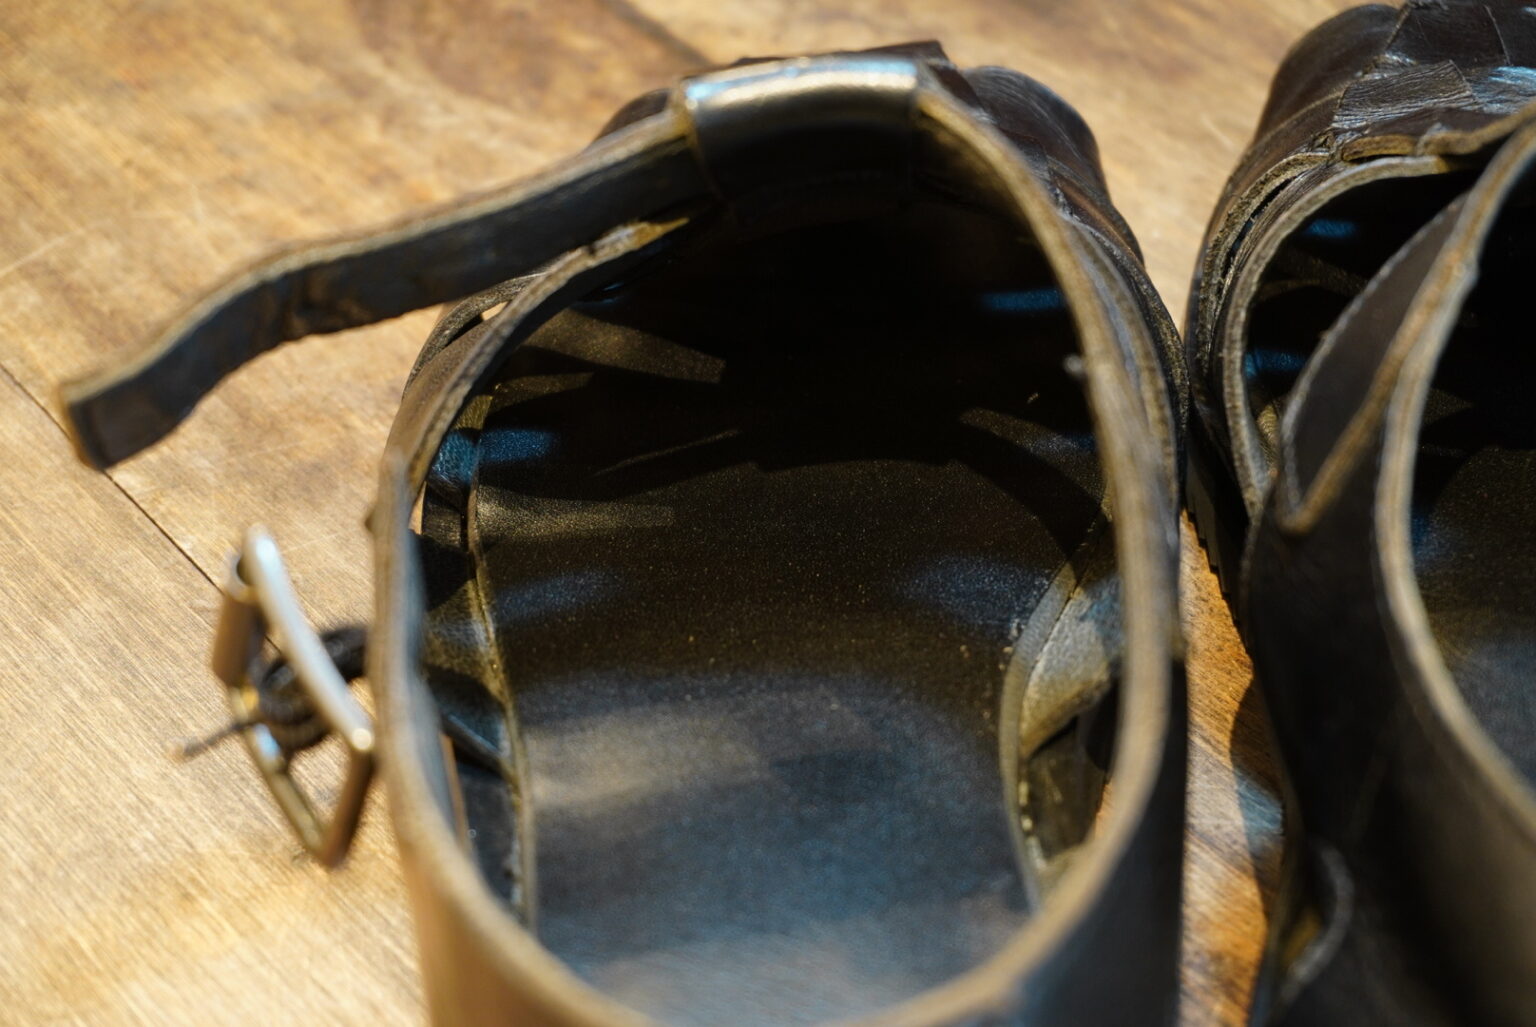
This ensures that it looks neat and does not compromise the comfort underfoot.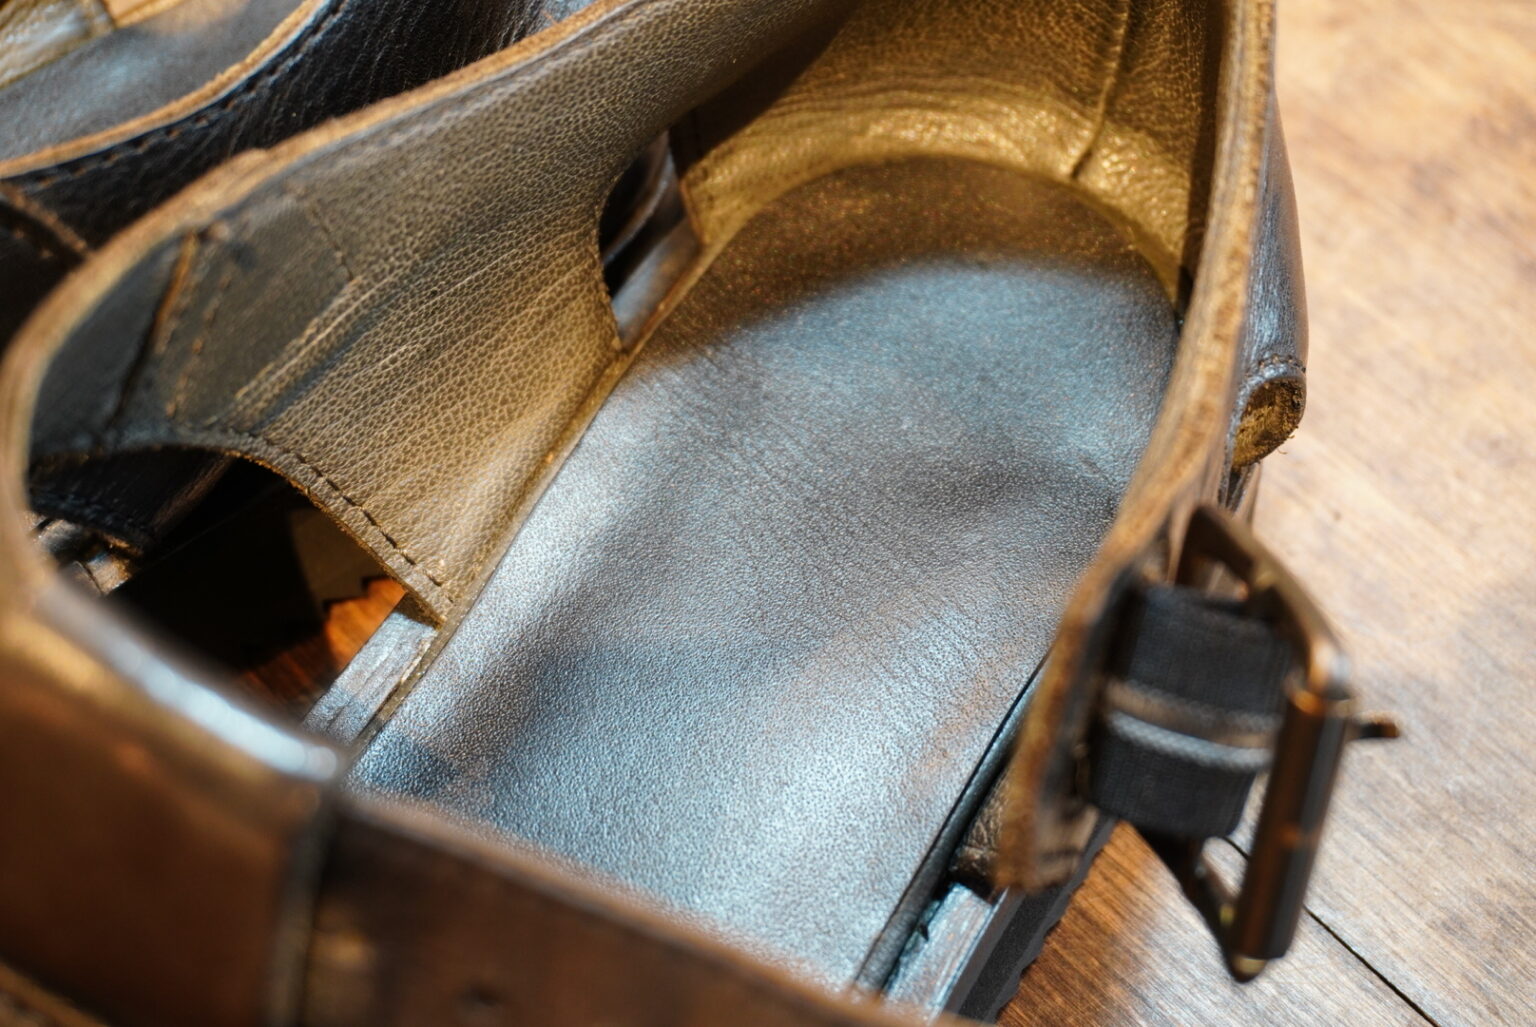
The finish looks completely natural. 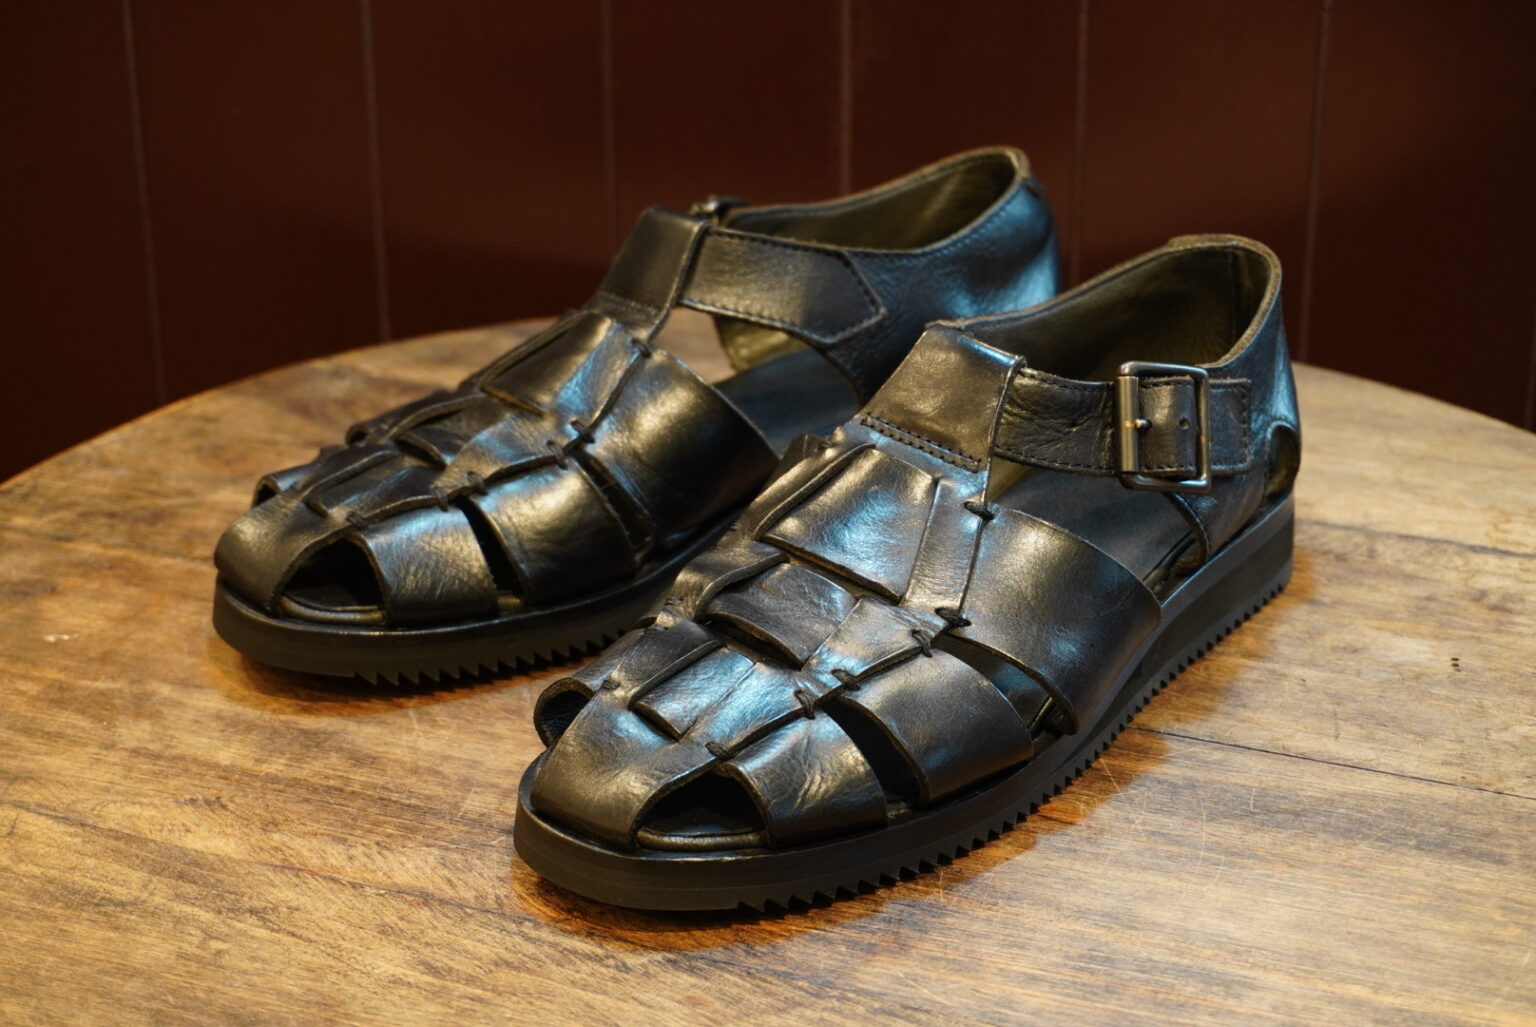
From customers who have seen the finished product,
We were delighted to receive the kind comment: ‘I prefer the look of this to the original.’
That’s the greatest compliment we can receive after a customisation.
We are truly delighted that you are satisfied.
We can carry out repairs and customisation such as switching from the cement method to the break method.
If you are interested, please do not hesitate to get in touch.
We sincerely look forward to welcoming you to our shop and to your patronage.
Thank you for reading to the end.
Yokohama Branch, Yamada