
EDWARD GREEN Full Sole Replacement & Glazing
EDWARD GREEN Full Sole Replacement & Glazing
4 August 2020
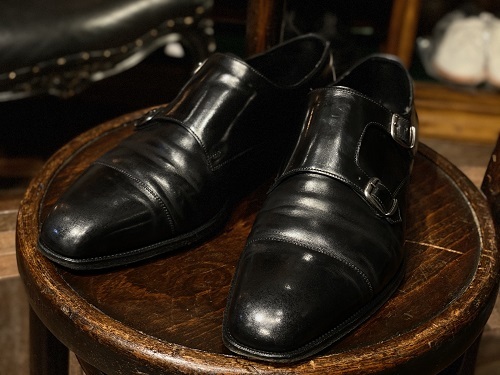
Here are the shoes we’ll be showcasing for repair today.
EDWARD GREEN WESTMINSTER
These double monk straps are perfect not only for formal occasions but also for casual outfits such as jeans.
When it comes to double-monk straps, the leather overlaps at the strap section, so many of them tend to have a rather chunky appearance, but,GREENIt is designed to fit snugly along the instep, giving it a sharp and sophisticated look.
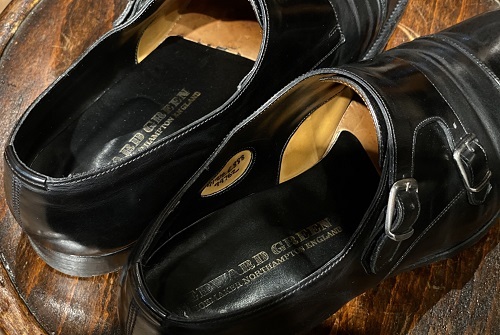
GREENThat said, as the logo has changed with each era, you can, to a certain extent, tell simply by looking at the logo when it was produced and which factory made it. Personally, I prefer the gold logo from this relatively recent era, which1I really like it...
For this repair, we have decided to carry out a full sole replacement and a glazing treatment. 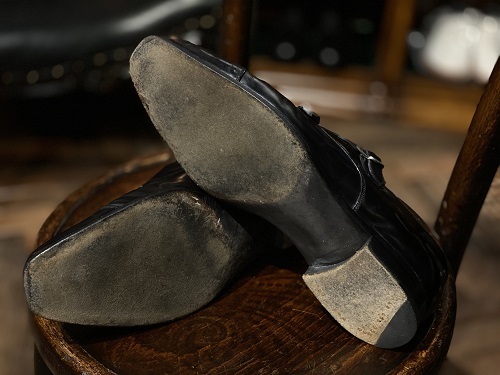
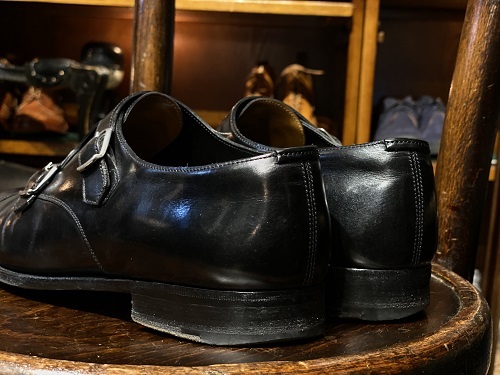
Although the soles and heels aren’t due for replacement just yet, as the customer wanted to be able to wear them on rainy days, we decided to carry out a full sole replacement using rubber soles.
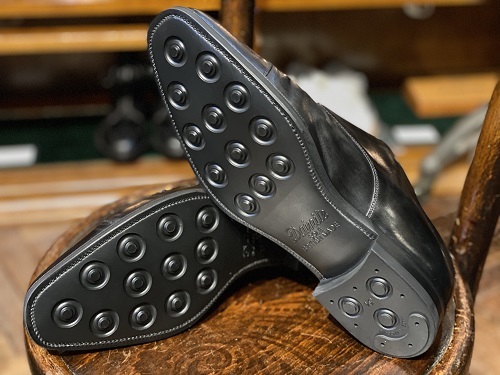
I replaced them with Dainite soles.
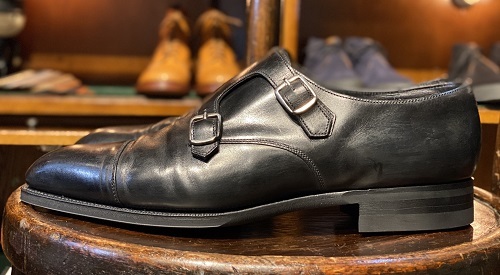
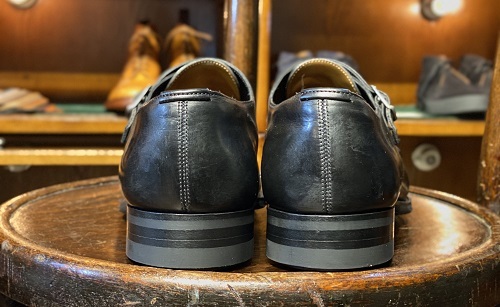
Now that the sole has regained its thickness and offers good grip, I can wear these with confidence even on rainy days.
Next up is the glazing.
In this post, I’ll be describing the detailed steps whilst highlighting the key points.
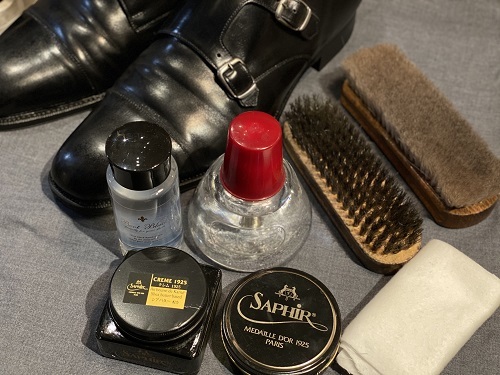
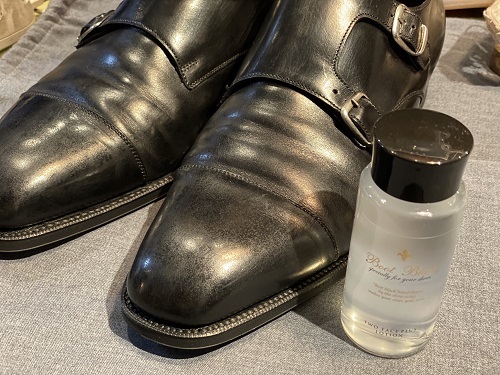
First, I’ll use the Boot Black remover.
Soak a cloth in the solution and use it to remove old cream and wax.
Although there are products such as high-shine cleaners available, a single remover is sufficient to remove this amount of wax.
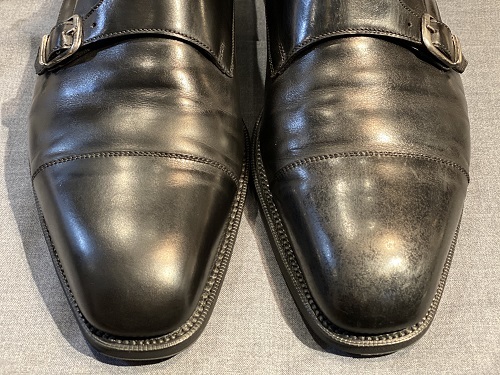
As long as it falls off neatly, as shown on the left, it’s fine.
As this has a significant impact on the final result, please make sure you remove it thoroughly.
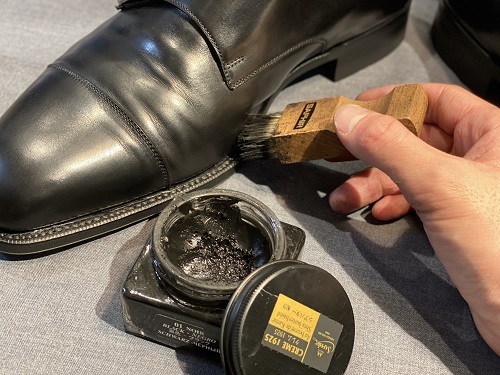
This time, I’ll be using Saphir cream.
First, use a Penetrate brush or similar to apply the cream to the edges.
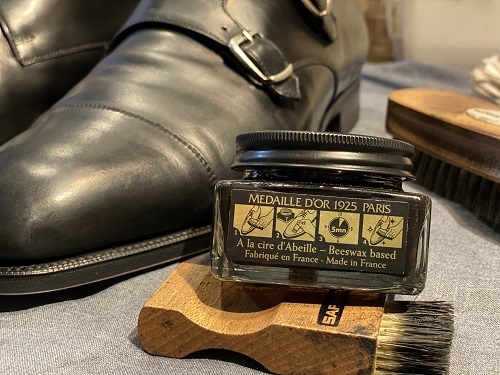
Once you’ve finished applying the cream to the upper,5Let’s wait a few minutes.
I had to resist the urge to brush my teeth straight away5I’ll wait a few minutes.
The cream will soak into the leather, causing the natural oils on the surface to set. Once the surface feels smooth, brush it with a boar-bristle brush.
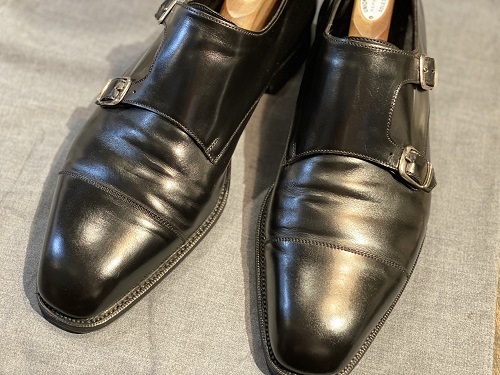
Wipe the surface thoroughly with a cloth to remove any stickiness, and it will take on a glossy finish.
That concludes the preliminary preparation.
The final result depends largely on how well the preparatory work is carried out.
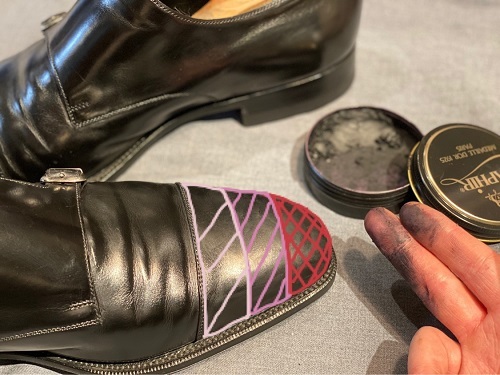
Next, apply the wax with your fingers.
For the first coat, using a harder wax tends to bring out the shine more quickly.
Rather than applying it evenly, the toes should1As I want it to shine brightly, let’s put plenty on the tips.
As the pale pink area near the instep is likely to crease when the foot is bent, apply it in a thin layer.
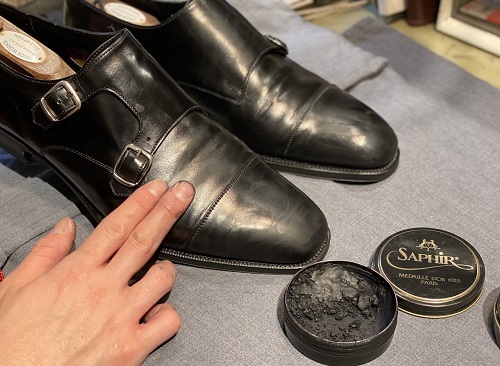
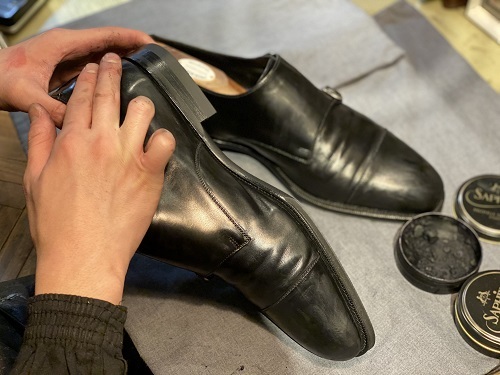
Once you’ve finished the toes, apply it to the sides, the instep and the heel as well.
To give the heel a natural sheen, apply the colour to it in the same way as the toe, taking care to create a gradient.
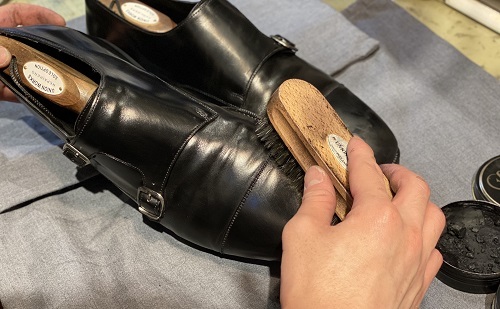
Once you have finished painting both legs, brush the entire surface with a boar-bristle brush to set the wax and work it into the surface.
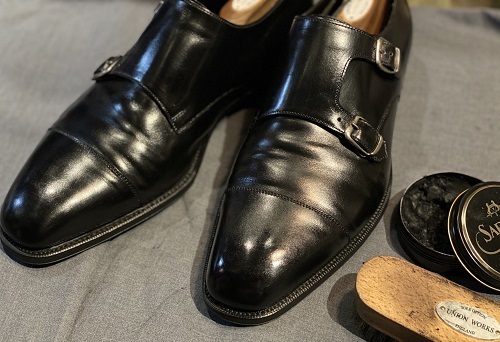
1After a few coats of wax and some brushing, it has started to look glossy.
On the tips of one’s toes1I think you can see that it has a certain lustre.
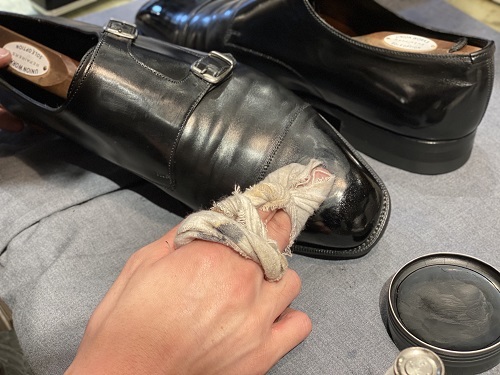
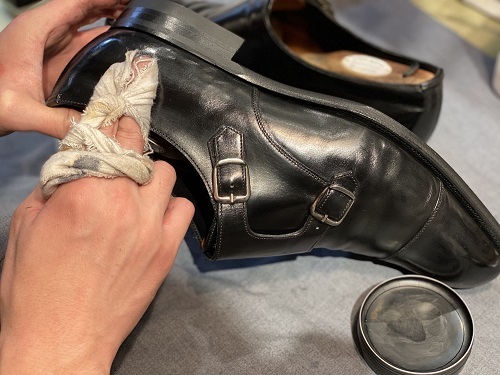
2For the second round, apply the wax with a focus on the toes and heels. Once you have finished applying the wax, gently rub it in with a flannel cloth, as if working it into the pores.
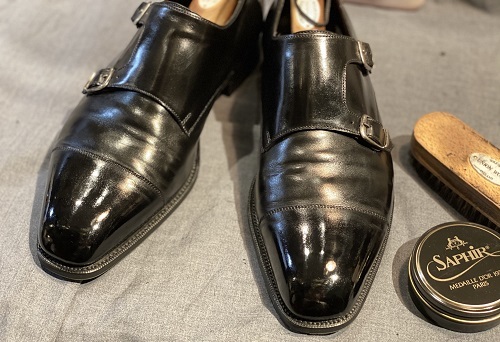
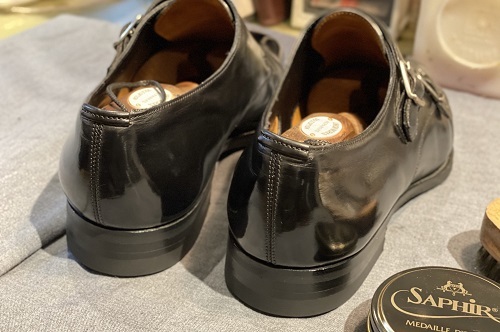
It’s really started to take on quite a sheen all over, hasn’t it?
Glazing involves repeating the same process.
However, rather than simply applying the wax, it works best if you pay attention to creating a gradient—applying a little more where you want it to shine.
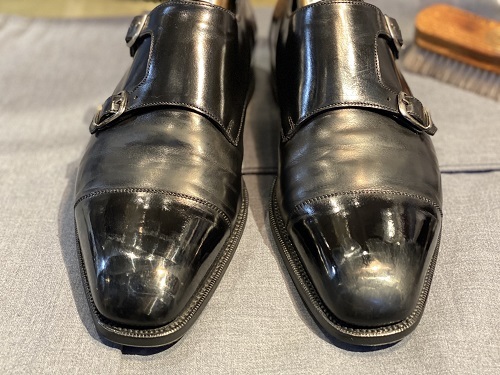
Once a shine has appeared, apply the wax to the areas of concern and gently work it in using circular motions.
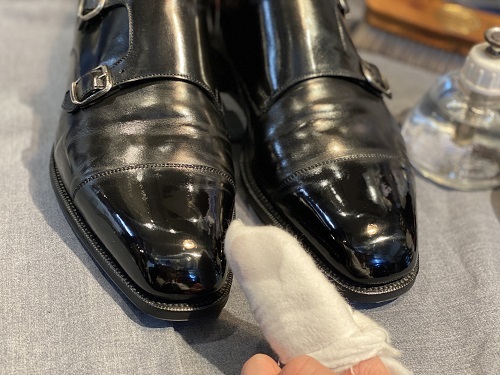
3After the second application, the pores were filled in and the fabric had developed a lovely sheen, so I gently polished the entire piece with a clean flannel cloth, using only water and no wax.
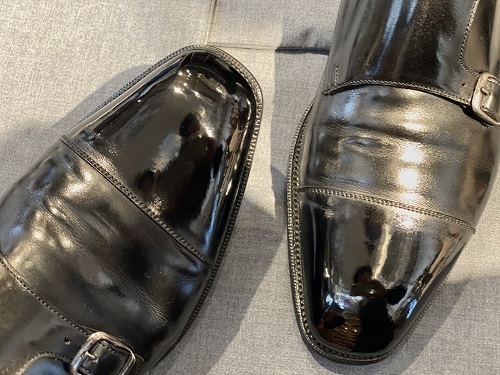
Polish it until the white haze from the wax has disappeared.
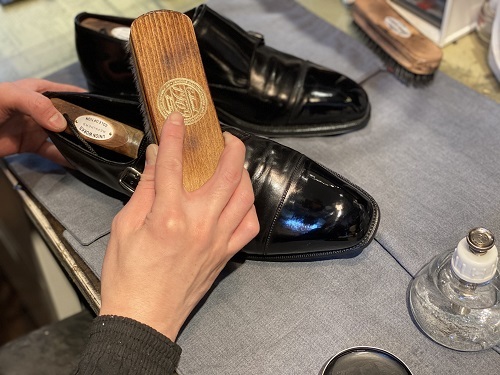
Finally, the finishing touches.
Dampen a goat-hair brush with a small amount of water and gently brush the entire surface.
Giving the whole thing a glossy finish creates a natural glazing effect.
It’s finished.
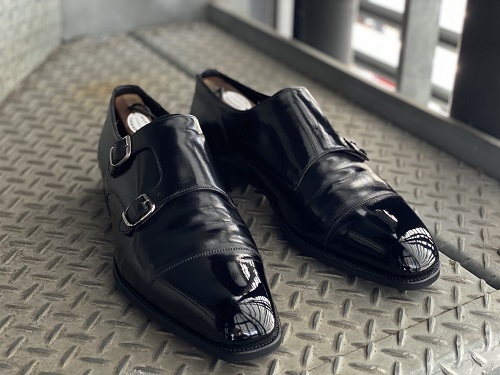
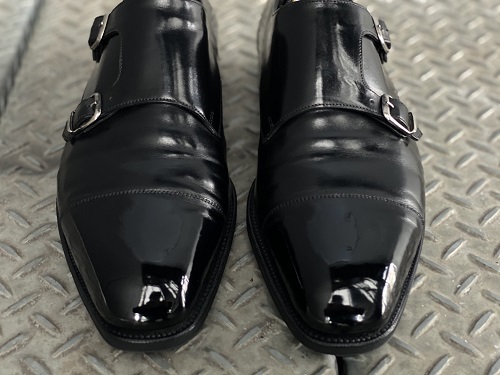
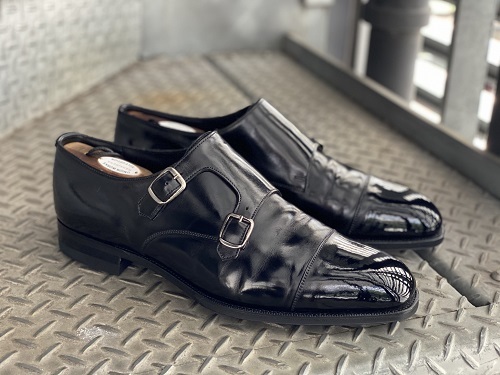
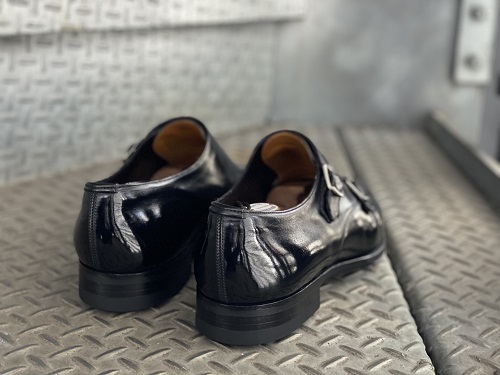
The shine flows beautifully from the toe to the side and down to the heel.
When exposed to natural light, it takes on an even more beautiful sheen.
What did you think?!
I realise there may have been some points that were difficult to grasp from the photos alone, but if you keep at it, you’ll start to get the hang of it and you’re bound to improve.
As well as the method we’ve introduced here, there are various other approaches. I think it would be fun to try out different methods and discover your own way of polishing.
Even if you’ve never polished your shoes before, you may find that doing so deepens your affection for them.
No, no, I can’t do it myself.
If that sounds like you, please leave it to us and we’ll make sure to polish it to a brilliant shine.
In the case of this repair
Dynite Full Sole16500円
Glacage3080円
Delivery date 2 weeks
...will be.
Of course, please feel free to bring your teeth in just for a clean.
If it’s just the glazing,1 weekWe are holding this for you.
We look forward to welcoming you all.
Shinjuku Branch, Aoyama Branch, Furuta